I’m especially excited about today’s topic: “Designing an HOA Garden You Love.”
Over the years, I’ve heard from many clients who are downsizing and moving into communities governed by homeowners’ associations (HOA’s) – a transition that can cause a LOT of anxiety.
Their primary concern stems from the fact that, while HOA communities are often well-maintained, they typically come with a long list of rules that can make creativity feel nearly impossible.
I completely understand the frustration and sense of loss that can come with having to move into a smaller space, as I watched my own mother go through this.
AFTER - My mom's small HOA garden transformation filled with her favorite flowers and tons of personality.
After my father passed away, my mom wanted to downsize from their expansive and intensely-planted 1½ acre garden into a much smaller HOA community.
While part of her looked forward to the ease of a smaller space, most of her dreaded saying goodbye to the garden she and my father had created together for over two decades.
Fast forward a few years later, and she couldn’t be happier with her decision to move, and especially loves the garden she created!
So, to help inspire those of you facing similar challenges, I’ve distilled her process into five main steps that can help turn even the most regulated spaces into personal, joy-filled sanctuaries.
And, as a bonus, I’m also including a few photos from other small gardens I’ve seen over the years.
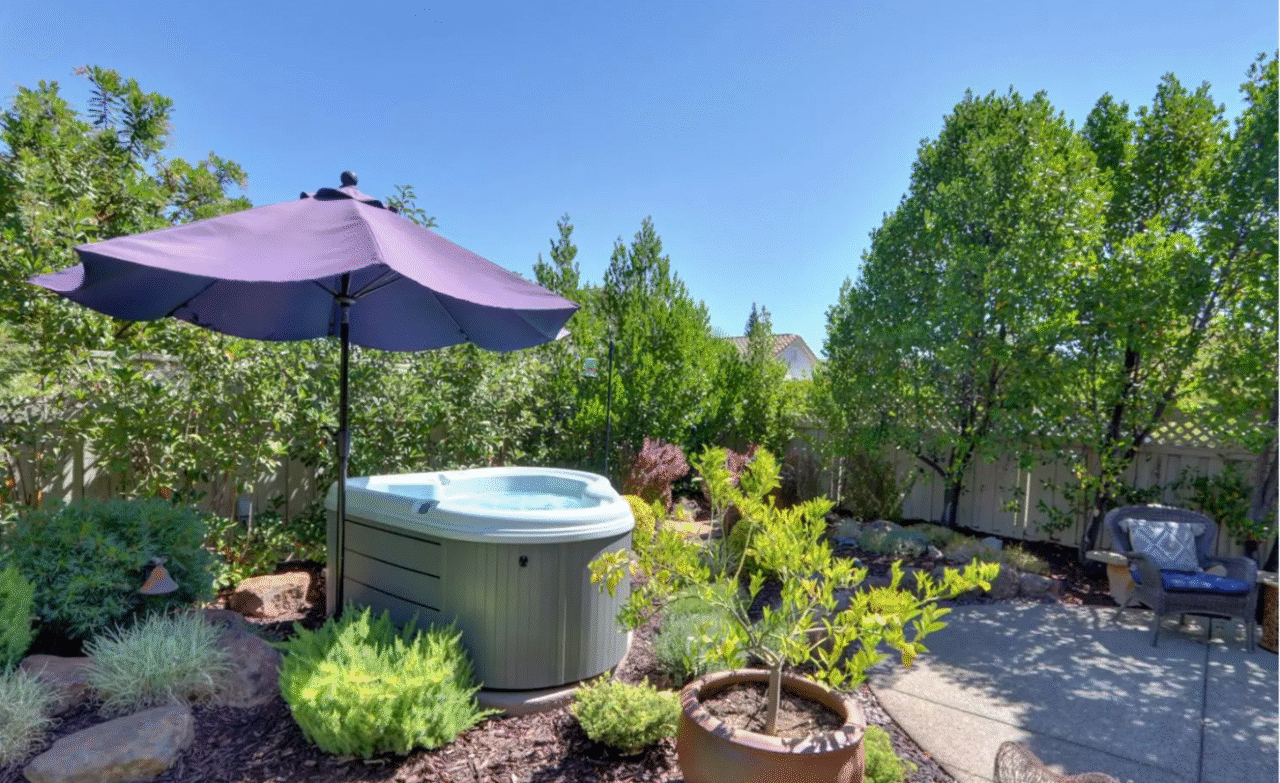
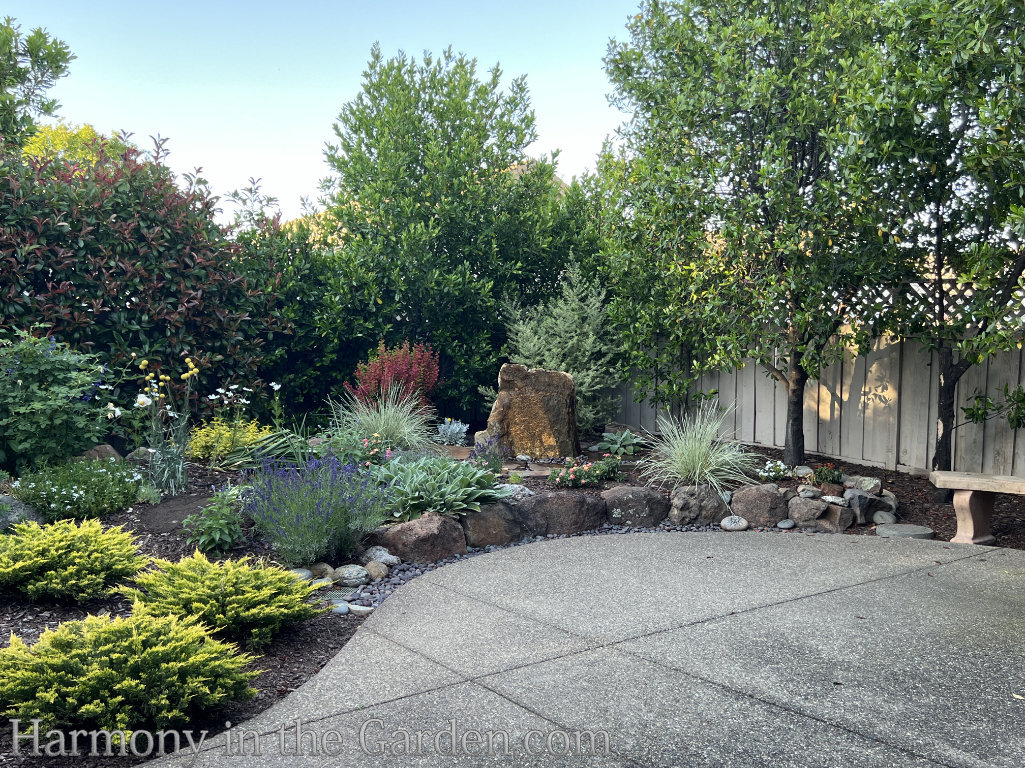
1. Replacing a Hot Tub with a Garden
AFTER
When she first moved in, the yard was pleasant enough, filled with tidy, low-maintenance shrubs.
But right in the middle of her garden (and in full view from the main windows in her house) sat an above-ground hot tub.
My mom has never been a “hot tubbing” gal, so that was the first thing to go.
Once she found a new home for it (a young family with teenagers who couldn’t wait to use it!), she set about creating a garden that reflected her personality, including many of her favorite plants transplanted from her previous garden,
All while staying within the confines of the HOA’s rules.
BEFORE
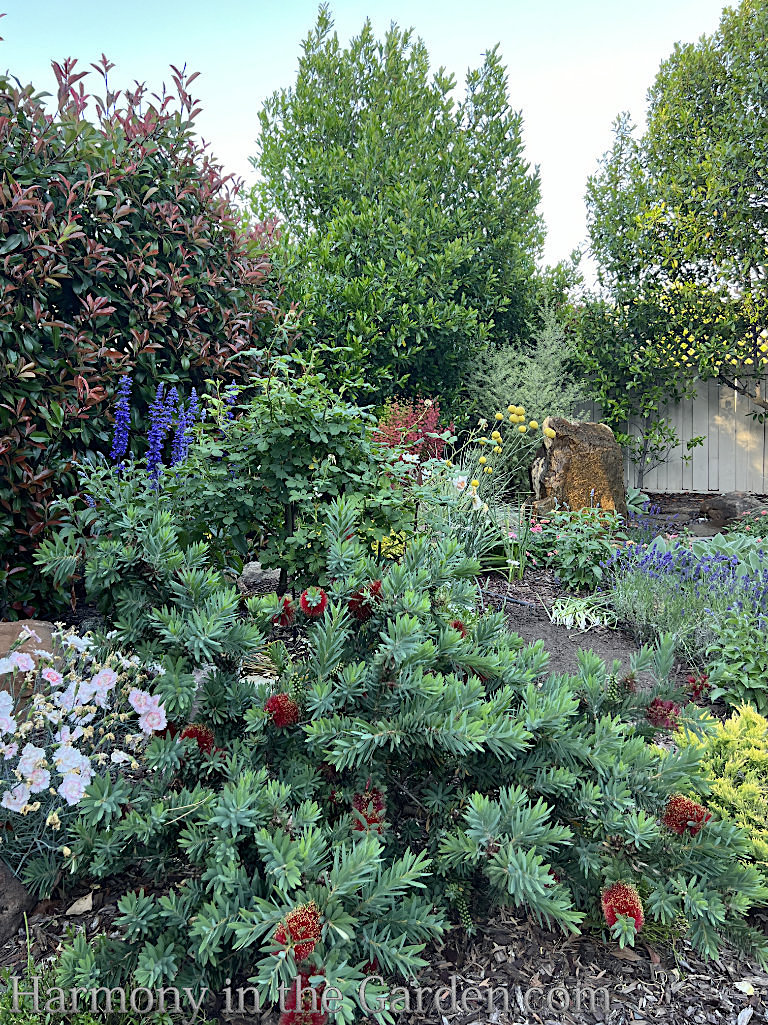
Callistemon 'Little John' attracts every hummingbird in the neighborhood, and blooms almost year-round!
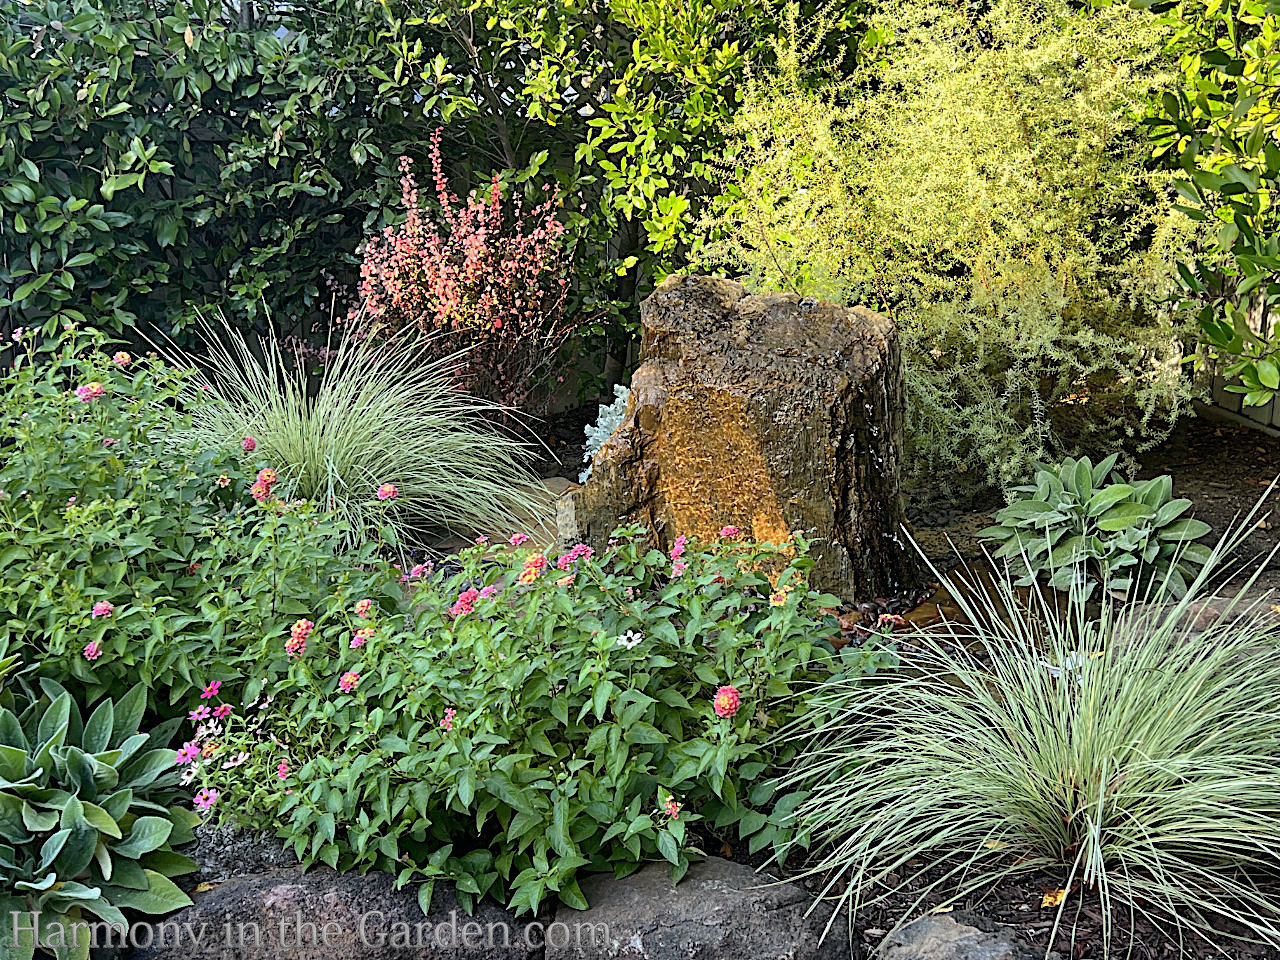
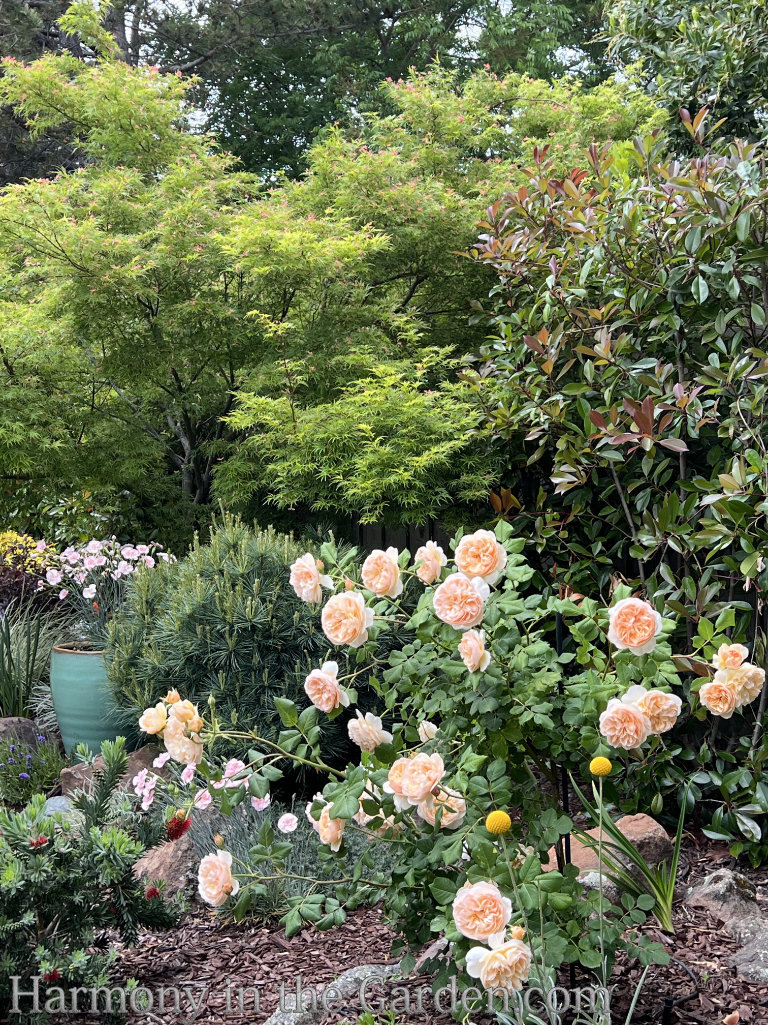
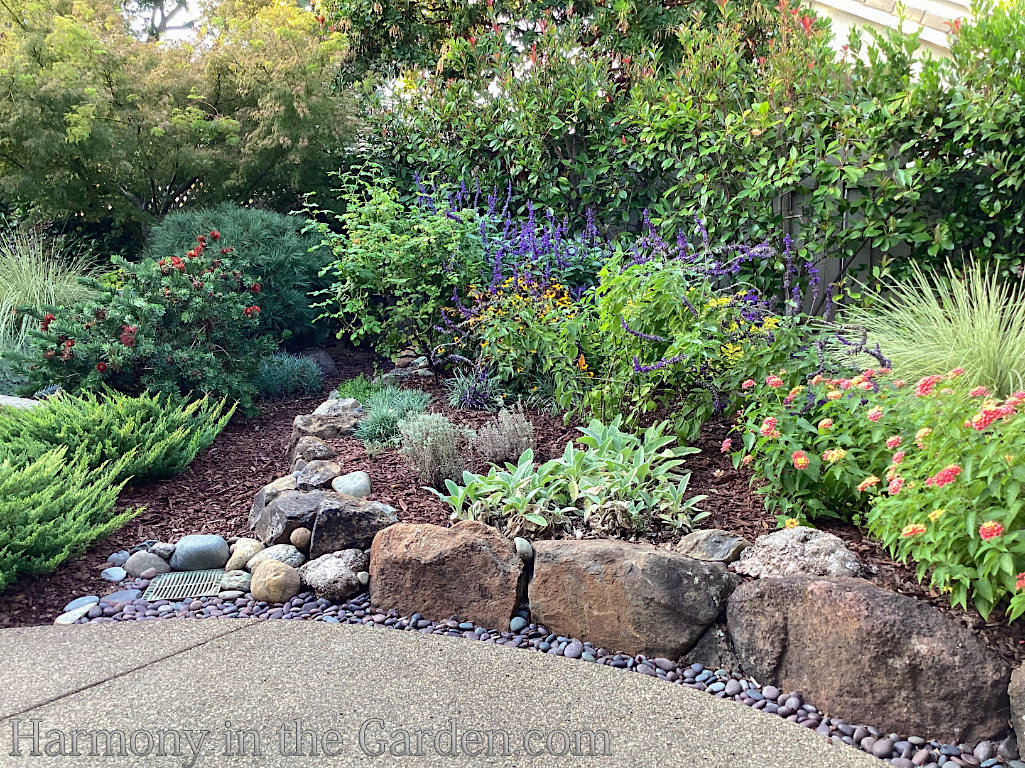
To attract hummingbirds and pollinators to her garden, my mother included several tough perennials and flowering shrubs that bloom throughout different seasons, including salvia ‘Mystic Spires’, Lavender, Dianthus, and Callistemon ‘Little John’ (just to name a few.)
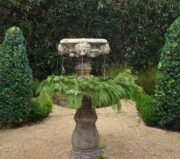
And combined with the stone fountain, there’s also lots of activity from local birds.
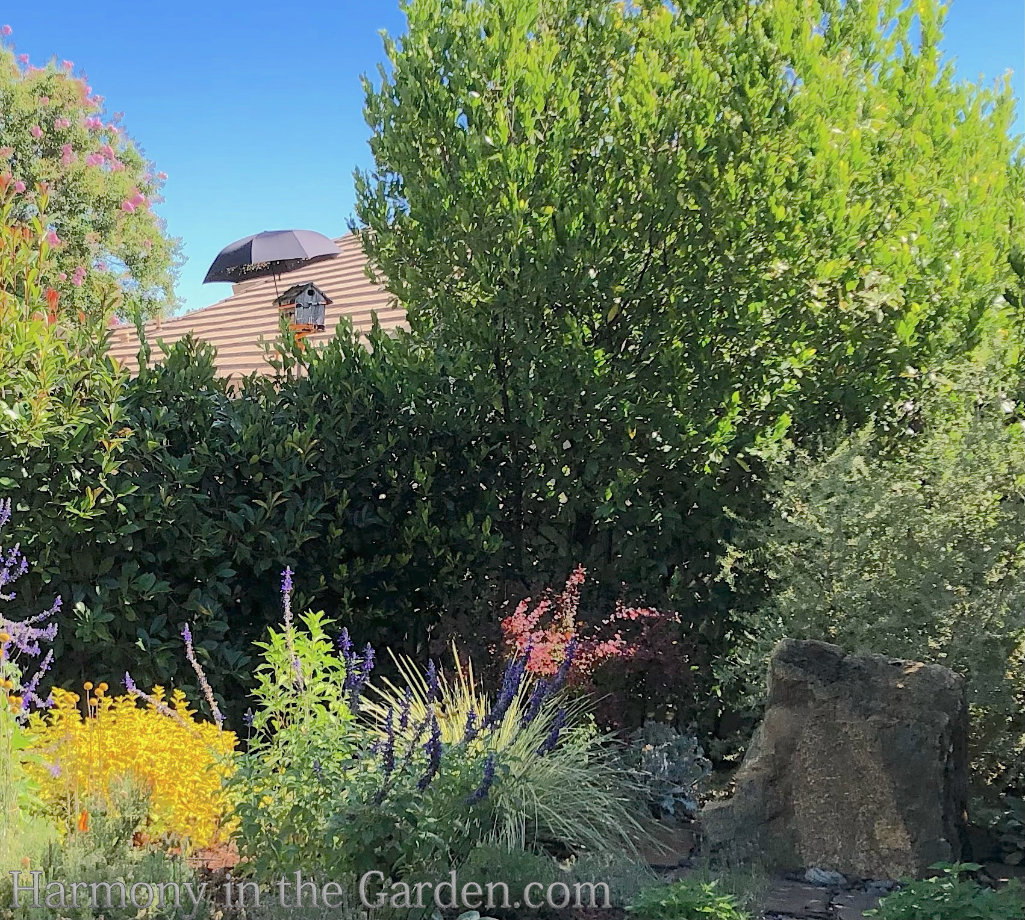
Take a closer look (below) to see how her new neighbor installed an umbrella over the bluebird house in her garden, helping provide a little shade in our hot summer sun. So cute!
Umbrella shading the baby bluebirds
Dwarf Lantana for the butterflies
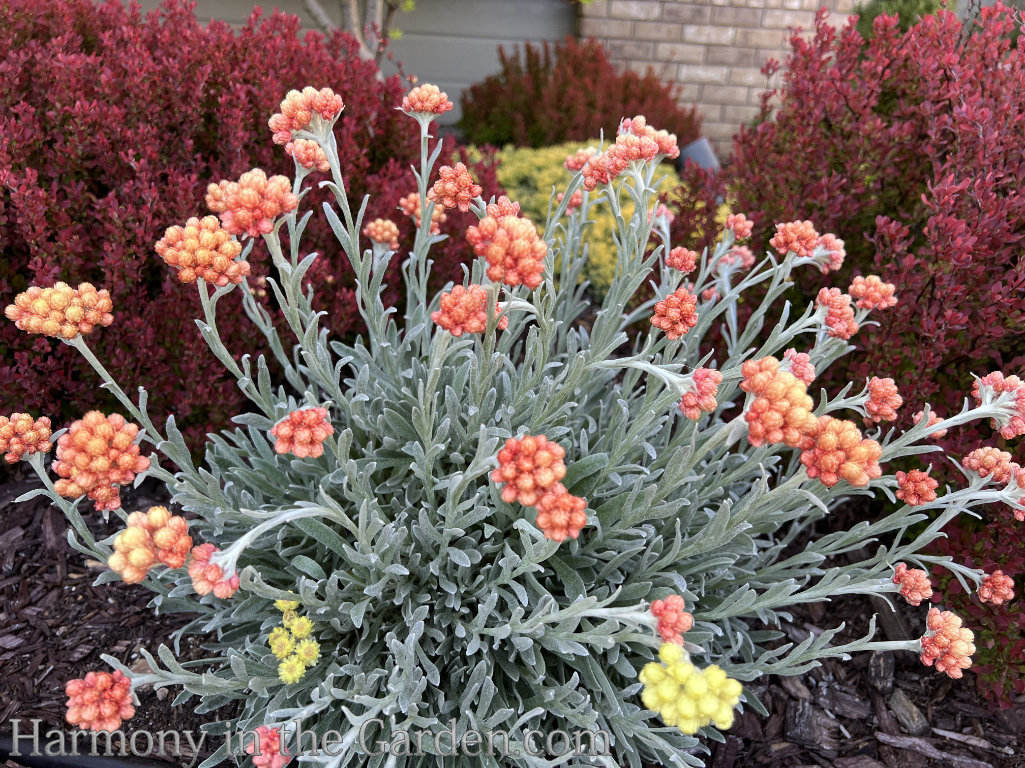
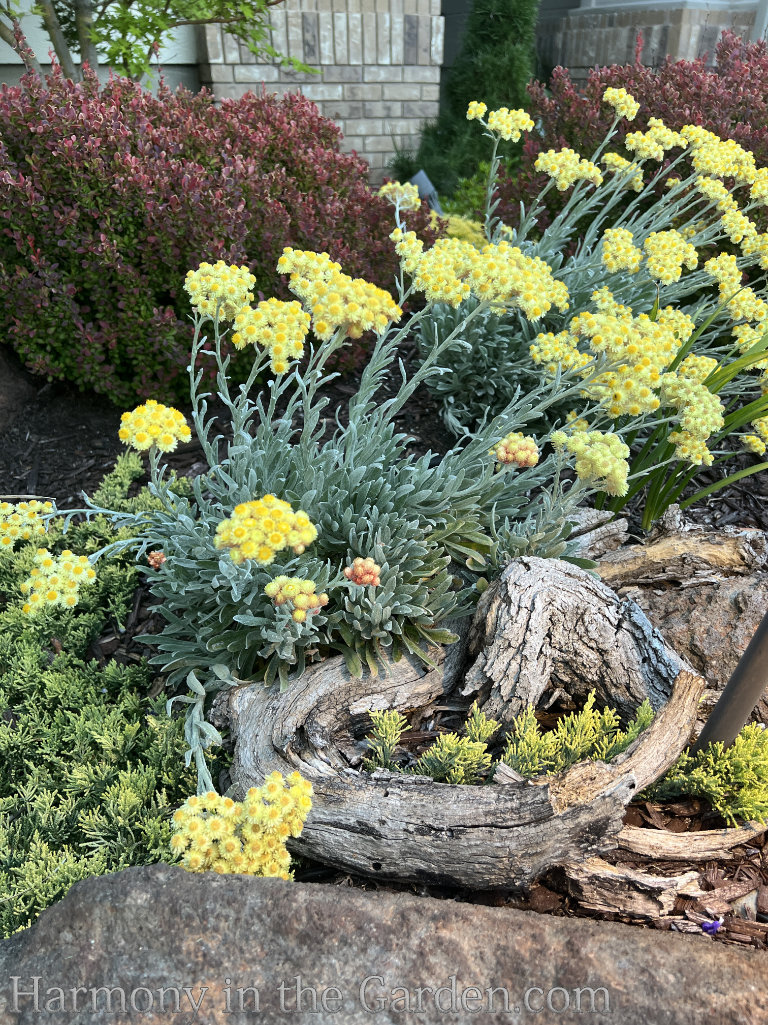
Helichrysum buds of 'Ruby Clusters'
Rosa 'Roald Dahl'
Helichrysum 'Ruby Clusters' once open, turn vibrant yellow
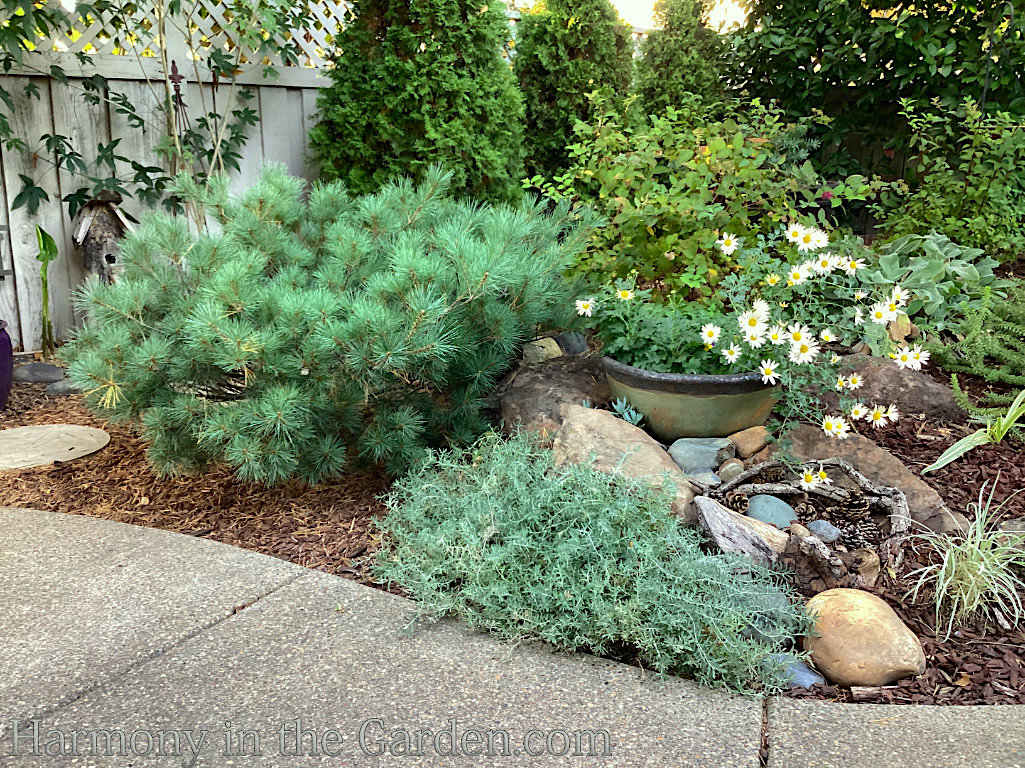
Dwarf Pinus strobus 'Blue Shag'
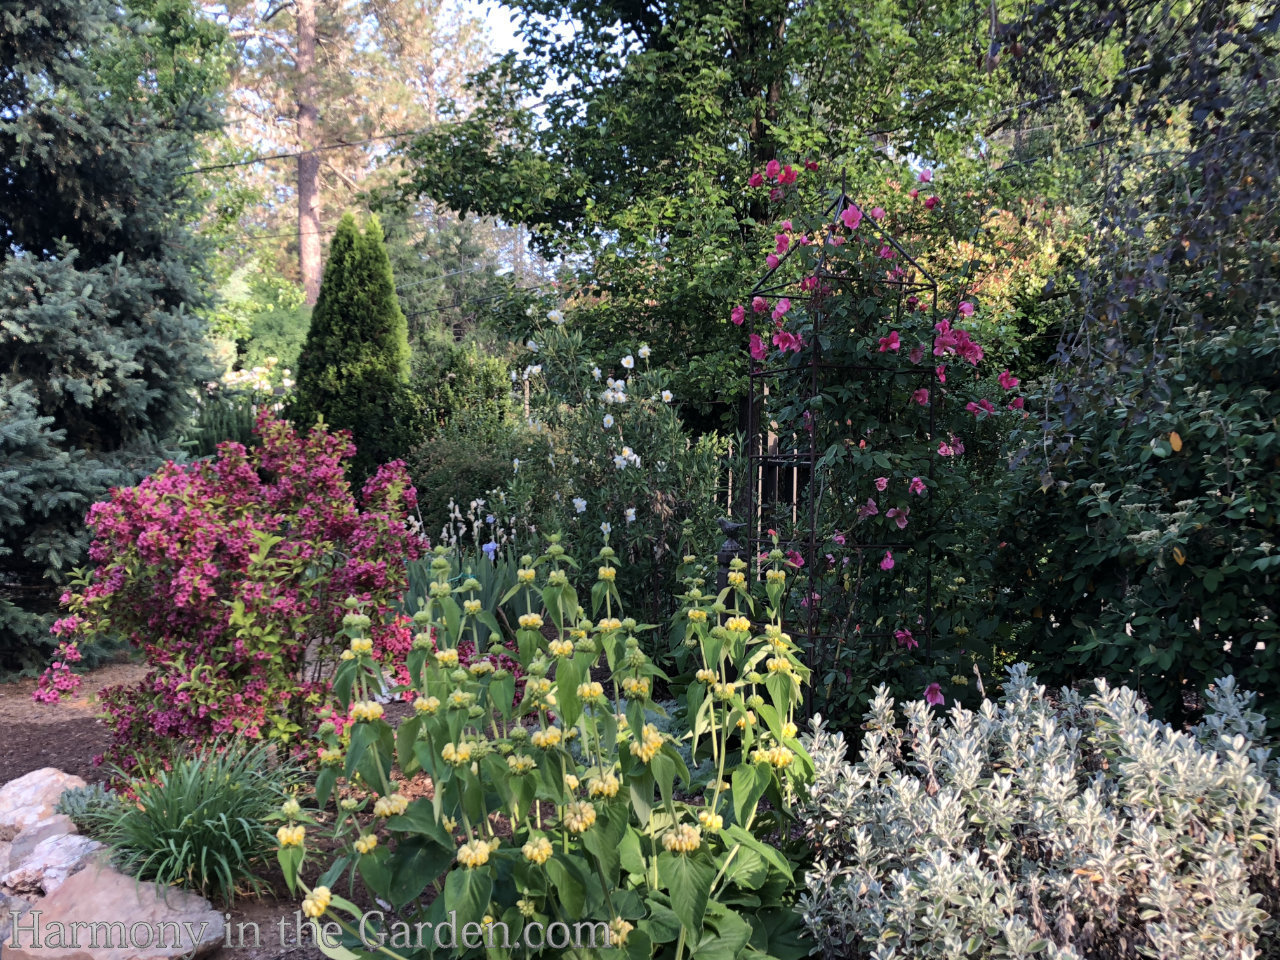
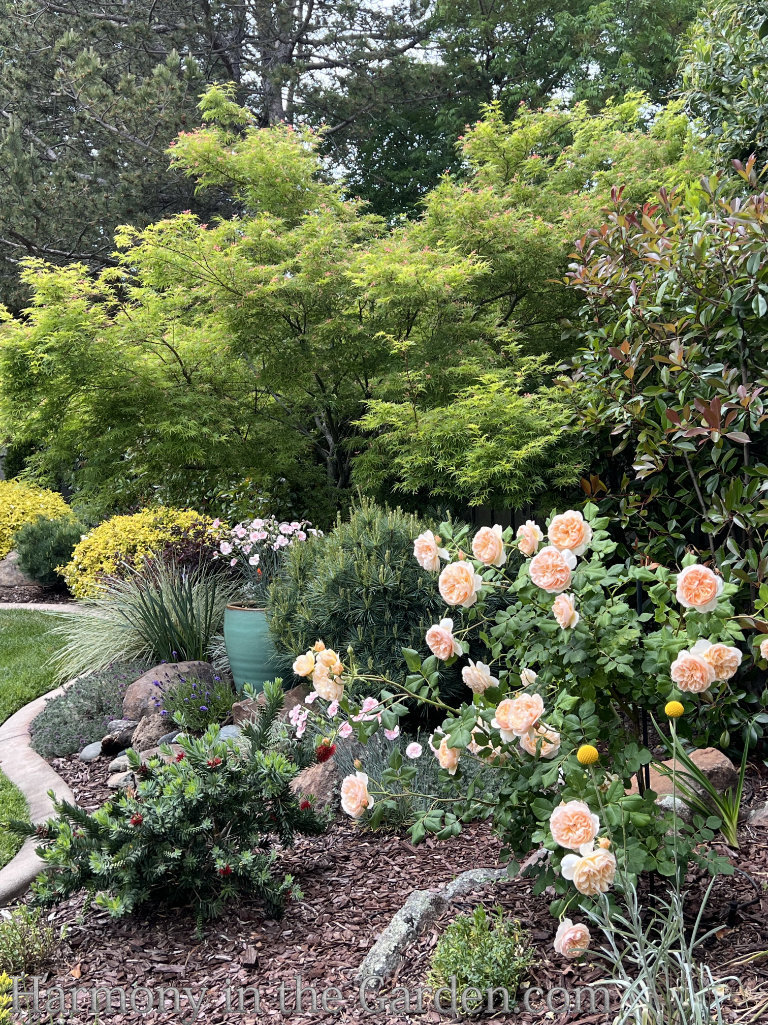
To help add year-round structure to the garden, there are several evergreen shrubs sprinkled throughout, such as Dwarf Eastern White Pine, Callistemon ‘Little John’, and lacy Japanese Maples.
These shrubs not only add vibrant color, but the amazing textures give colorful flowers a run for their money!
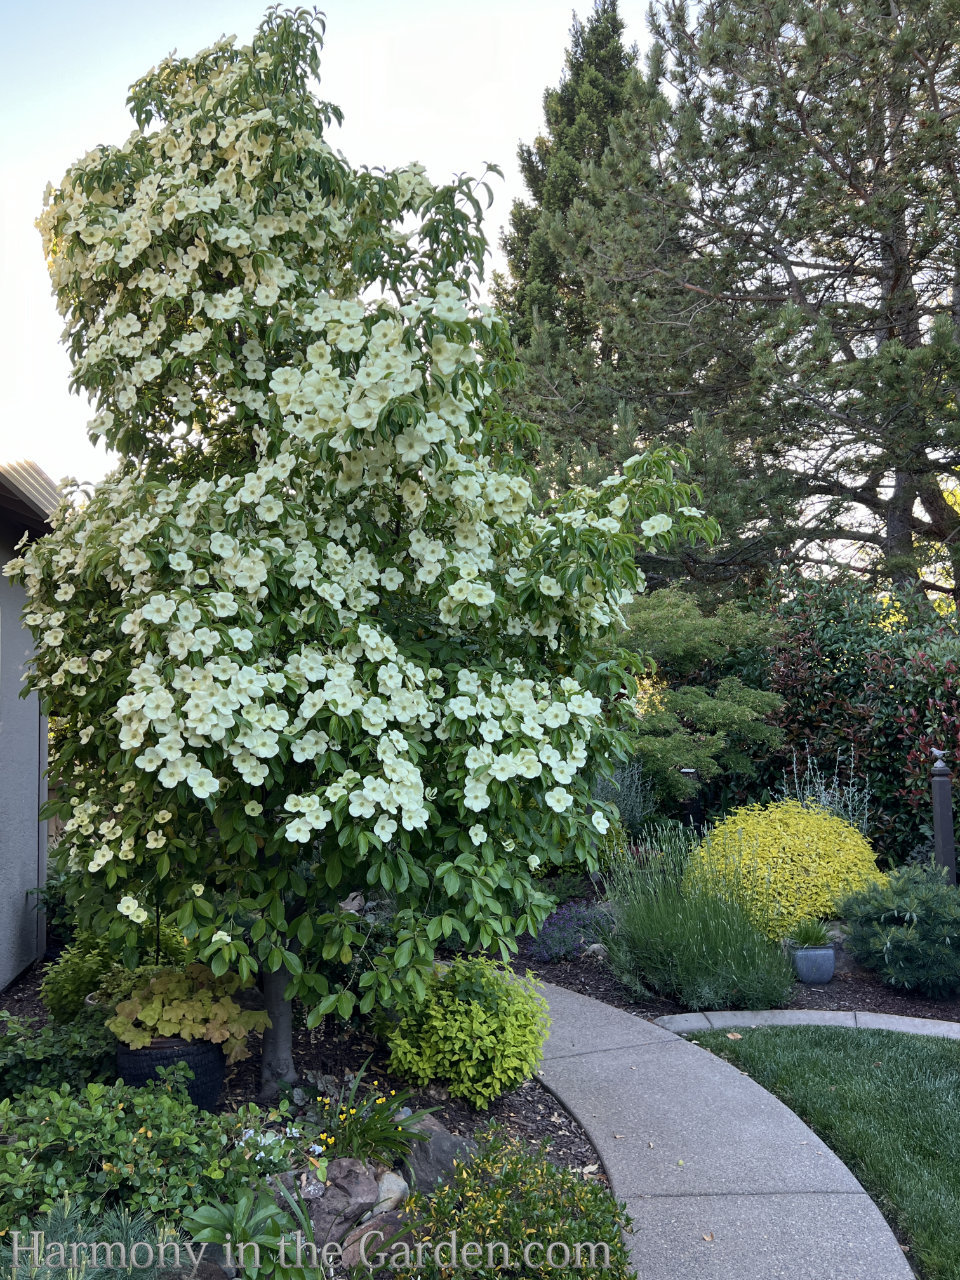
Semi-Evergreen cornus capitata 'Mountain Moon' in full glory with chartreuse cistus 'Mickie'
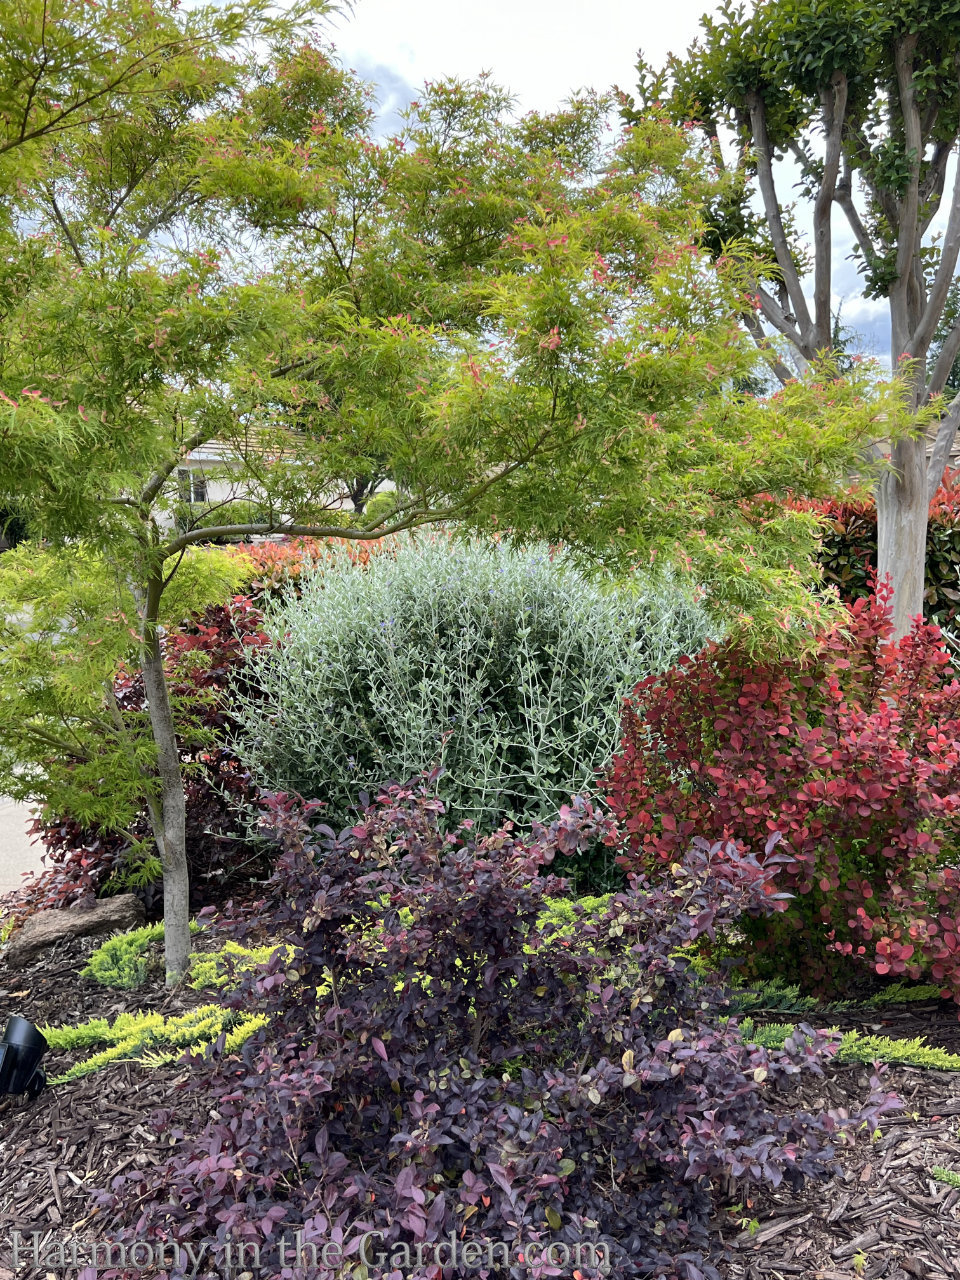
Textural Japanese Maple, evergreen loropetalum, and silver teucrium fruticans 'Azureum'
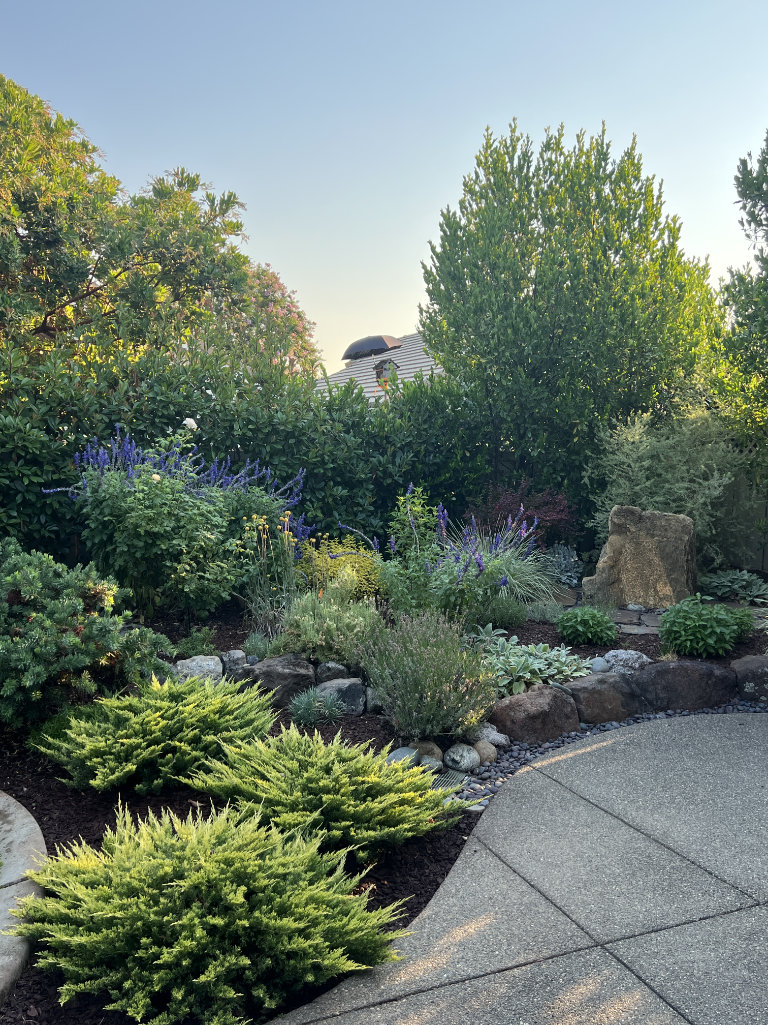
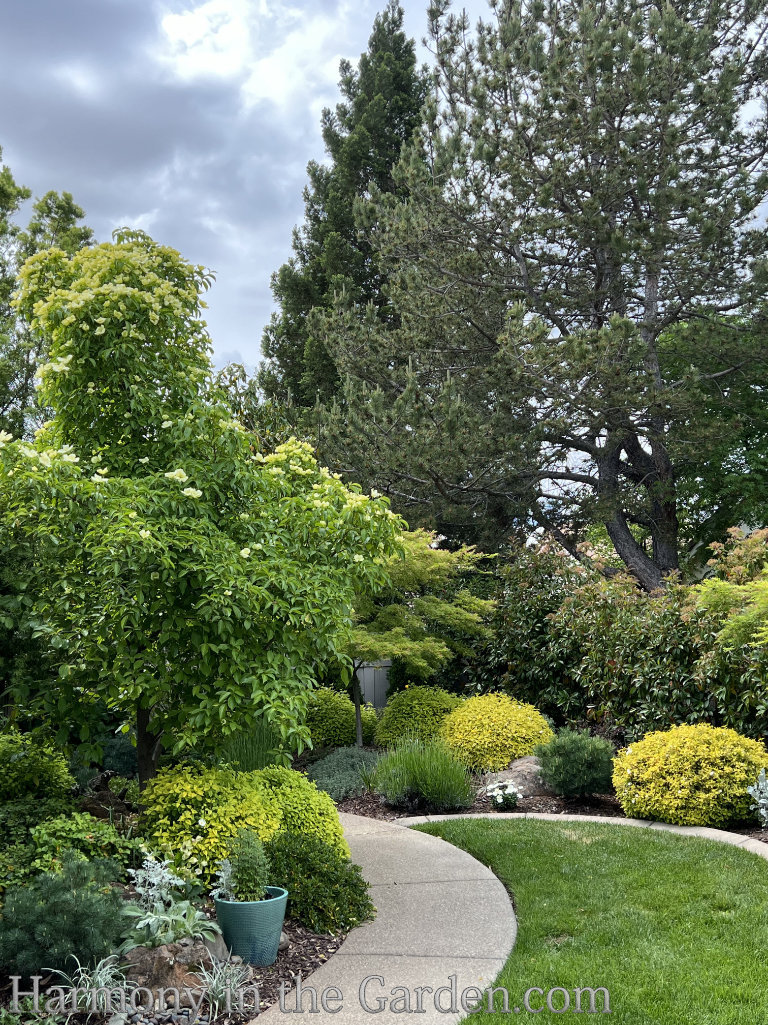
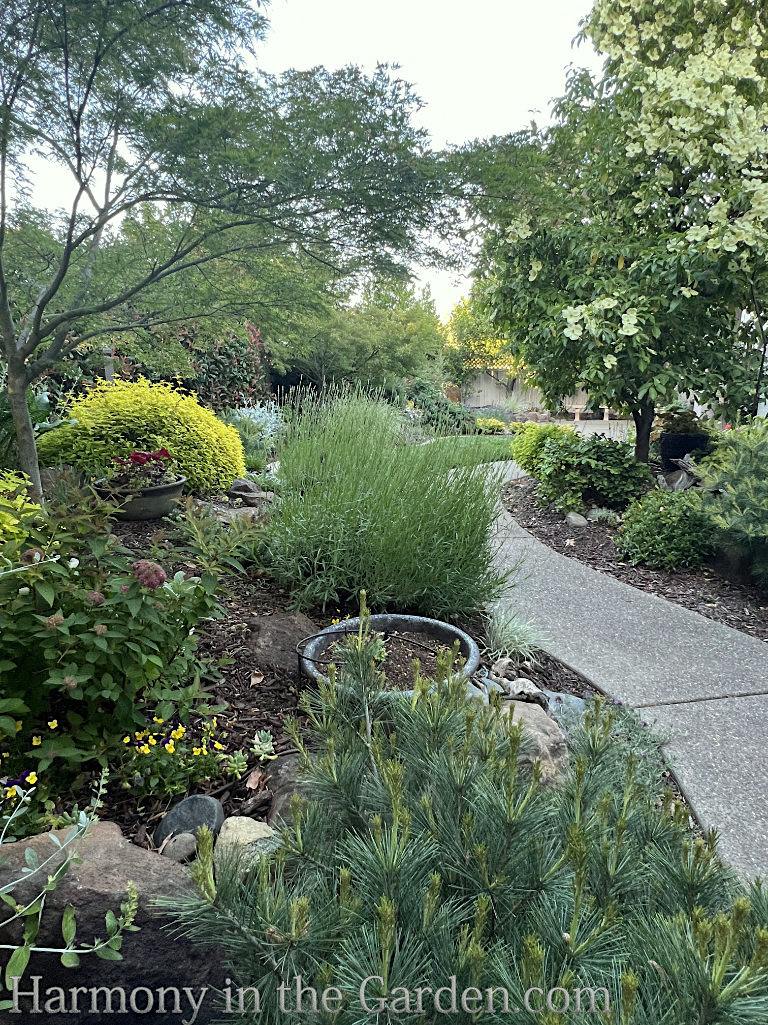
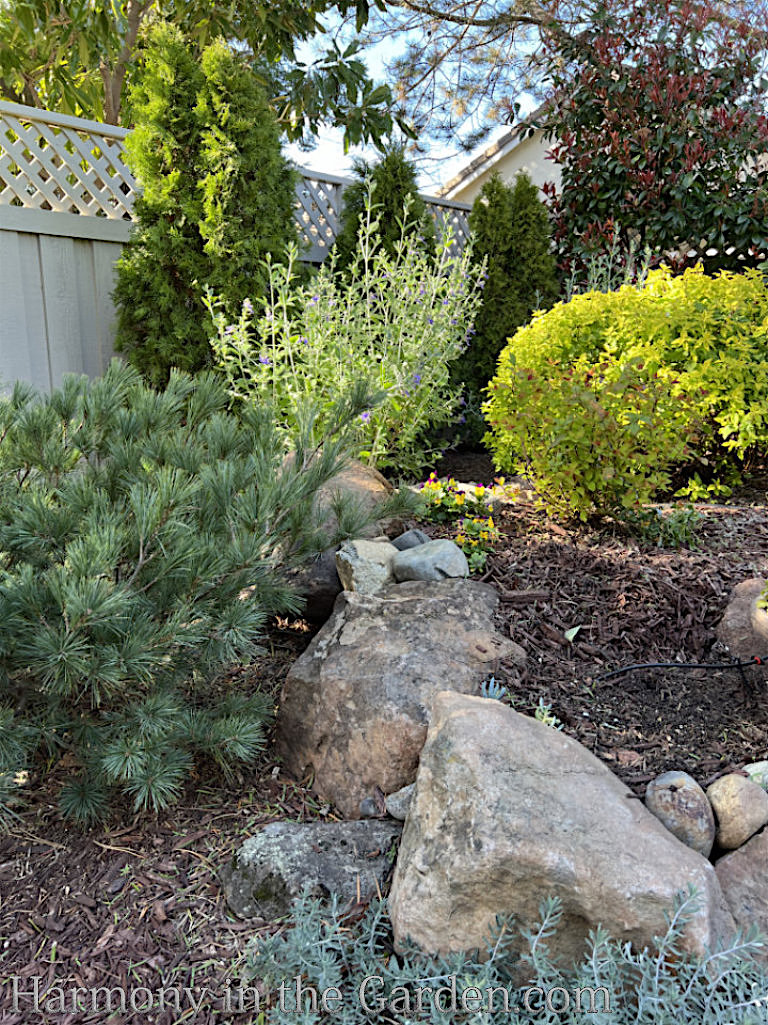
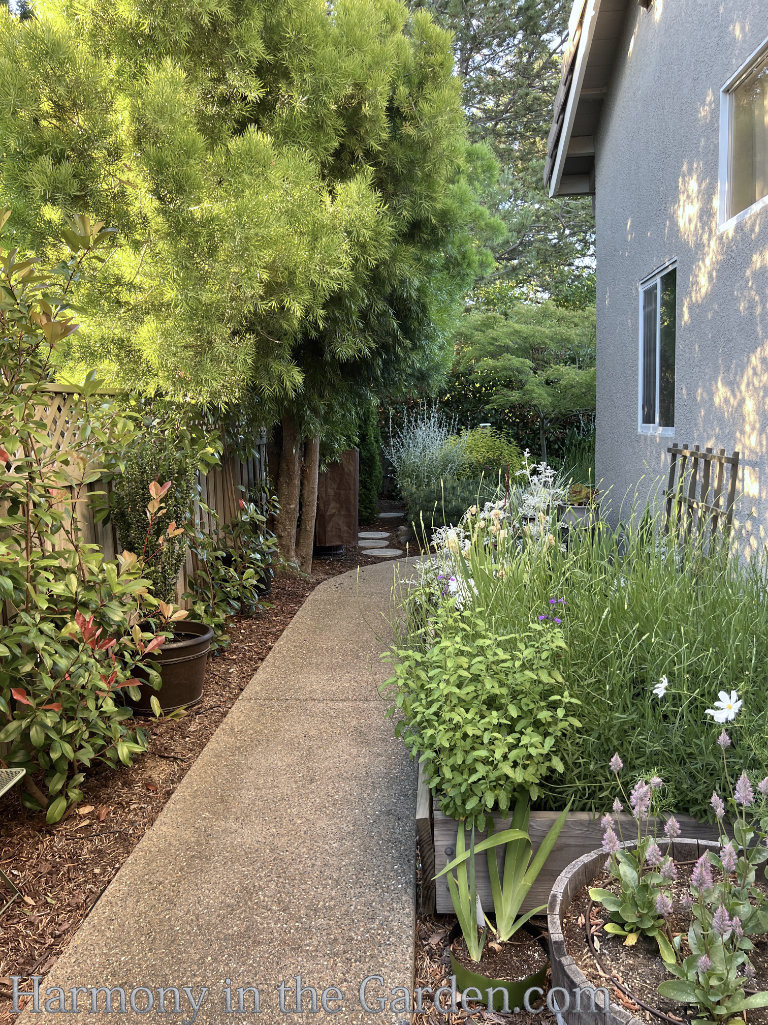
2. Adding Curves
Incorporating a gently curving garden bed, pathway, or lawn is a fantastic way to soften the rigid, straight lines of a rectangular garden.
Designers often use this strategy, as it adds elegance while creating the illusion of a larger space.
In this example, the curving lawn tapers to a point and takes advantage of the ‘borrowed view’ of the neighbor’s towering trees.
This tapered curve fosters a sense of exploration, inviting curiosity about what lies around the corner. At the same time, the distant trees provide height and depth to the garden, even though it is only 0.15 acres in size.
Below are more examples of curved shapes in the garden.
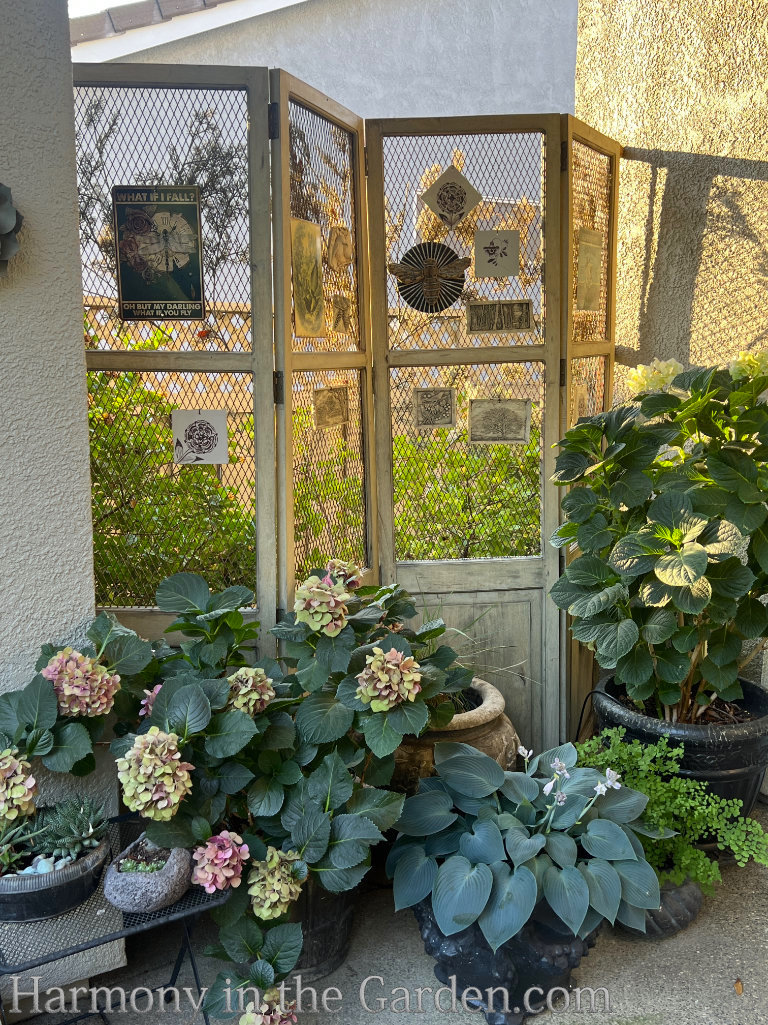
3. Creating Patio Privacy & Charm
Creating privacy within the HOA is always a challenge with small gardens, low fence lines, and houses usually placed just a little too close to one another.
And if there’s a limiting height restriction within the rules (ie, no taller fences, lower-growing plants only, etc.), it gets even more challenging to create a private oasis.
My mom came up with the perfect idea when she inherited this standalone tri-fold screen (I believe it was initially purchased from Pottery Barn.)
She placed it far enough away from the shared fenceline, secured it from strong winds with a few strategically placed weights, and now uses it to display some of her favorite things from her previous garden shed area.
To soften the screen and help it blend with the nearby garden, she’s planted groupings of her favorite containers not only for viewing from within her home, but also to help create a portable garden.
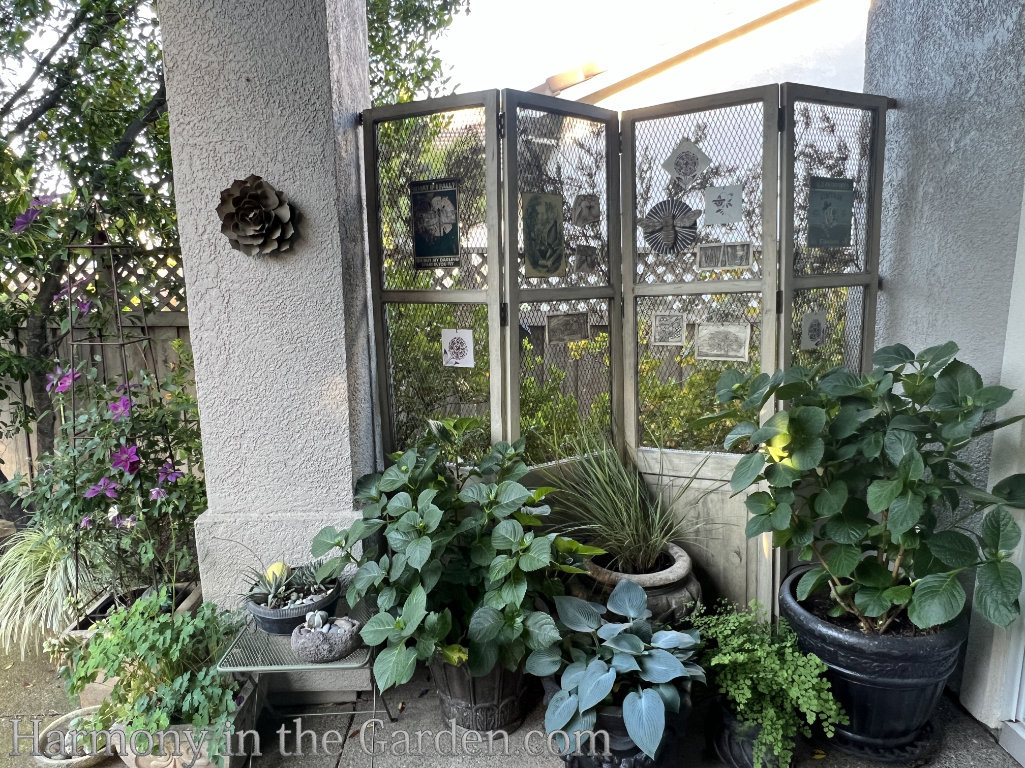
Here’s another photo that shows just how much personality can be infused in such a small space!
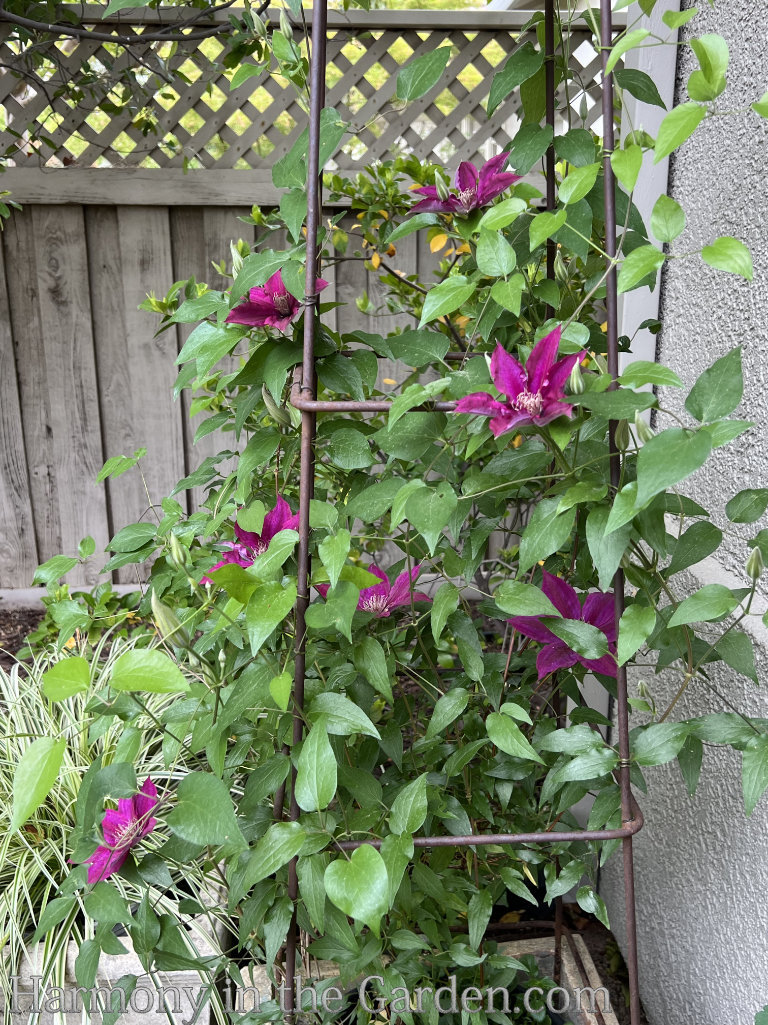
Clematis 'Picardy' - a gift from my late father. PERFECT for containers as it only grows 4' tall.
Aren't the blooms just gorgeous?
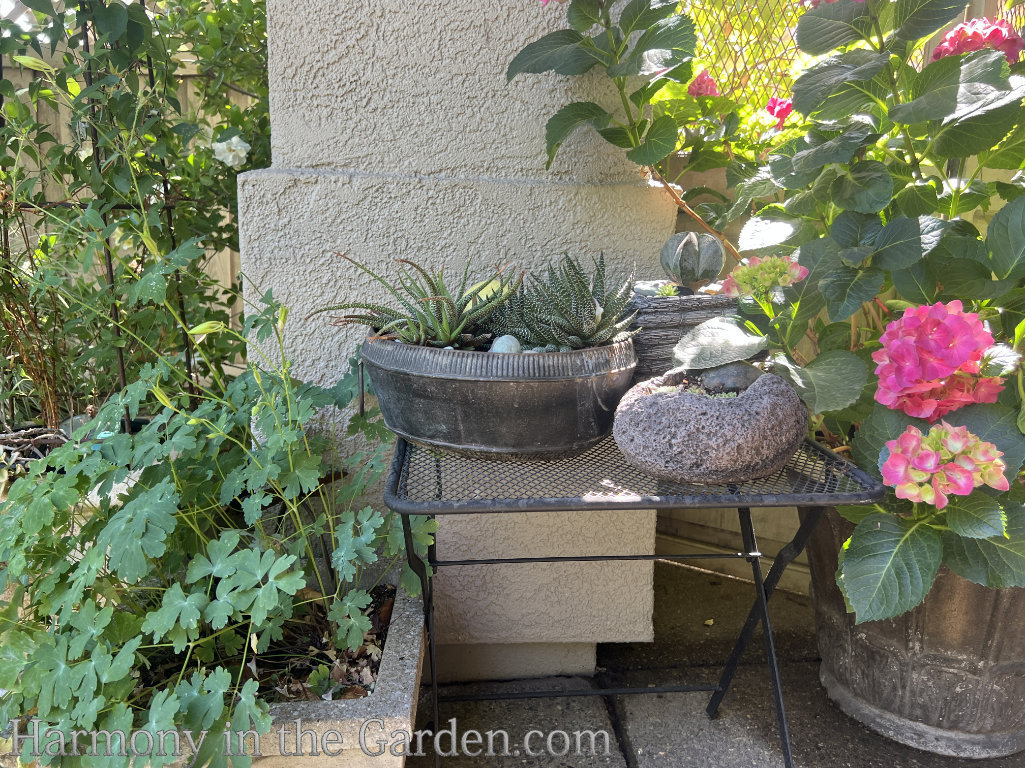
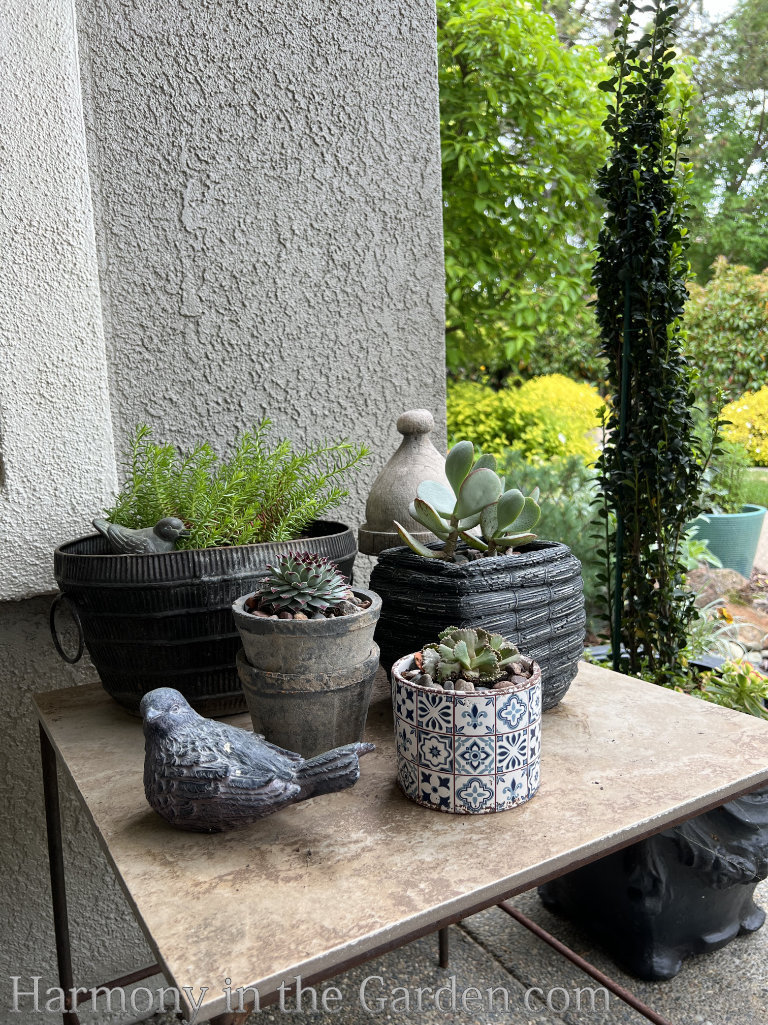
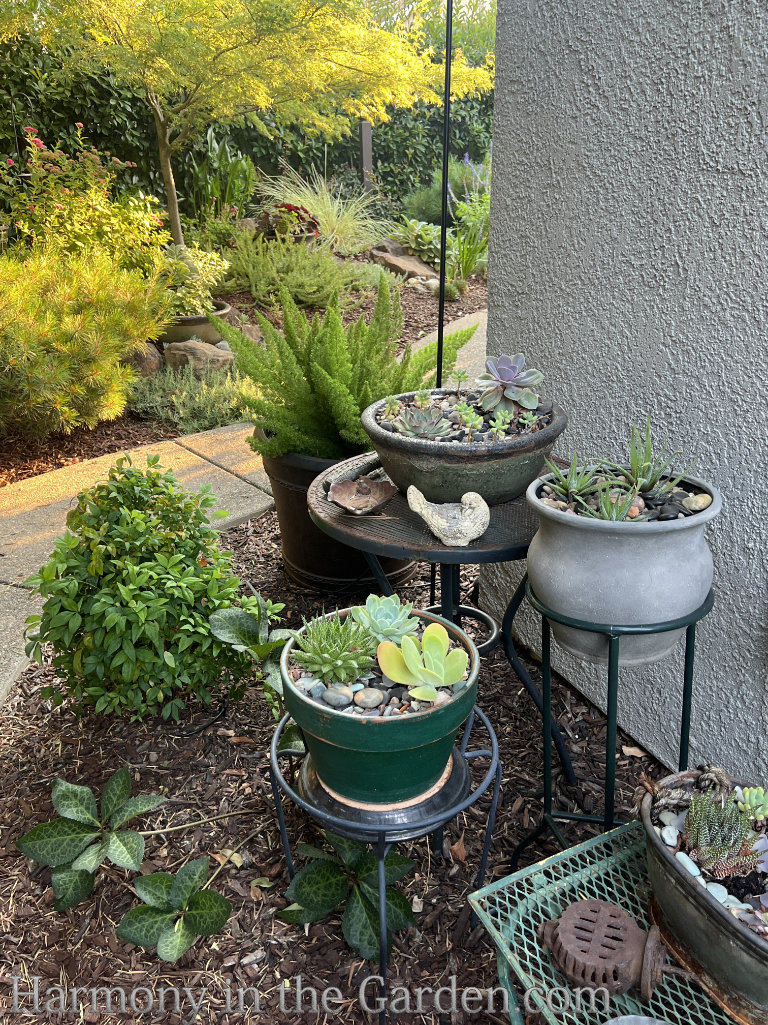
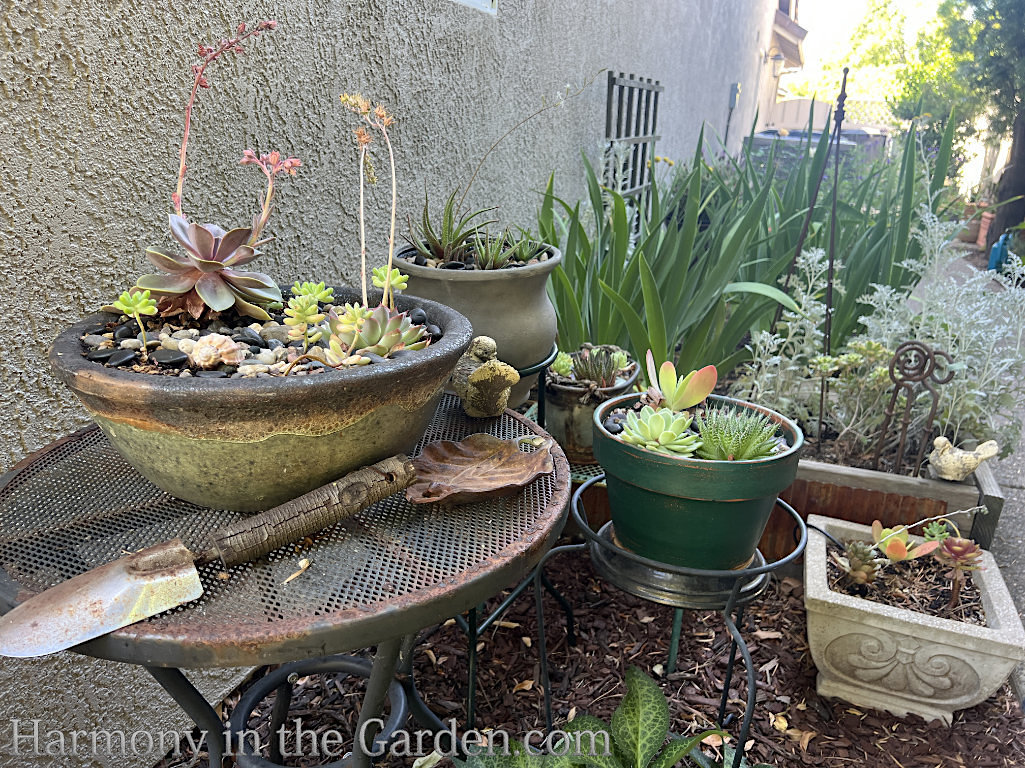
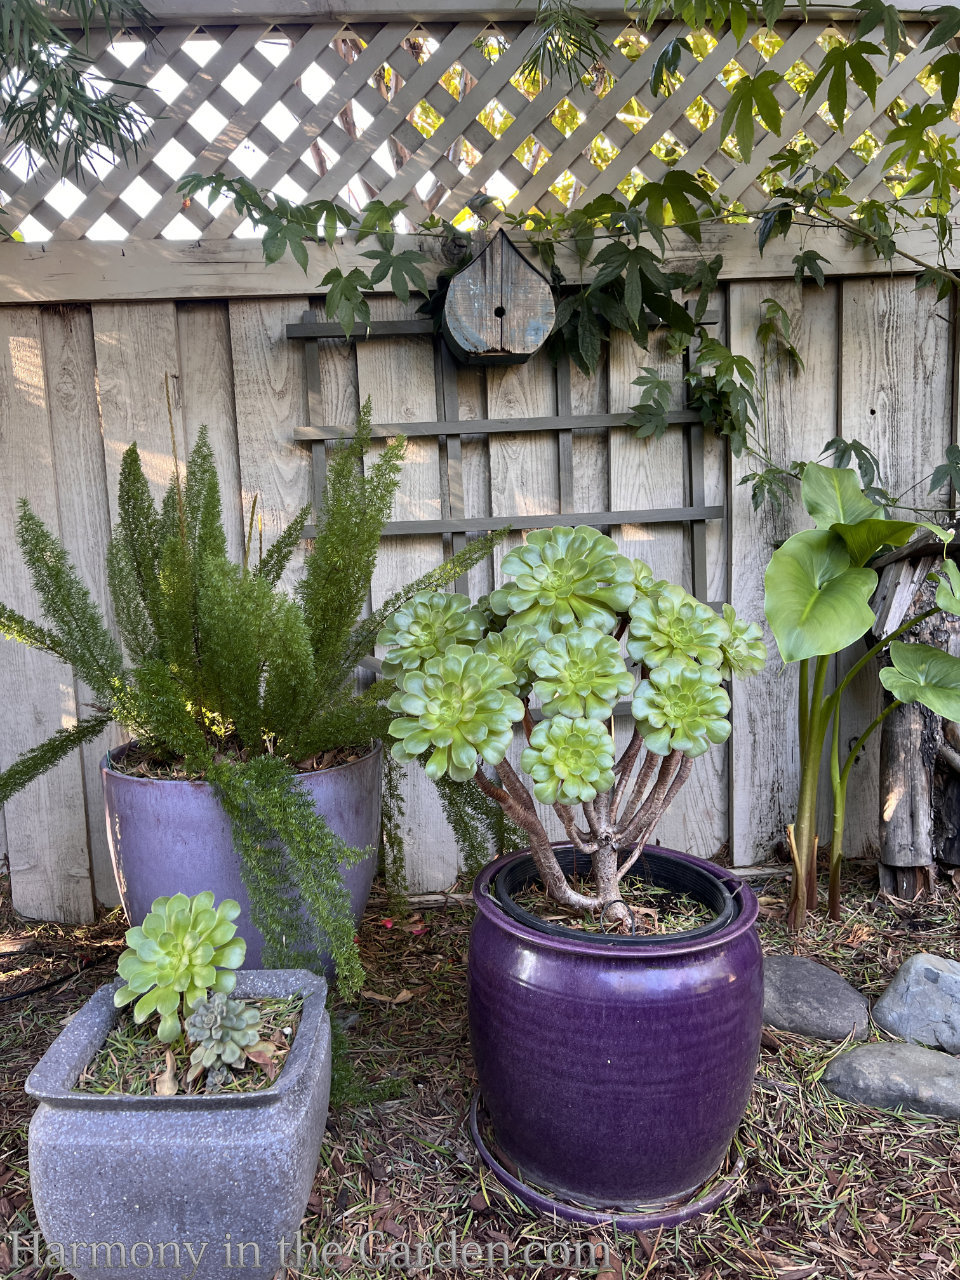
One of the benefits of small spaces is that the tiniest details can be appreciated up close, whereas in larger gardens these details are often lost.
My mother has taken advantage of this by using several small tables and shelves from local thrift stores.
She uses these tables to display her succulent collections and highlight the sweet vignettes she creates.
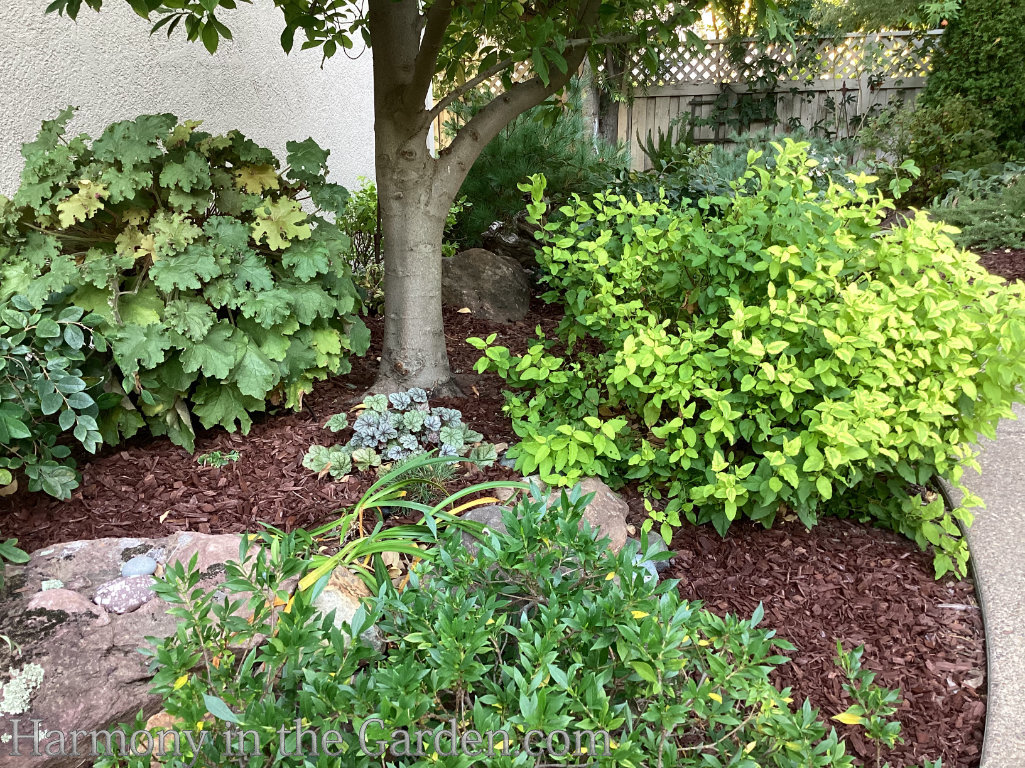
4. Adding Depth, Height, and Interest in Existing Beds
Berms, berms and more berms
Over the years, I’ve written a LOT about the importance of adding berms to a garden bed. People often think this only applies to larger gardens, which simply isn’t true.
Just take a look at all the beds that surround the lawn, and you’ll see each one contains a berm that gently slopes down to the flat lawn and patio level.
They’re subtle, but impactful – especially when planted.
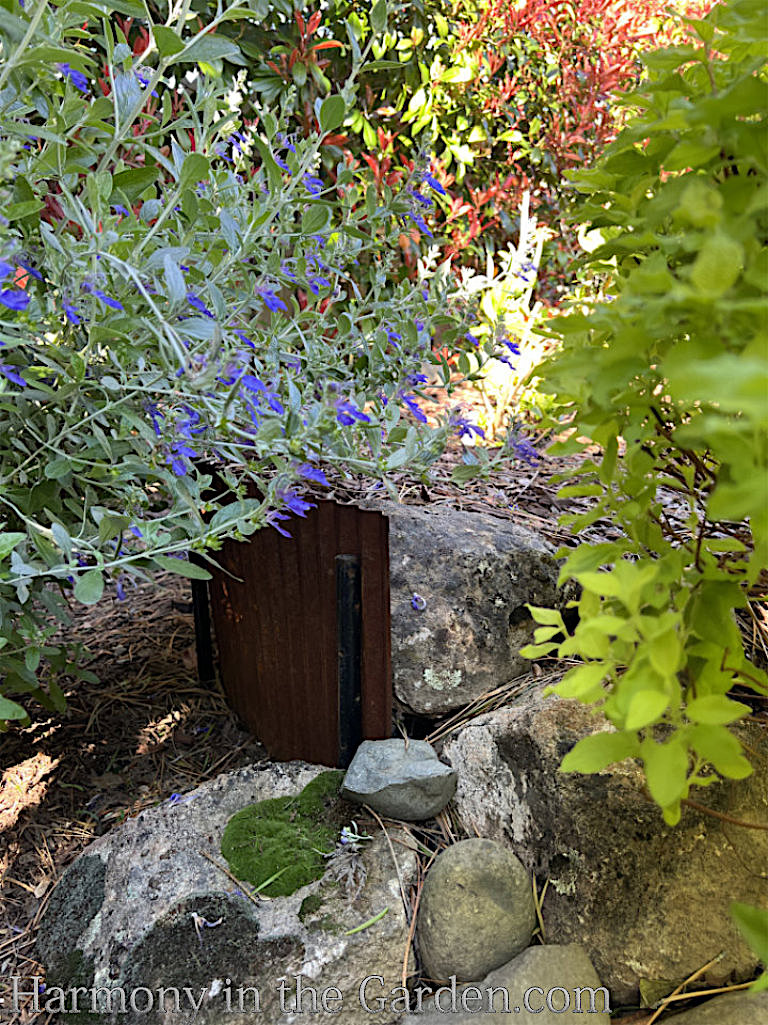
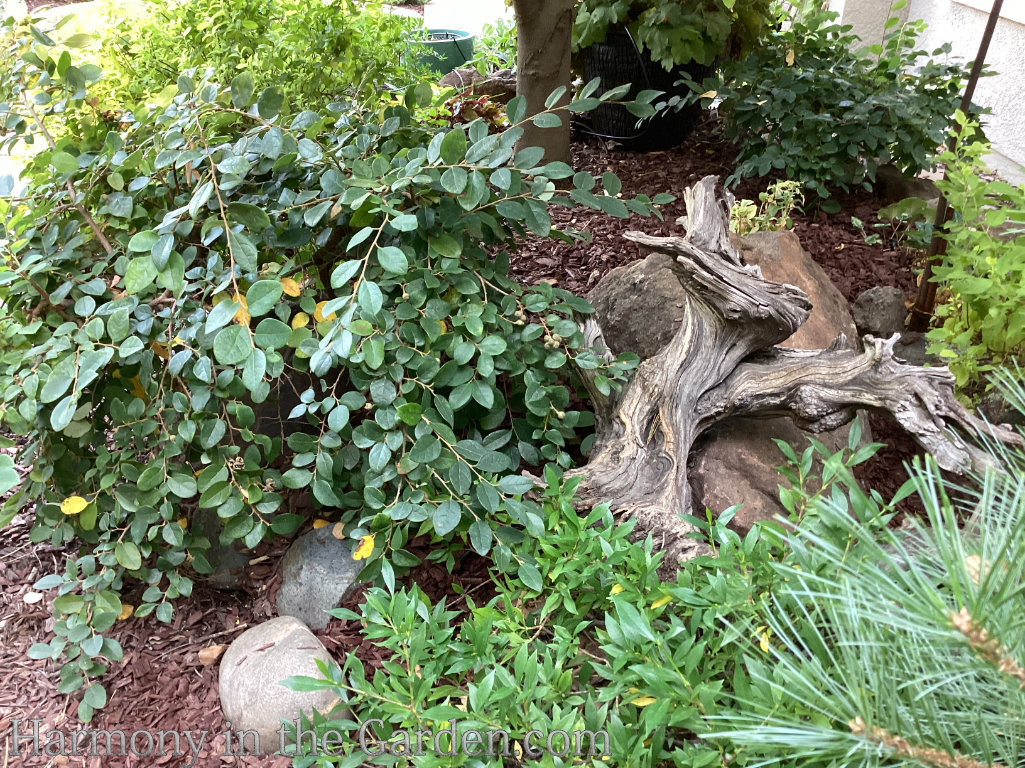
My mother absolutely loves working with stones, so she’s added them to many of the berms in her garden, whether strategically placing a larger boulder within the garden bed or edging the berm with smaller ones.
(click here to see how she helped transform part of my garden using, of course, stones and endless patience!)
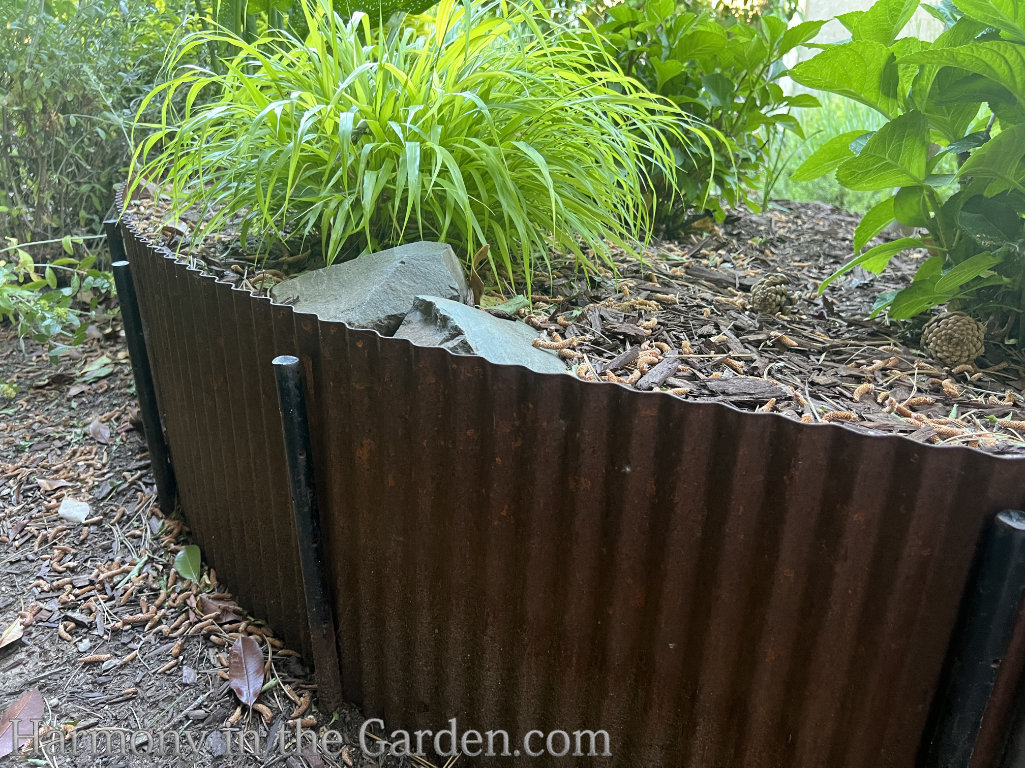
But, if you’ve ever lifted a 2’x2’ stone, you know they can be heavy! Especially if you’re using lots of them.
My mom came up with this ingenious idea of raising the garden bed, without having to use heavy stones (especially in the back of the garden bed that isn’t in plain view.)
She used tin edging from Dakota Tin, cut to specific lengths which not only look beautiful with the natural oxidized patina, but is super sturdy when supported by rebar.
(as if you haven’t gathered by now, my mother isn’t a frail 80-year old! She’s tough as nails and I often struggle to keep up with her!)
Stone edging along the visible side of the bed, ending behind the shrubs...
Where the boulders end, the tin edging begins, with the harsh edge discreetly hidden by the stones and shrubs.
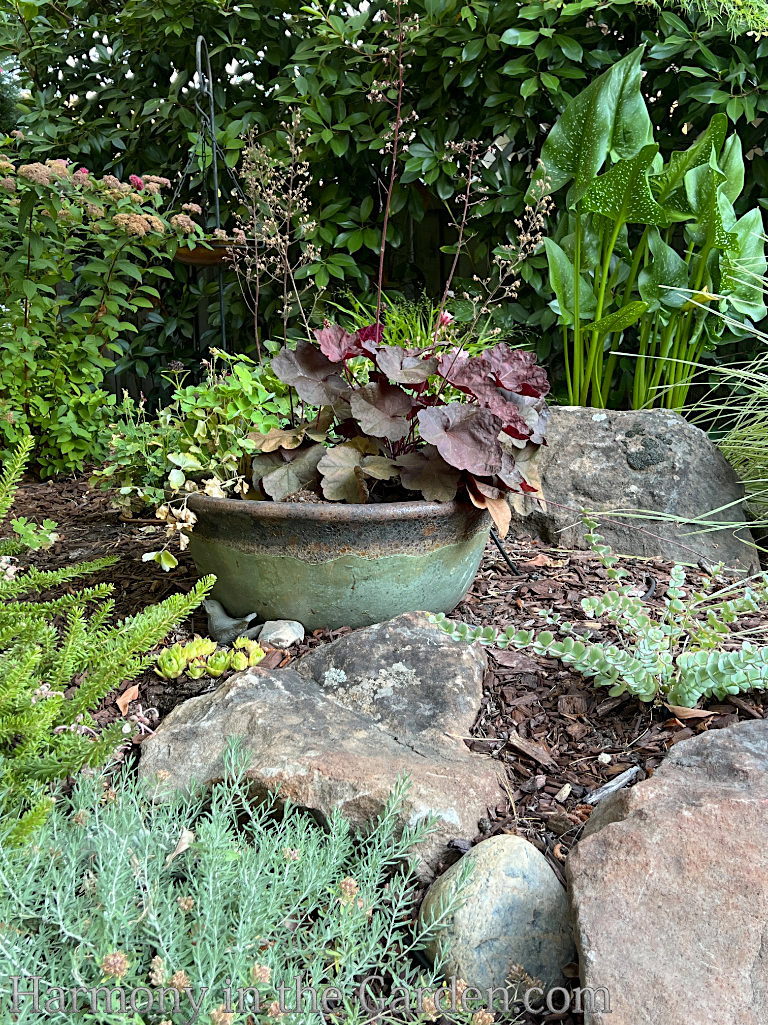
Containers within Beds
While the edging stones are undoubtedly beautiful, she’s also placed decorative containers within the garden bed itself.
This is a fantastic way to add interest and height within a garden bed, not to mention year-round interest.
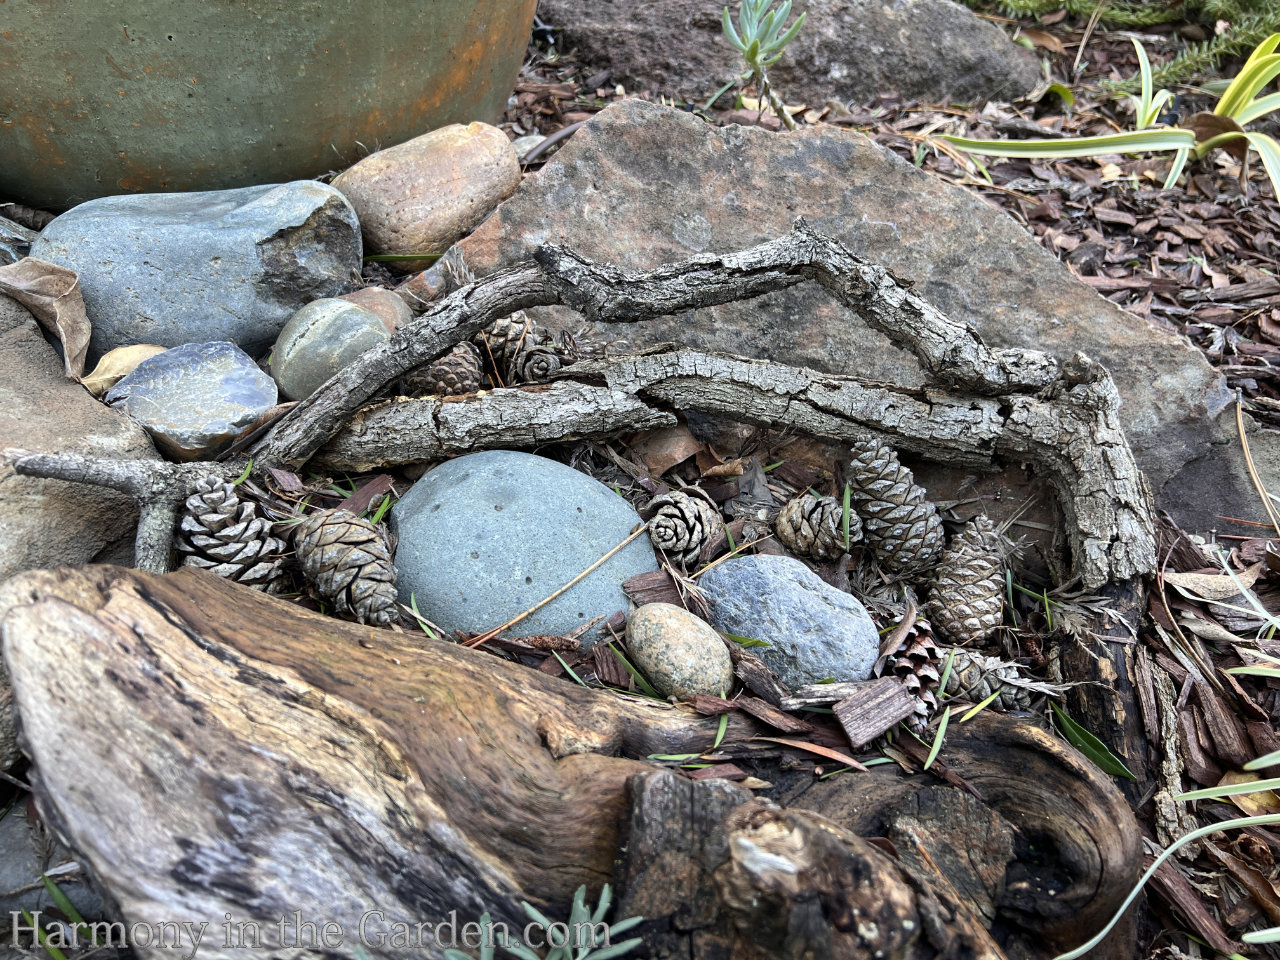
In addition to the containers, various sculptural pieces made of wood, pinecones, and smaller pebbles are artfully placed throughout the beds.
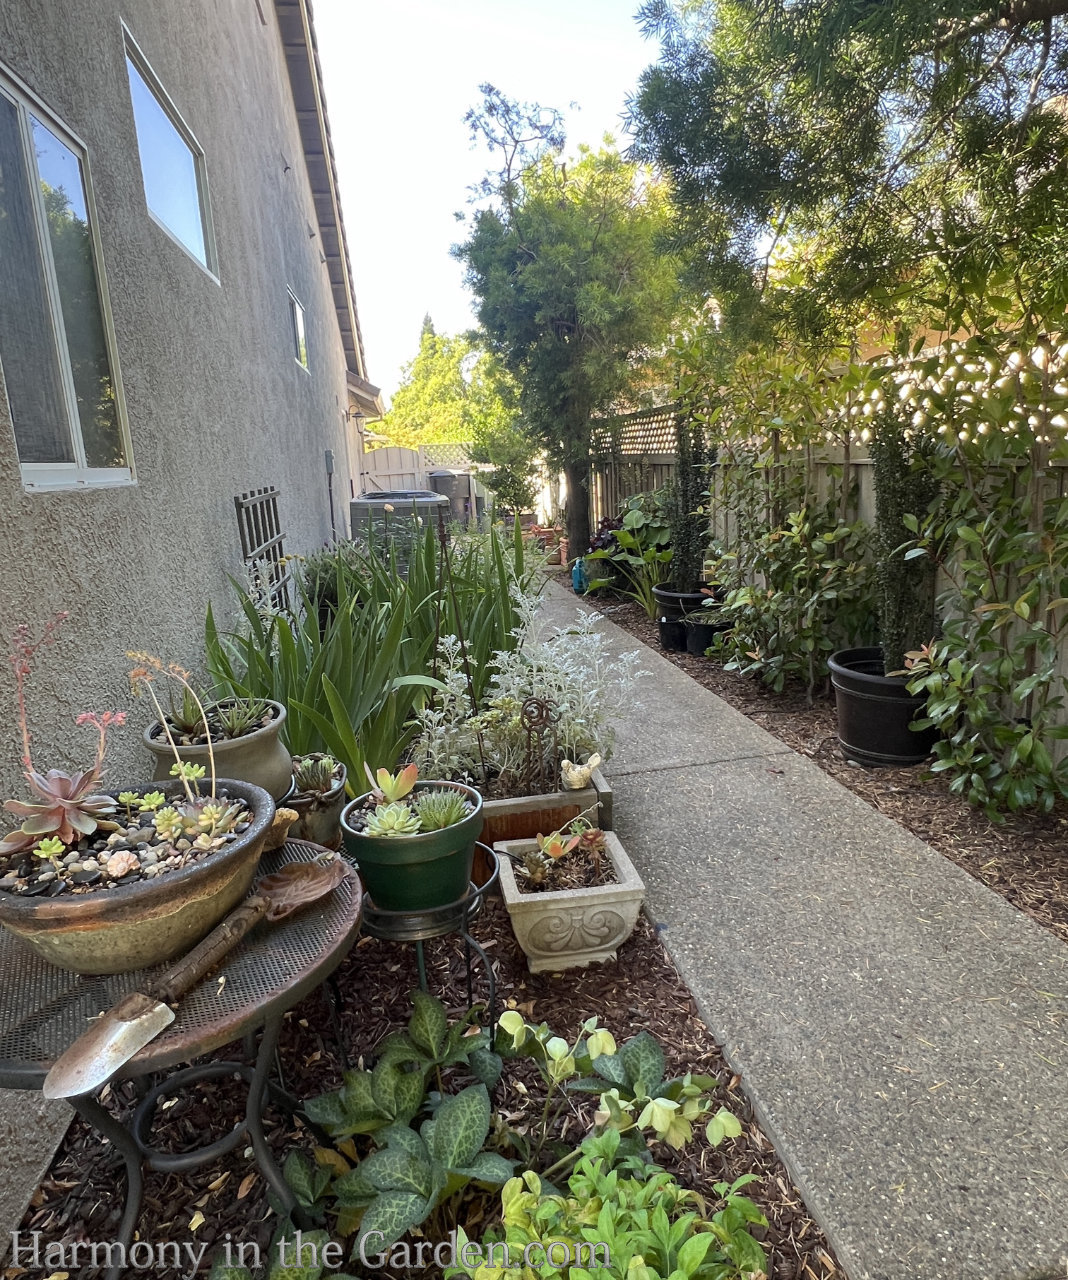
5. Side Yard Transformation
When you’re working with a small garden, every inch matters, especially those often-overlooked side yards.
These areas are typically reserved for purely practical needs – tucking away garbage cans, housing the A/C unit, or serving as a pass-through.
And, since most side yard dimensions are narrow (usually ranging between 7-9 feet) it can be difficult to have them be both functional and beautiful.
However, with a bit of creativity and thoughtful design, they can also become a charming extension of the garden rather than a forgotten leftover space.
Take a look to see how my mother has transformed her side yard:
Tall & Skinny Tables
With the notoriously narrow dimensions of typical side yards, using tables and plant stands of varying heights is a fantastic way to add height and interest.
Additionally, personal mementos and small displays can be better appreciated up close in these compact spaces.
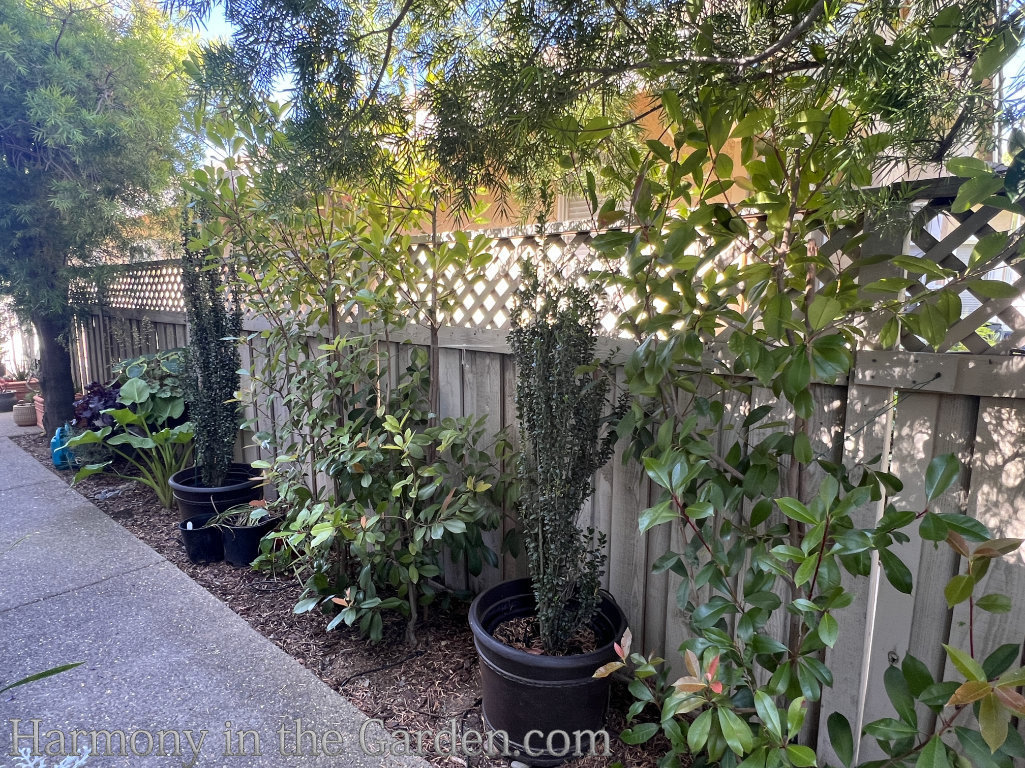
Tall & Skinny Plants
With little room to plant in-ground, lightweight resin containers are the ideal solution for incorporating evergreen shrubs such as the tall, narrow Ilex ‘Sky Pencil’ holly.
Their upright form adds much-needed vertical structure without taking up valuable space, while the lightweight containers allow for flexibility in placement and easier long-term maintenance.
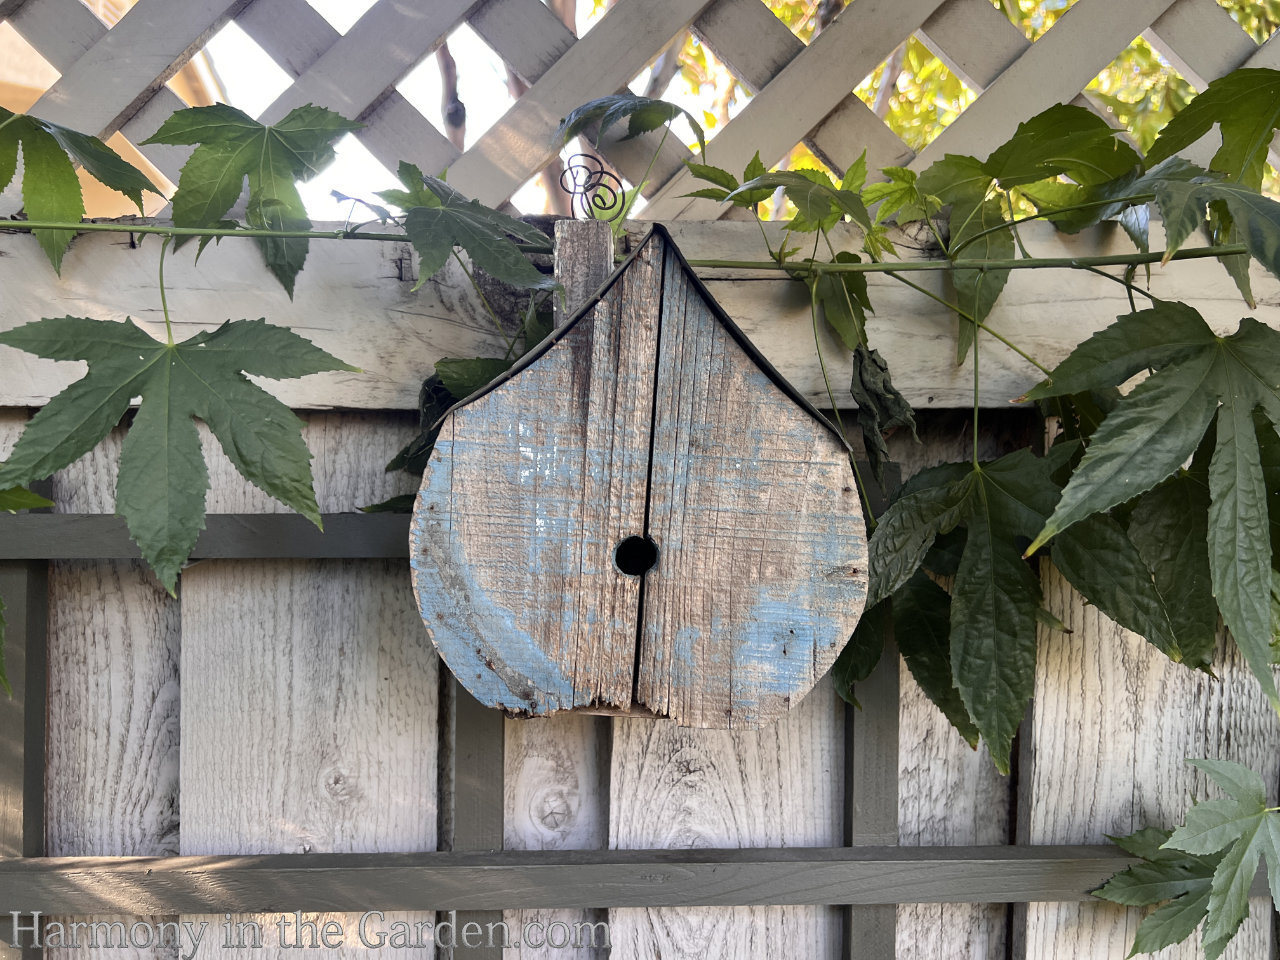
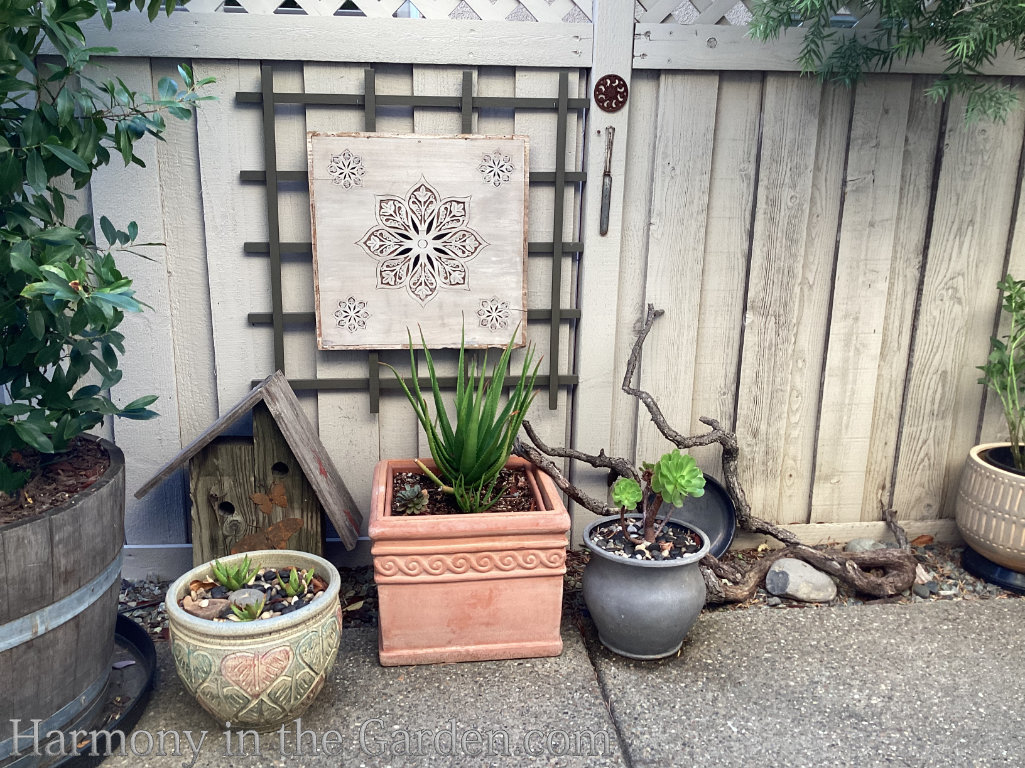
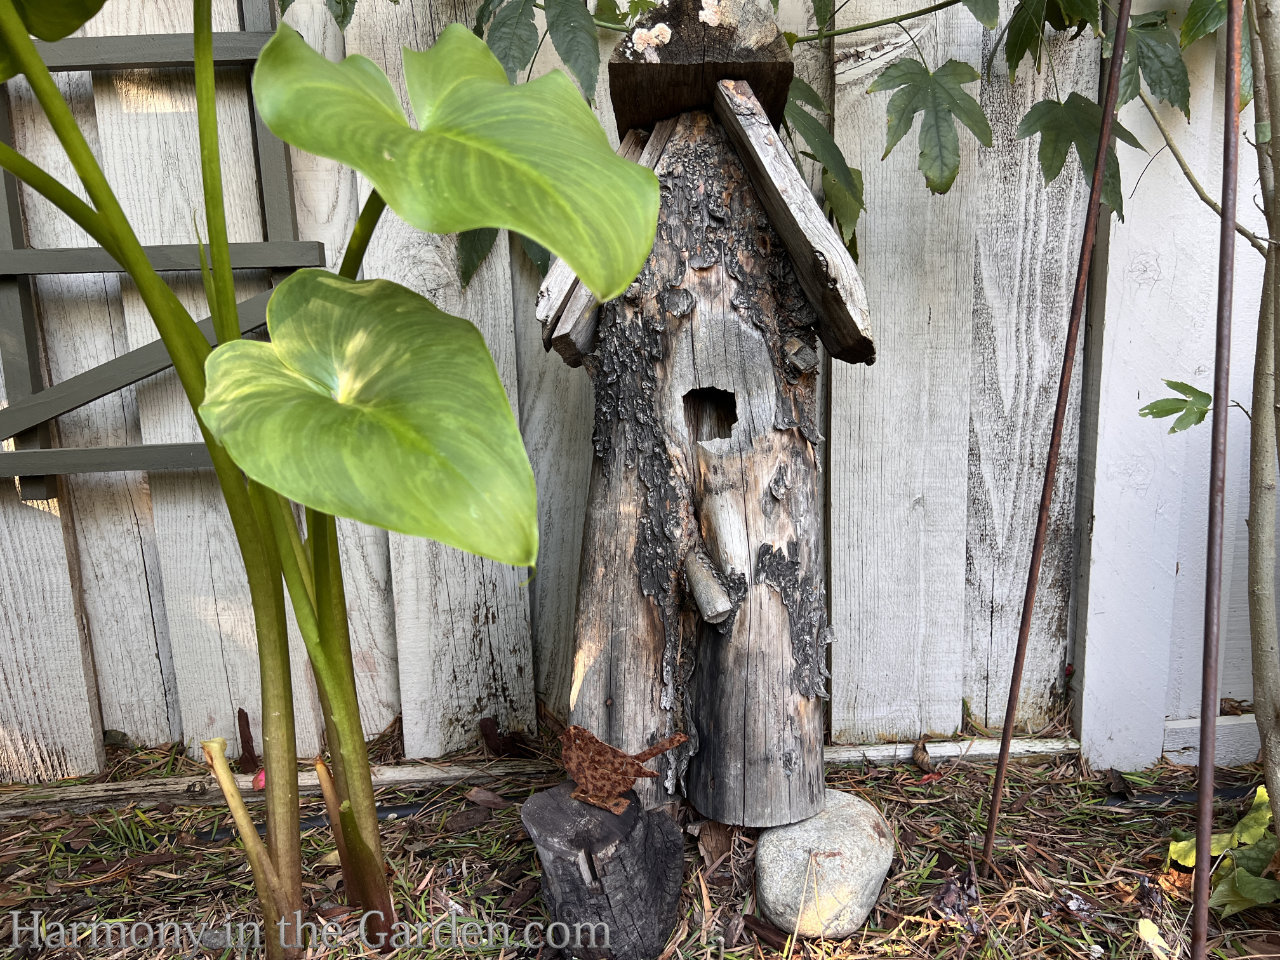
Take Advantage of Vertical Spaces
In one of the most popular chapters in my first book, Garden Up, I discuss how to transform vertical spaces into areas for personal mementos.
My mother has done just that, using her fence as a backdrop for her collection of decorative birdhouses and other creative displays.
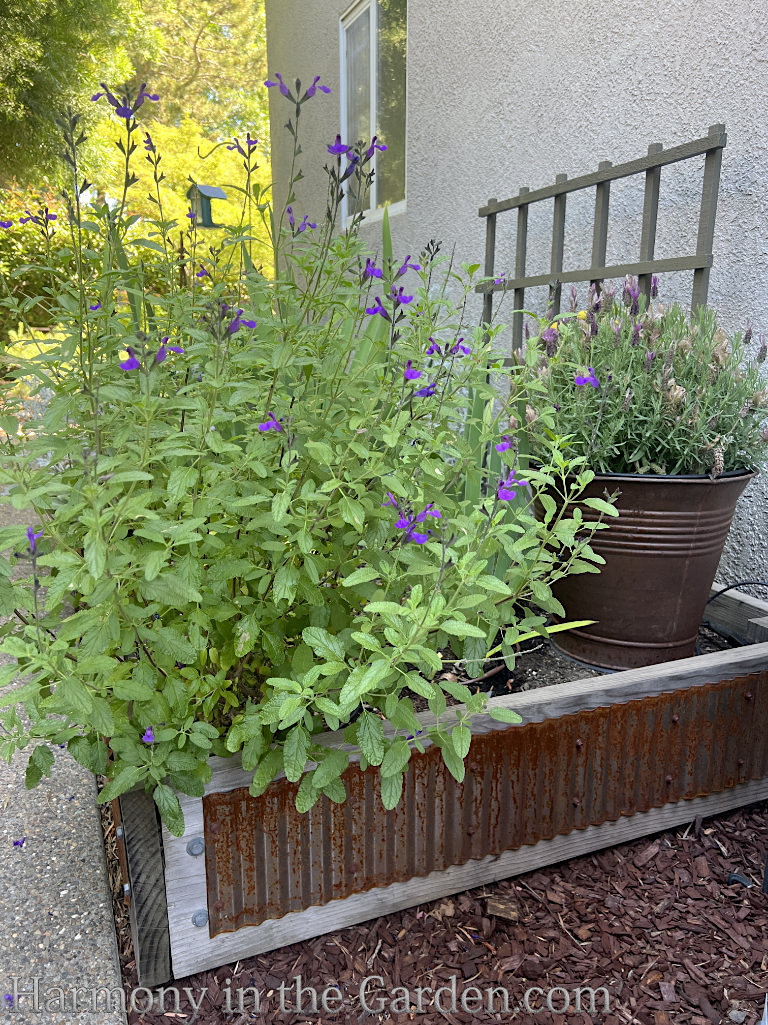
Perennial salvias and small lavenders mix with annuals
Raised Beds
Raised beds are yet another way to add height and interest, while also making in-ground planting easier.
Taking it one step further, my mother also used leftover scraps of the Dakota Tin (as mentioned above) to add visual interest to the sides of the bed.
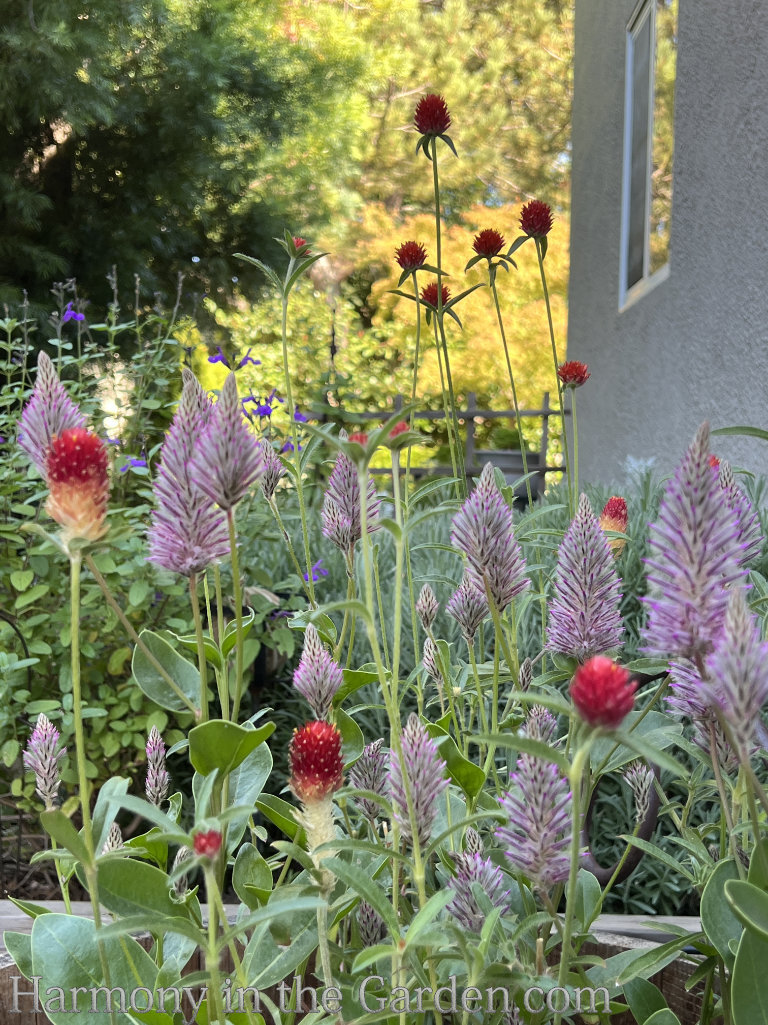
Tall and narrow Ptilotus 'Just Joey' and red Gomphrena bloom the entire summer.
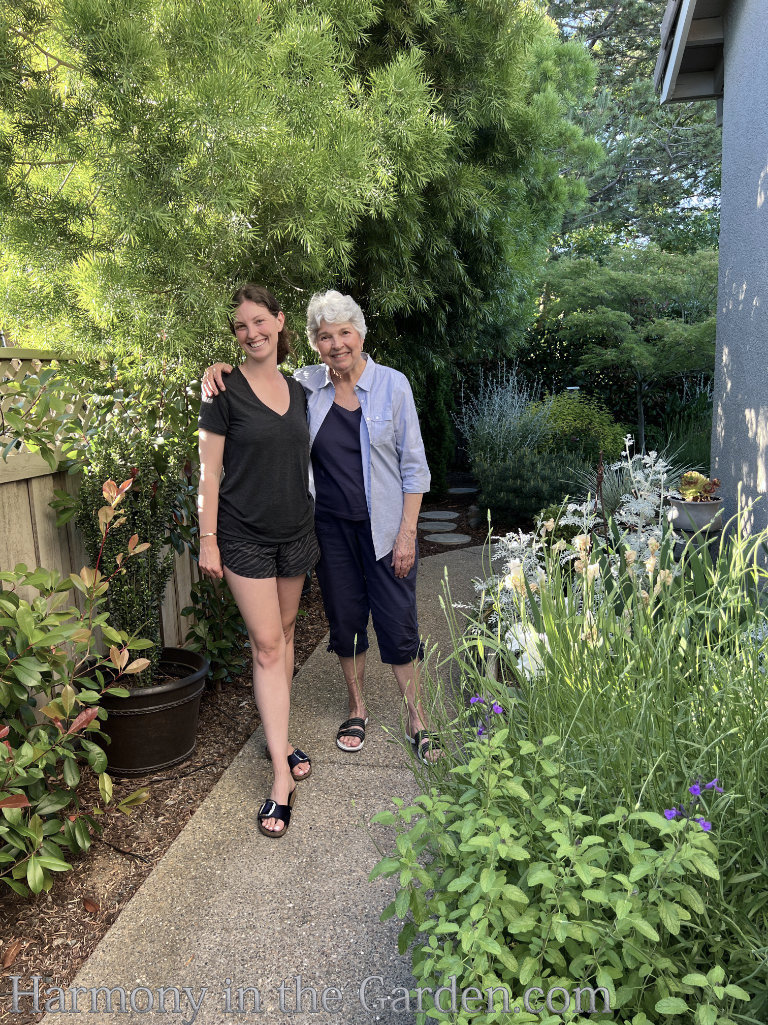
My Mom and daughter - proof that even side yards can hold meaningful moments.
I hope you’ve enjoyed this tour of my mother’s small HOA garden transformation!
And, as promised here’s a few bonus ideas for small spaces:
Click here for a very special HOA garden that’s even smaller than my mother’s.
Click here for one of my favorite side yard transformations,(it’s also the #1 read post on my entire blog!)
And finally, here are a few photos I took last fall while visiting the garden of Kathy P., very talented gardener who I met one of the Tanner Experience weekends we held in Napa.
Kathy also downsized to a much smaller garden in the middle of busy Sacramento.
And while she doesn’t live in an HOA community, the personality she’s been able to infuse into a tiny space is stunning.
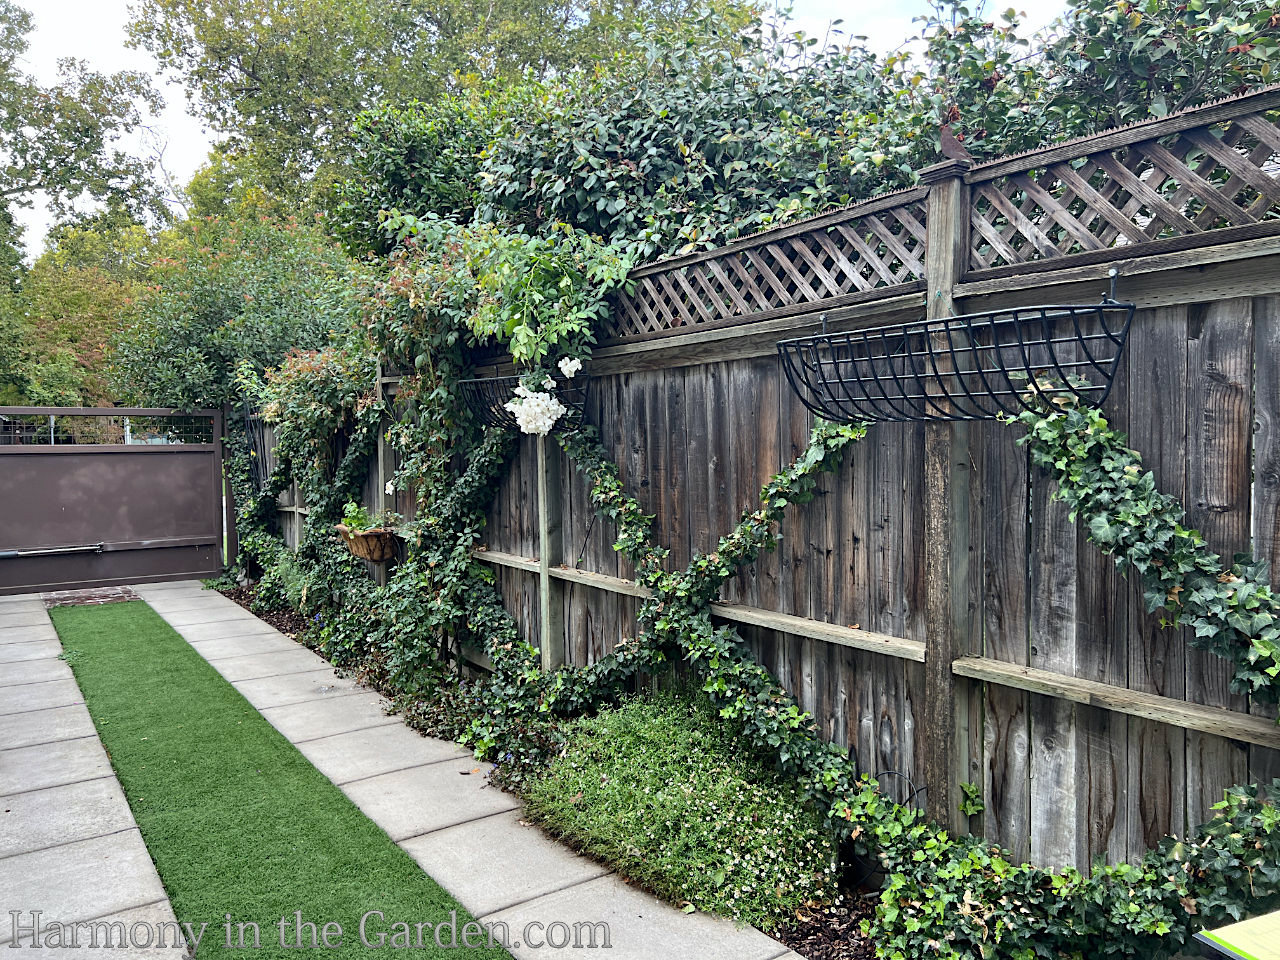
Just look how she’s transformed a boring driveway strip into a lush garden area – I can only imagine how glorious it is when the ‘Sally Holmes’ roses are blooming!
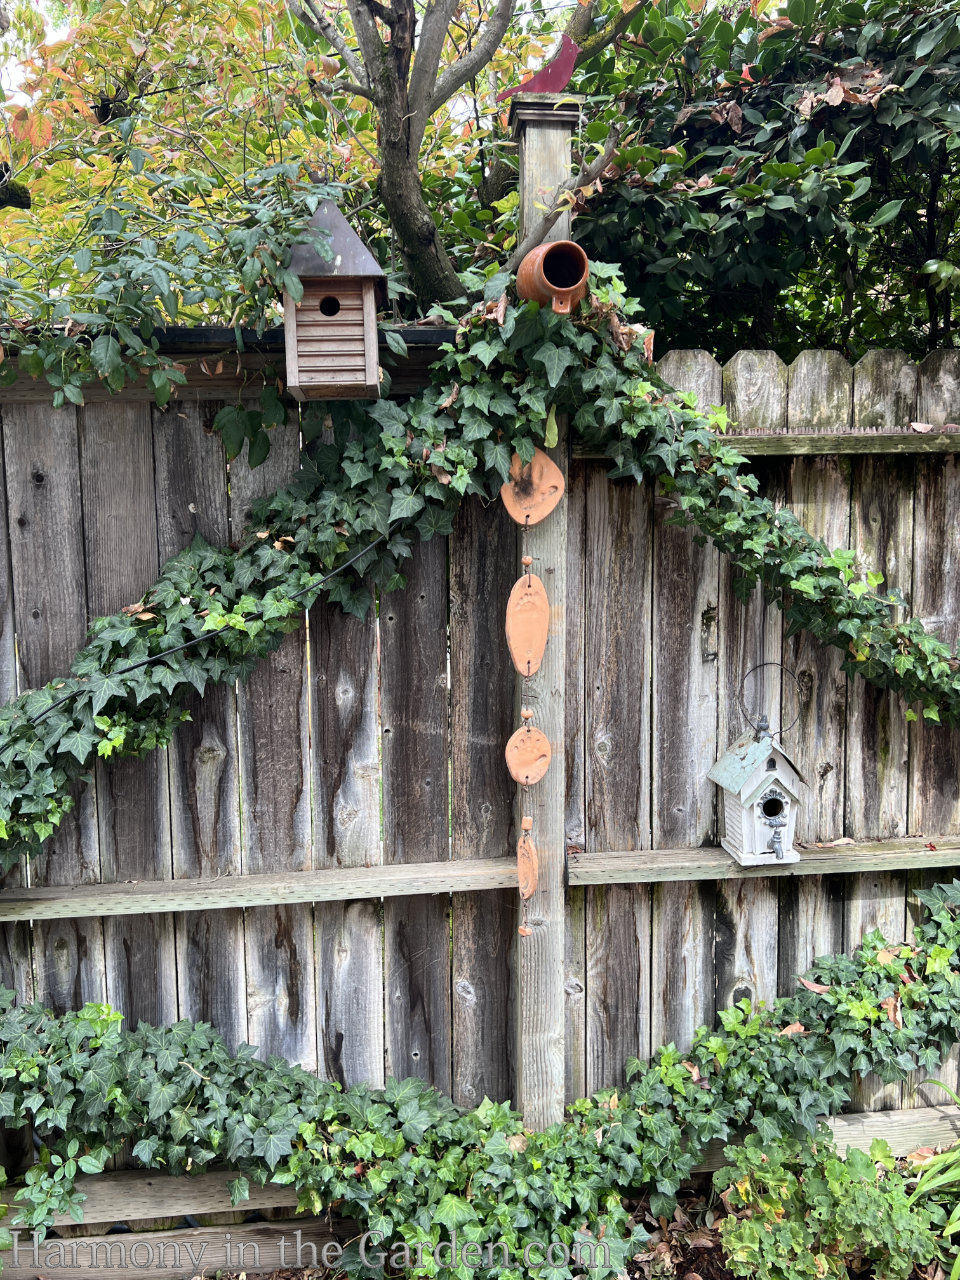
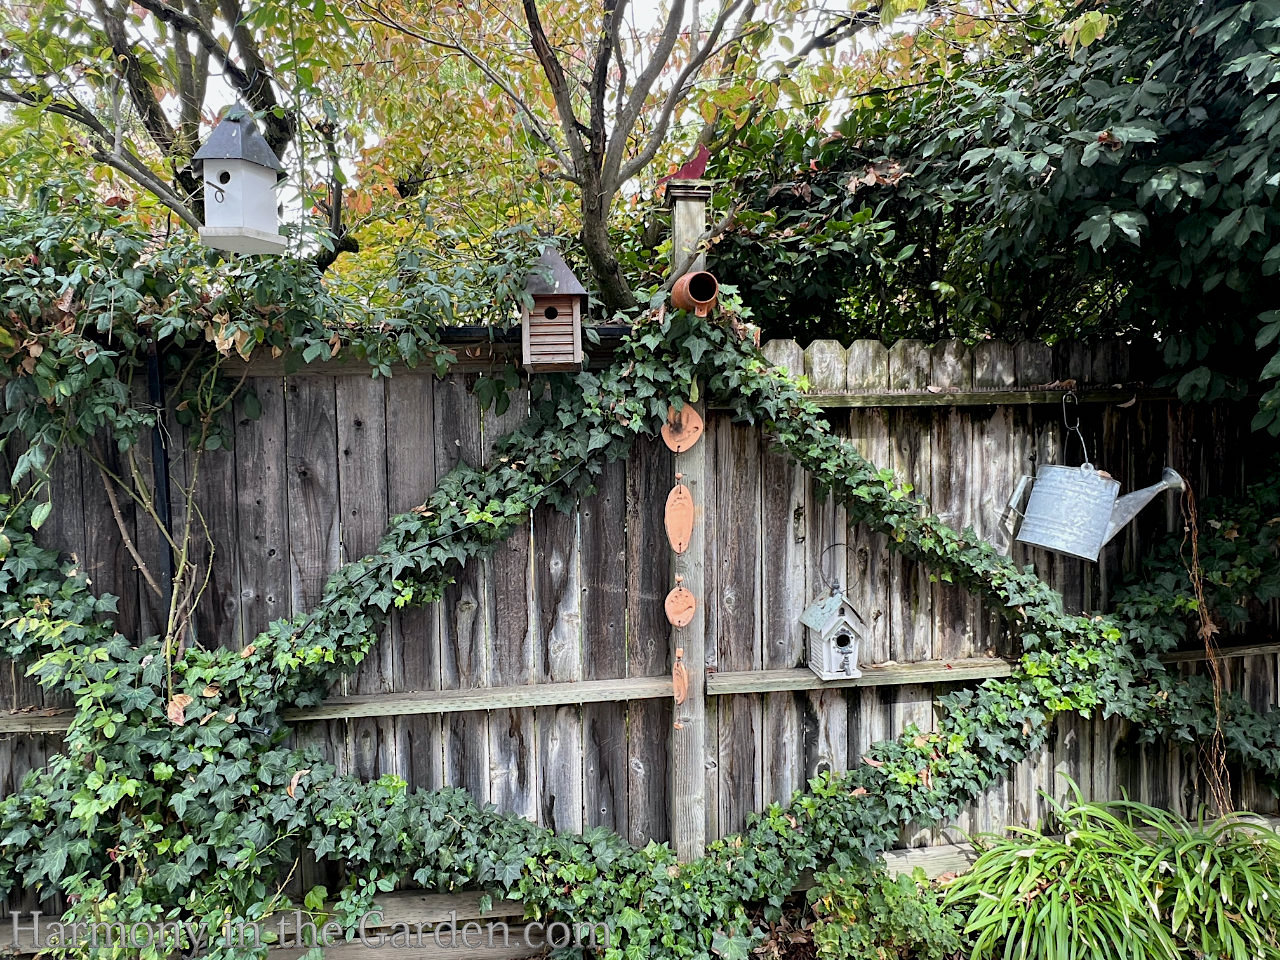
Towards the end of the narrow driveway, she has used her fence as a canvas to display various birdhouses, wind chimes, and artwork.
Click here to see how I also transformed my previous side yard, taking advantage of my very long fence.
Demonstrating just how easy it is to pull down the shade when needed to prevent summer leaf scorch.
One of the problems confronting Kathy’s new garden, was how to protect certain plants from the blistering afternoon summer sun.
In particular, the foliage of her espaliered ivy which would get scorched each summer.
It was so nice to visit her garden to see her solution – a discreet roll down shade that tucks under the eaves when not in use, but easily rolls down on hot summer afternoons.
Genius!
Enjoyed this article? Please share it with others:
I love this garden your Mom has created. It has many good ideas I can use in my larger garden in Los Altos. I made a note of the plants you mentioned by name such as Callistemon ‘Little John’. Do you know if this plant is available in the Bay Area?
Can you recommend a web site for looking up plant descriptions?
And do you have grower/nursery web sites you use and would recommend?
I love your newsletters and the beautiful pictures.
Hi Christine and I’m so glad to hear you’re enjoying my blog, thank you! I’ve planted ‘Little John’ for years in the Bay Area and it’s quite common now so you shouldn’t have any problems finding it. My favorite wholesaler is https://capitolwholesalenursery.net/ (ask for Robert or Gayle) and they have fantastic classes, too. I use lots of different sites for info, such as https://www.smgrowers.com/products/plants/alphabetical.asp and https://calscape.org/ – best of luck with your garden!
Rebecca,
I enjoy reading your blog posts so much. You share so much in the way of photos, information and so many great ideas. I can see your mother is a talented artist also, just beautiful . Thank you again for all your expertise. You are one of a kind.
Hello Rossie and thanks for the kind words! Her previous garden was absolutely amazing, I wish you could’ve seen it. She’s definitely talented. I hope you’re having a fantastic summer (seems so crazy to say that since it’s been so cold here!) Happy Gardening 🙂
This blog came at a perfect time for me. We may have to do a complete transformation in our front yard landscape for our home in Sun City Lincoln Hills.
Well, I see where you get a lot of your design talent! Your mom is a very talented and resourceful lady! Such wonderful photos of her ideas!
Thank you also for the links to other garden ideas, such as the trellises. I’ve been trying to decide on a narrow trellis to go over my 3-bin compost bin/potting area to screen a view and provide a space for a climbing English rose/with a native vine. I especially like the narrow trellis that you built (and later painted black). I’d like to ask how the 2×2 top pieces were attached (in one photo, they are clamped). Were they toe-nailed or attached with deck screws?
Two comments that I hope will be widely shared is in regard to the use of the old window in the garden. Like mirrors in a garden, these are exceedingly dangerous to birds. They can be made safe with the use of appropriately spaced decals (see Feather Friendly’s website for specifics), or use of a template to apply appropriately
spaced dots, using an oil-based paint pen, or in the case of the window, by simply removing the glass panes and keeping the frame in place.
For bird houses, they need to be cleaned out after each nest (birds may use the same box for a second brood right after the first), and the boxes need to be placed where predators cannot easily get into the box (rats, raccoons, squirrels, other birds). It’s best to hang them from a tree brancd using a sturdy hook or use a predator guard at the opening for tbose attatched directly to a fence or tree trunk to minimize danger. Don’t ever use a perch either. Makes it easy for a corvid (i.e. Jay) or an invasive species like the Europen House Sparrow to get to the occupants.
Hello Ronnie and thanks so much for the compliments and for the great comments re: mirrors and cleaning birdhouses. I’m hoping to update my birds post and will mention your thoughts in the update (not sure when, but it’s on my list!) I’m sure I’m not the only one who appreciate the heads-up. Re: the narrow trellis, my husband said he attached the top pieces with deck screws. I loved those trellises and hope yours turn out as nice – they’re a fantastic solution for a skinny space. Best of luck with your compost area!
Thanks so much for the info on the trellis construction!
If you need further info on selection, placement and maintenance of bird houses, I’m glad to help. I’m on the board of the California Bluebird Recovery Program and serve as a County Coordinator for volunteer seasonal nest box monitors. There’s a lot of great information on our website. Please take a look when you have a spare moment or two!
Thanks very much, I appreciate the info Ronnie!
I’ve been reading garden blogs for years and just found yours — one of the best I’ve encountered for ideas, complete with beautiful visuals of what you are explaining. I don’t have your forgiving climate (I’m at 7,000 feet in the southern Rockies, so lots of constraints) but I can use your design concepts — layering, combinations, shapes and forms and use of hardscape and decor items — to figure out how to adapt my dry loving cold hardy smaller plants to your beautiful photo inspirations.
I especially like your articles on small gardens since I’m working with a very small enclosed courtyard area. So glad I found your blog!
Hello Laurie and thank you for such a thoughtful comment on my blog – I’m so glad you’re enjoying it. You’re absolutely right in that even though we live in different zones, the design concepts are similar and hopefully they’ll give you a bit of inspiration with plants that do well in your climate. Our family garden is in Zone 6 Lake Tahoe, where gardening isn’t quite as forgiving as it is here in zone 9 (ha – understatement!) with the crushing snowfall and the neighborhood snowplow being the main culprits (that, and our dry, rocky soil and hordes of voles and chipmunks that devour the plants.) I wish you the best of luck with your garden!


18 Comments
I love this garden your Mom has created. It has many good ideas I can use in my larger garden in Los Altos. I made a note of the plants you mentioned by name such as Callistemon ‘Little John’. Do you know if this plant is available in the Bay Area?
Can you recommend a web site for looking up plant descriptions?
And do you have grower/nursery web sites you use and would recommend?
I love your newsletters and the beautiful pictures.
Hi Christine and I’m so glad to hear you’re enjoying my blog, thank you! I’ve planted ‘Little John’ for years in the Bay Area and it’s quite common now so you shouldn’t have any problems finding it. My favorite wholesaler is https://capitolwholesalenursery.net/ (ask for Robert or Gayle) and they have fantastic classes, too. I use lots of different sites for info, such as https://www.smgrowers.com/products/plants/alphabetical.asp and https://calscape.org/ – best of luck with your garden!
As usual, I’m late to the party and as usual, your post is full of inspiration! Thanks for sharing all the beauty and good ideas!
Hello Barbara – so nice to see your name (whether late or not!) – happy new year!
Rebecca,
I enjoy reading your blog posts so much. You share so much in the way of photos, information and so many great ideas. I can see your mother is a talented artist also, just beautiful . Thank you again for all your expertise. You are one of a kind.
Diane
Thank you, Diane, it’s nice to hear from you and I so appreciate your kind words. 🙂
Absolutely gorgeous! No wonder you are one of the best! Like mother like daughter (Ha,HA). Thank you for sharing it with us
Hello Rossie and thanks for the kind words! Her previous garden was absolutely amazing, I wish you could’ve seen it. She’s definitely talented. I hope you’re having a fantastic summer (seems so crazy to say that since it’s been so cold here!) Happy Gardening 🙂
This blog came at a perfect time for me. We may have to do a complete transformation in our front yard landscape for our home in Sun City Lincoln Hills.
Fantastic, Judy, I hope it helps and best of luck with your garden’s transformation!
Well, I see where you get a lot of your design talent! Your mom is a very talented and resourceful lady! Such wonderful photos of her ideas!
Thank you also for the links to other garden ideas, such as the trellises. I’ve been trying to decide on a narrow trellis to go over my 3-bin compost bin/potting area to screen a view and provide a space for a climbing English rose/with a native vine. I especially like the narrow trellis that you built (and later painted black). I’d like to ask how the 2×2 top pieces were attached (in one photo, they are clamped). Were they toe-nailed or attached with deck screws?
Two comments that I hope will be widely shared is in regard to the use of the old window in the garden. Like mirrors in a garden, these are exceedingly dangerous to birds. They can be made safe with the use of appropriately spaced decals (see Feather Friendly’s website for specifics), or use of a template to apply appropriately
spaced dots, using an oil-based paint pen, or in the case of the window, by simply removing the glass panes and keeping the frame in place.
For bird houses, they need to be cleaned out after each nest (birds may use the same box for a second brood right after the first), and the boxes need to be placed where predators cannot easily get into the box (rats, raccoons, squirrels, other birds). It’s best to hang them from a tree brancd using a sturdy hook or use a predator guard at the opening for tbose attatched directly to a fence or tree trunk to minimize danger. Don’t ever use a perch either. Makes it easy for a corvid (i.e. Jay) or an invasive species like the Europen House Sparrow to get to the occupants.
Thank you!!
Hello Ronnie and thanks so much for the compliments and for the great comments re: mirrors and cleaning birdhouses. I’m hoping to update my birds post and will mention your thoughts in the update (not sure when, but it’s on my list!) I’m sure I’m not the only one who appreciate the heads-up. Re: the narrow trellis, my husband said he attached the top pieces with deck screws. I loved those trellises and hope yours turn out as nice – they’re a fantastic solution for a skinny space. Best of luck with your compost area!
Thanks so much for the info on the trellis construction!
If you need further info on selection, placement and maintenance of bird houses, I’m glad to help. I’m on the board of the California Bluebird Recovery Program and serve as a County Coordinator for volunteer seasonal nest box monitors. There’s a lot of great information on our website. Please take a look when you have a spare moment or two!
Thanks very much, I appreciate the info Ronnie!
I’ve been reading garden blogs for years and just found yours — one of the best I’ve encountered for ideas, complete with beautiful visuals of what you are explaining. I don’t have your forgiving climate (I’m at 7,000 feet in the southern Rockies, so lots of constraints) but I can use your design concepts — layering, combinations, shapes and forms and use of hardscape and decor items — to figure out how to adapt my dry loving cold hardy smaller plants to your beautiful photo inspirations.
I especially like your articles on small gardens since I’m working with a very small enclosed courtyard area. So glad I found your blog!
Hello Laurie and thank you for such a thoughtful comment on my blog – I’m so glad you’re enjoying it. You’re absolutely right in that even though we live in different zones, the design concepts are similar and hopefully they’ll give you a bit of inspiration with plants that do well in your climate. Our family garden is in Zone 6 Lake Tahoe, where gardening isn’t quite as forgiving as it is here in zone 9 (ha – understatement!) with the crushing snowfall and the neighborhood snowplow being the main culprits (that, and our dry, rocky soil and hordes of voles and chipmunks that devour the plants.) I wish you the best of luck with your garden!
Gorgeous! Thanks for the share.
Thank you, Doreen, I’m so glad you enjoyed it!