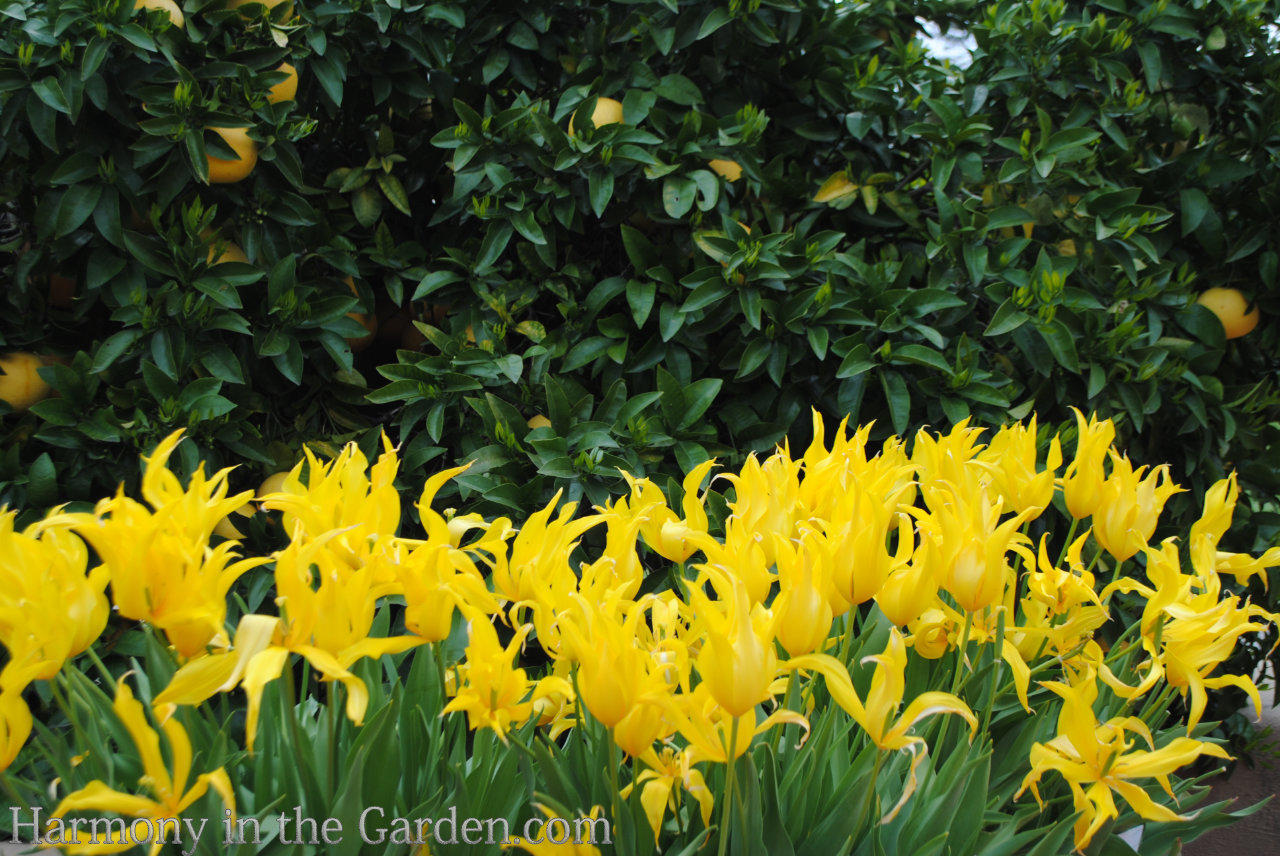
Growing tulips in warm climates can certainly be done; it just takes a little extra work in the form of pre-chilling the bulbs (but boy, is it worth it!)
Fall seems to be the time of year new clients tell me they want loads of tulips planted in their new garden beds to enjoy for years to come.
They hand me catalogs filled with earmarked pages of their favorite tulips: frilly parrots, fancy long-stemmed varieties, or carefully curated color palettes to strategically place throughout their garden.
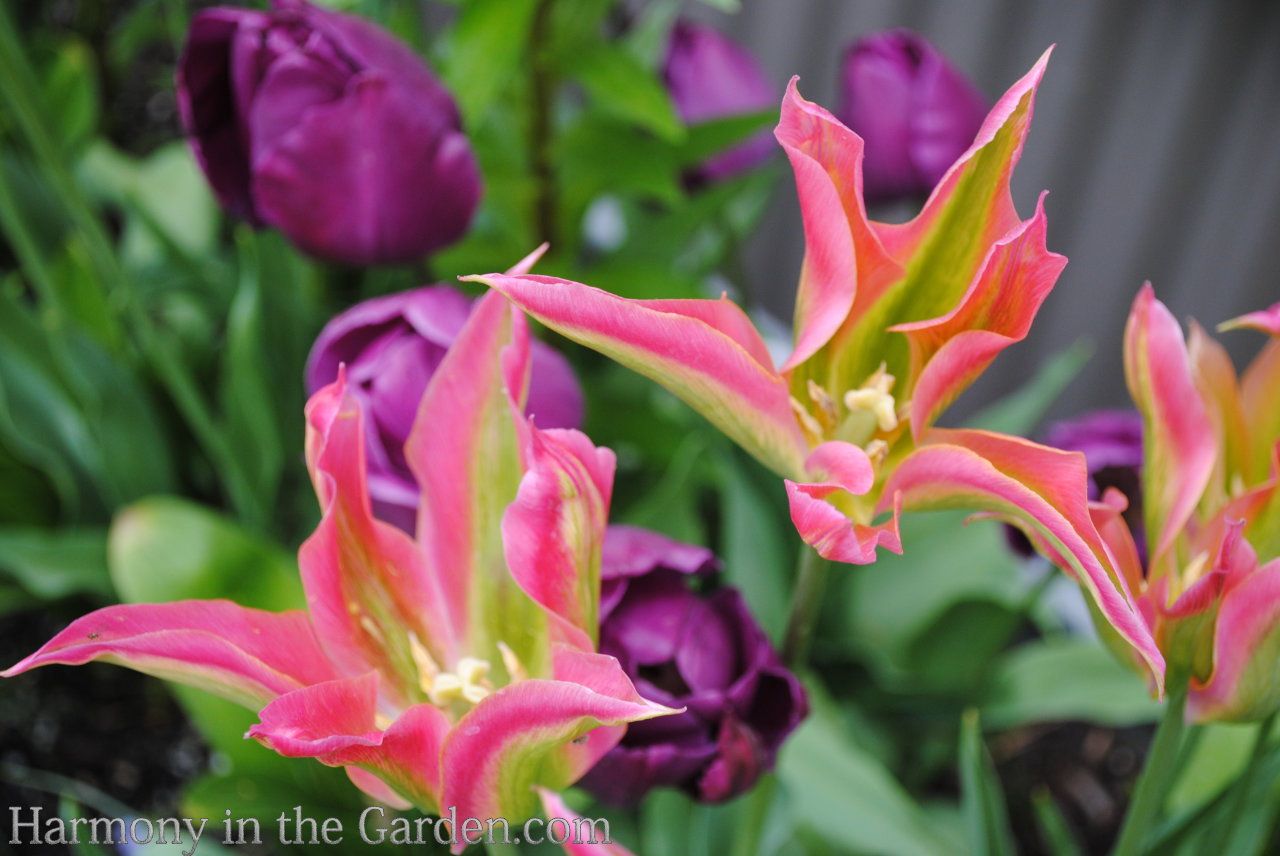
Unfortunately, I have to be the bearer of bad news and inform them that in our zone-9 gardens, these beauties rarely return the following year and are best considered annuals.
And, even so, they’ll still need to be refrigerated for 6-8 weeks before planting.
Once my clients wrap their heads around the steps needed for spring tulip blooms, they’re usually ready to move forward.
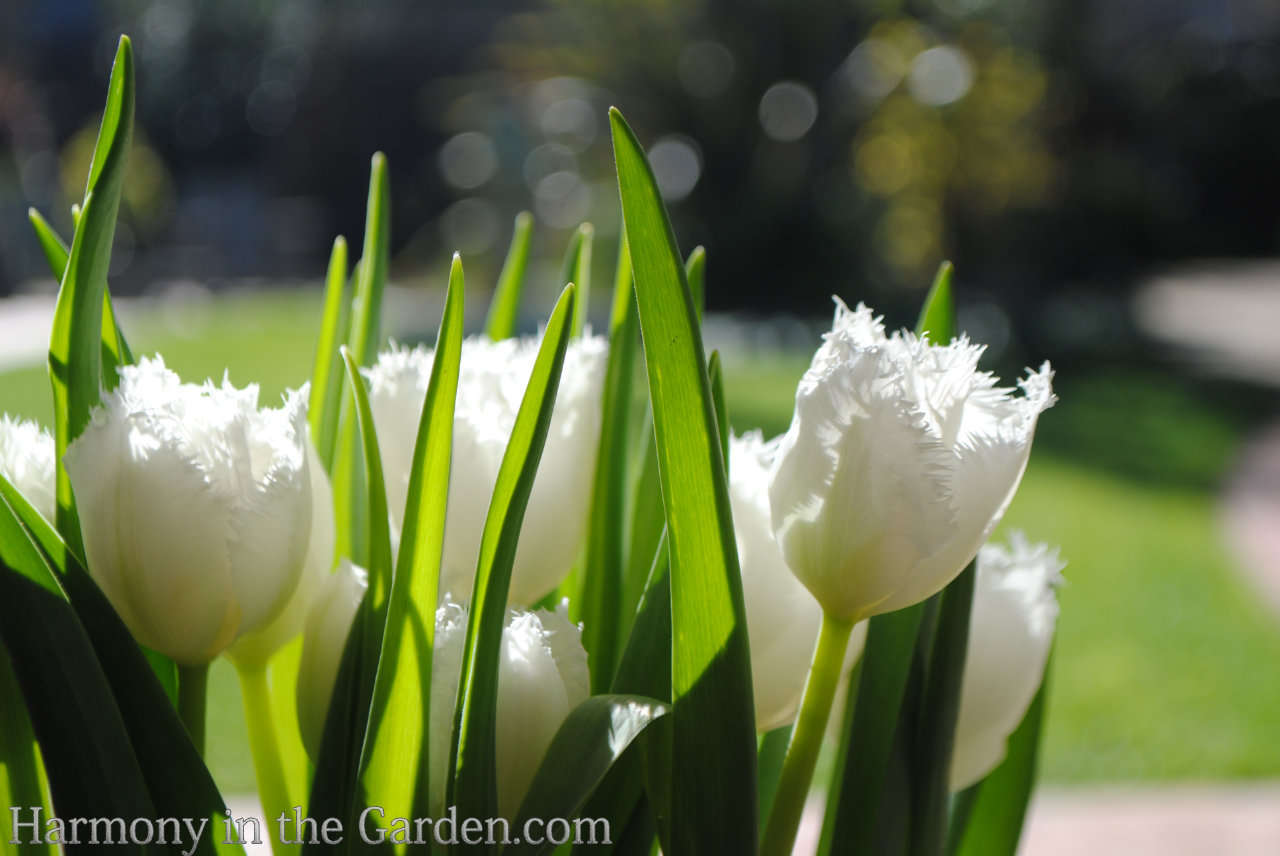
After all, there’s something deeply gratifying about planting a bulb in the winter.
At its core, the simple act of planting a hard, brown little bulb is the ultimate symbol of hope.
It’s a reminder that these cold and dreary days will pass, and spring will soon arrive again.

So, why do we need to chill our bulbs?
For those who garden in California (or other Sun Belt states), we don’t have the winter chill that most tulip bulbs require.
Tulips require 10-12 weeks of consistent soil temperatures of 55 degrees or lower.

Luckily, forcing tulip bulbs into winter dormancy is simple – just place them in the refrigerator for at least 6-8 weeks.
Aim to plant the chilled tulips in January, which gives them plenty of time to grow healthy roots and flower in the spring (before hot summer temperatures arrive, ending the show.)
But here’s the tricky part (and is where using a planting calendar comes in handy!)
You need to buy your bulbs in early fall and have them in the refrigerator by mid-November.
Place your new bulbs in a mesh bag or ventilated brown paper bag, and don’t let them get wet (otherwise, they’ll mildew and won’t bloom.)
The mini-fridge in my garage houses several bulbs for about 8 weeks each year. It took my family a few years to get used to it, but now they expect an entire shelf (or two) to be dedicated to bulbs once fall arrives.
It’s very important you don’t store your bulbs in the same refrigerator as your fruit! Big mistake! Apples and other fruits give off ethylene gas as a natural part of ripening, which is terrible for bulbs.
Note: If you forget to chill them in time (like I often do!) you can also order pre-chilled bulbs from sources like Brent & Becky’s or Tulip World.
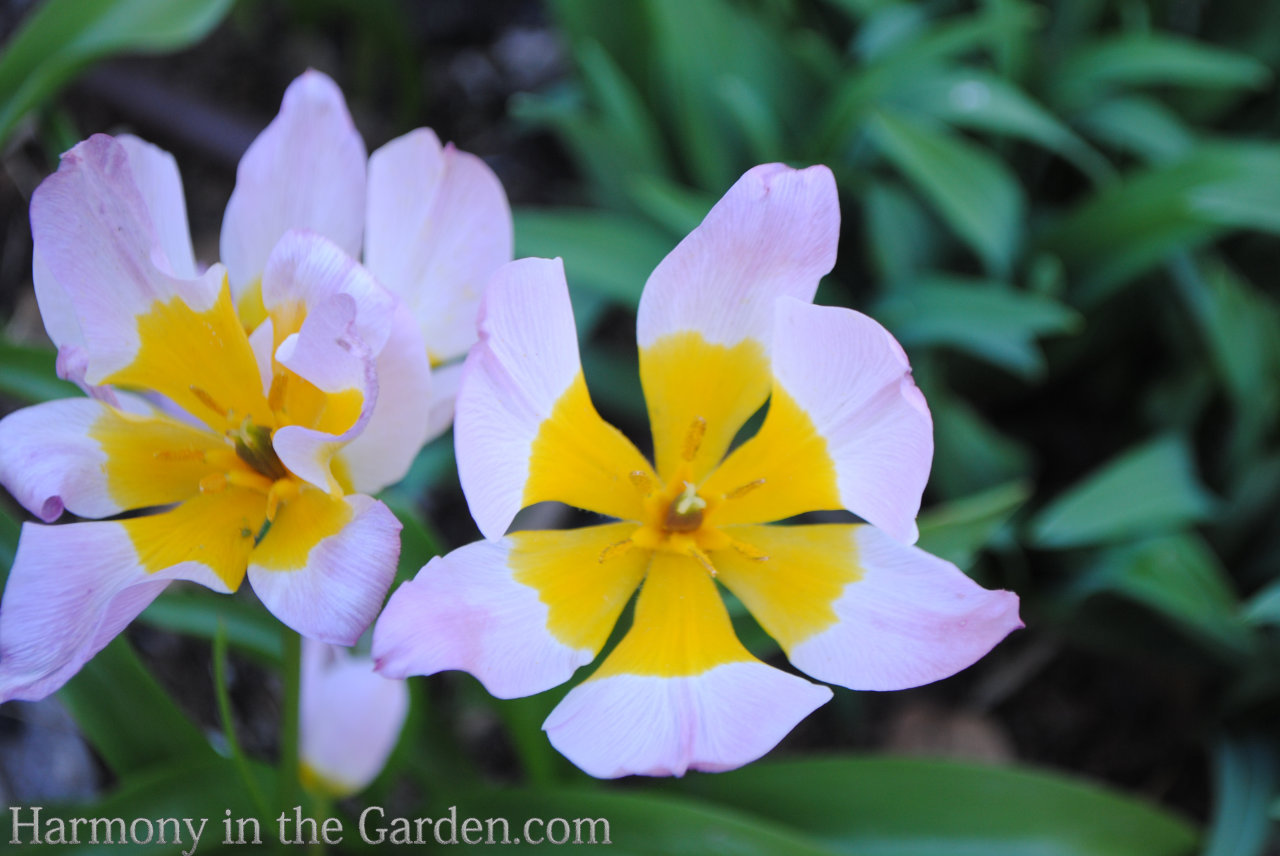
If you live in warmer climates and you don’t want to pre-chill tulips, there are a few species that thrive with no winter chilling!
Warm-climate tulips are T. sylvestris (Florentine Tulips,) T. clusiana (Lady Tulips,) and T. saxatilis (Candia Tulips, photo right, which can be found at John Scheepers.
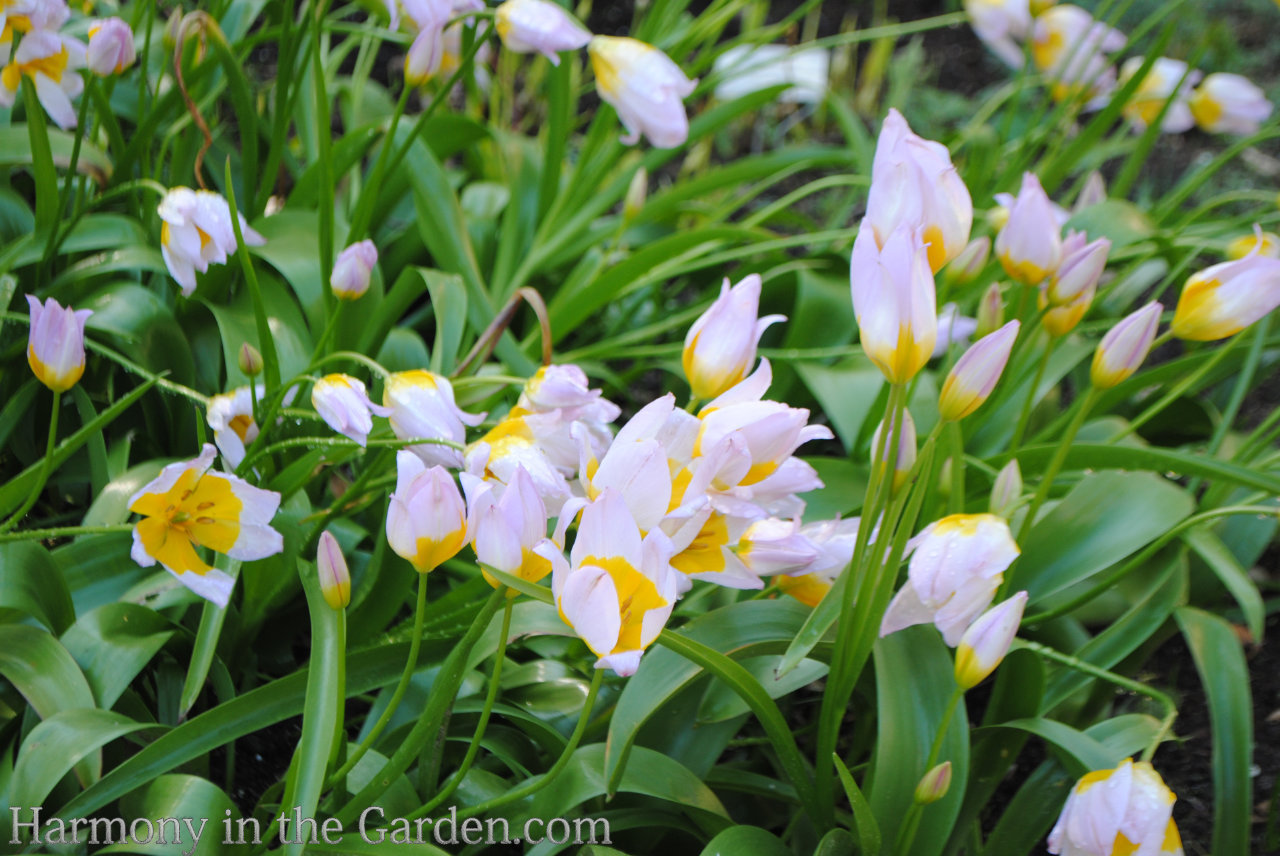
Species tulips aren’t the long-stemmed or the frilly parrot tulips, but are typically much smaller and daintier.
Over time, these tulips will naturalize into charming colonies that welcome spring’s arrival.
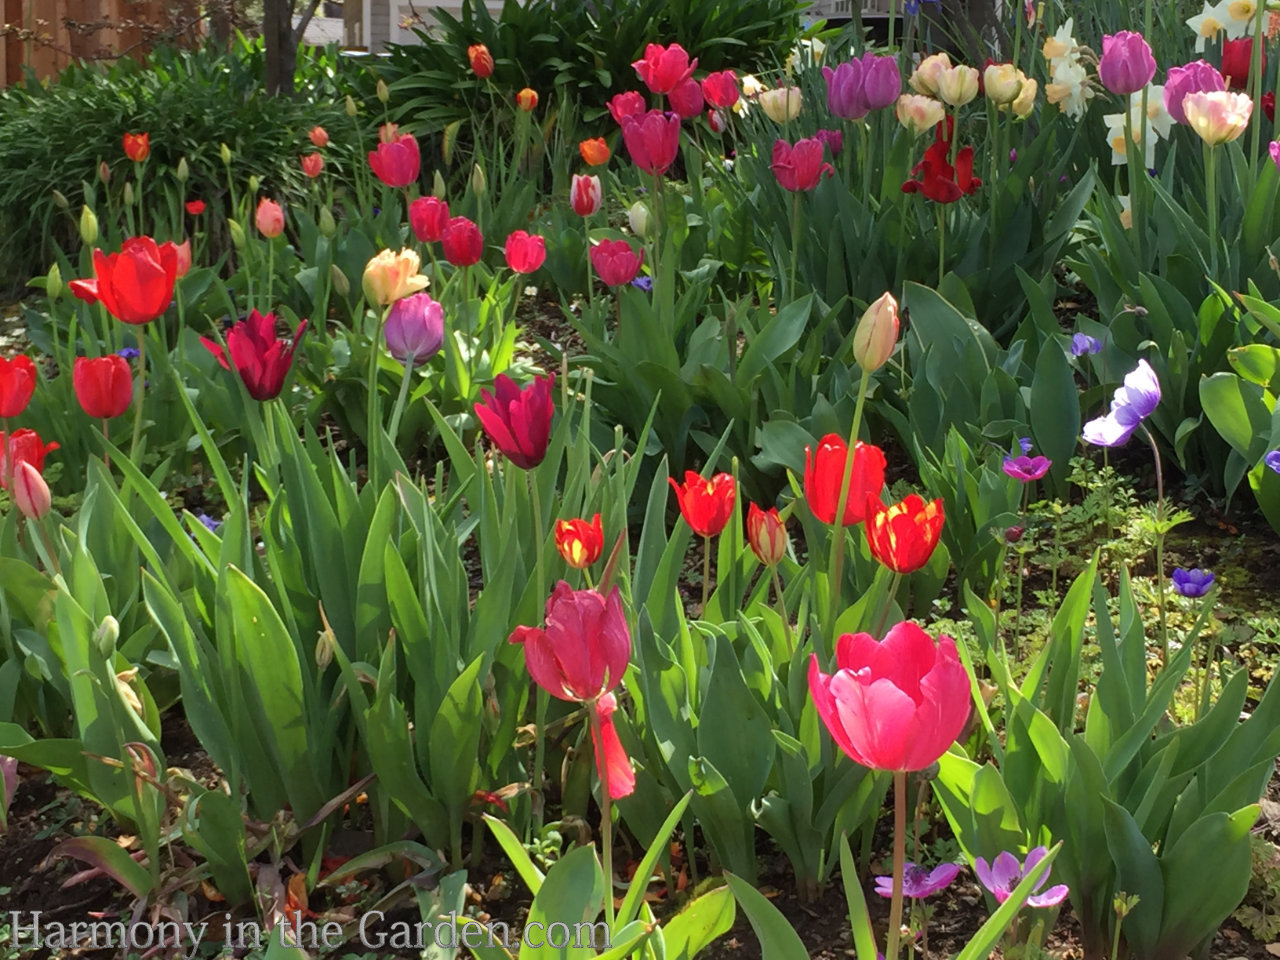
When planting tulips in the ground (and other bulbs, for that matter,) I prefer a natural look, with drifts and groupings that look a bit random.
To achieve this natural look, many gardeners (including myself) throw handfuls of bulbs into their garden beds, and wherever the bulbs land, that’s where they’re planted.
Plant the bulbs 4-6 inches below the soil, with their roots or (or flat basal plates) facing down.
I recommend you amend each hole with a handful of good quality organic bulb fertilizer (click here for one of my favorites.)
Water when finished, and add mulch to retain the soil’s coolness. Throughout the spring, ensure the bulbs receive regular water.
Then, sit back and wait fo the gorgeous blooms to appear!

I recommend planting the bulbs behind a low-growing shrub (or near fast-growing annuals.)
This is because once the flowers are done blooming, you DON’T want to remove the dying foliage.
The leaves need to remain in place, with maximum exposure to the sun to store energy for next year’s growth.
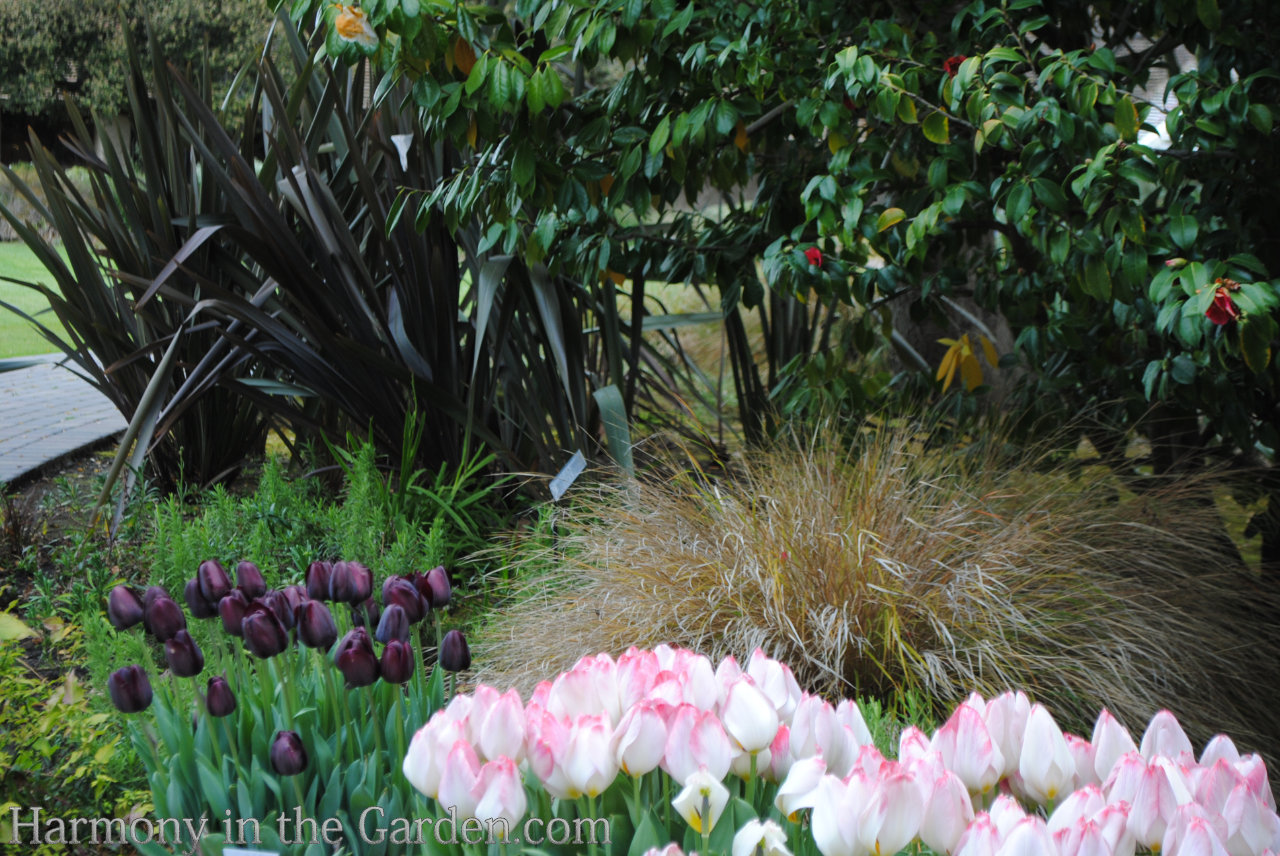
In the example, left, the pink tulips are planted behind drifts of evergreen mondo grass.
Once the flowers are finished and the foliage withers and turns brown, the grass will discreetly hide it from view.
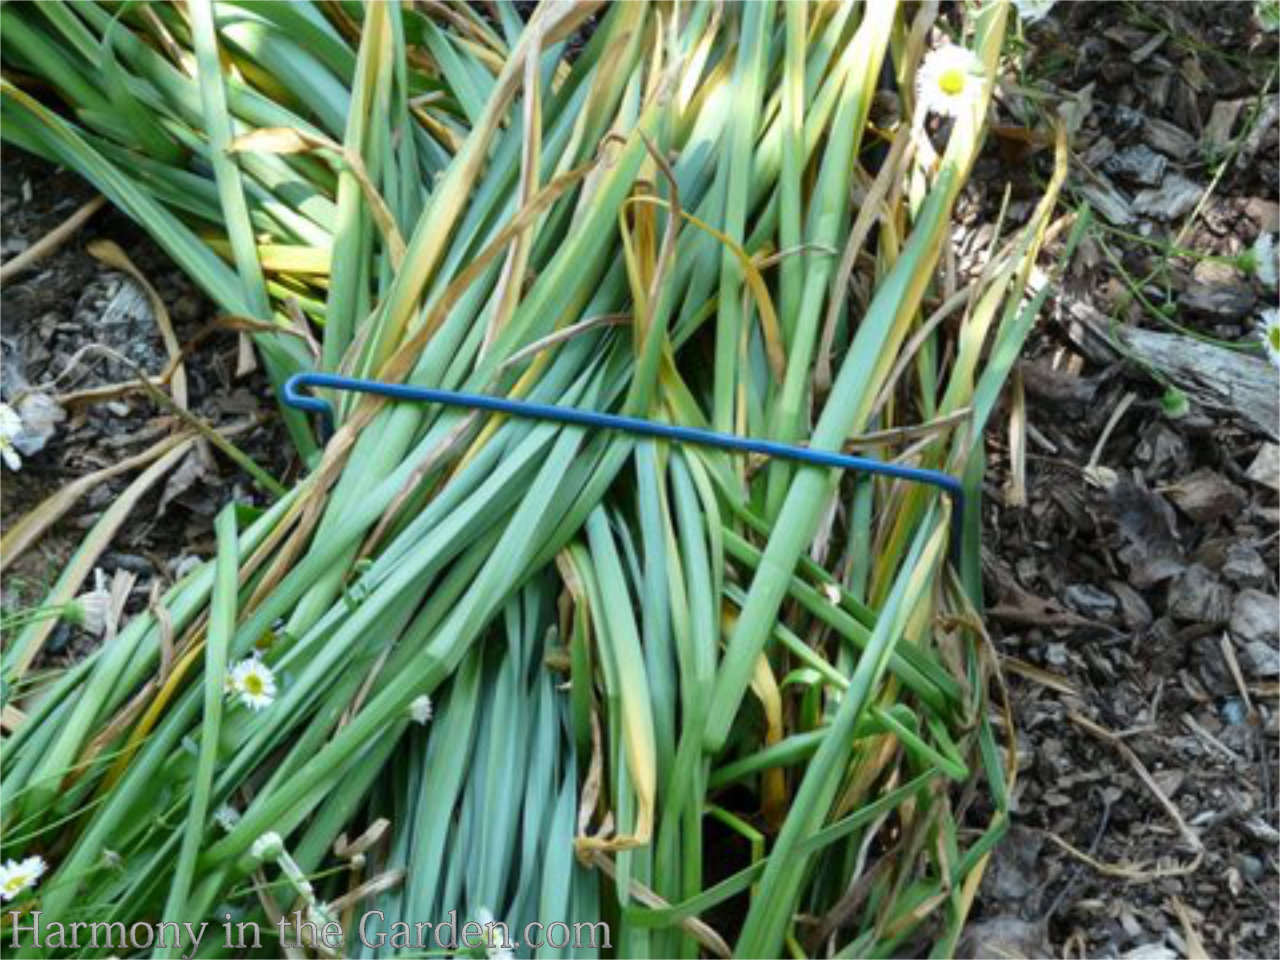
You can also use plant supports to lightly pin the leaves to the ground, which keeps the dying foliage intact (especially in the wind.)
Once the leaves have withered and turned tan, you can gently dig up the bulb and set it in a cool, shady area for the rest of the summer.
Come fall, refrigerate it and start over again! You’ll most likely get another few years’ worth of blooms this way (until the tulip finally gives up the ghost.)

For those clients who think planting tulips in the ground is too much work, I recommend planting the chilled bulbs in a container and setting it to the side for the winter.
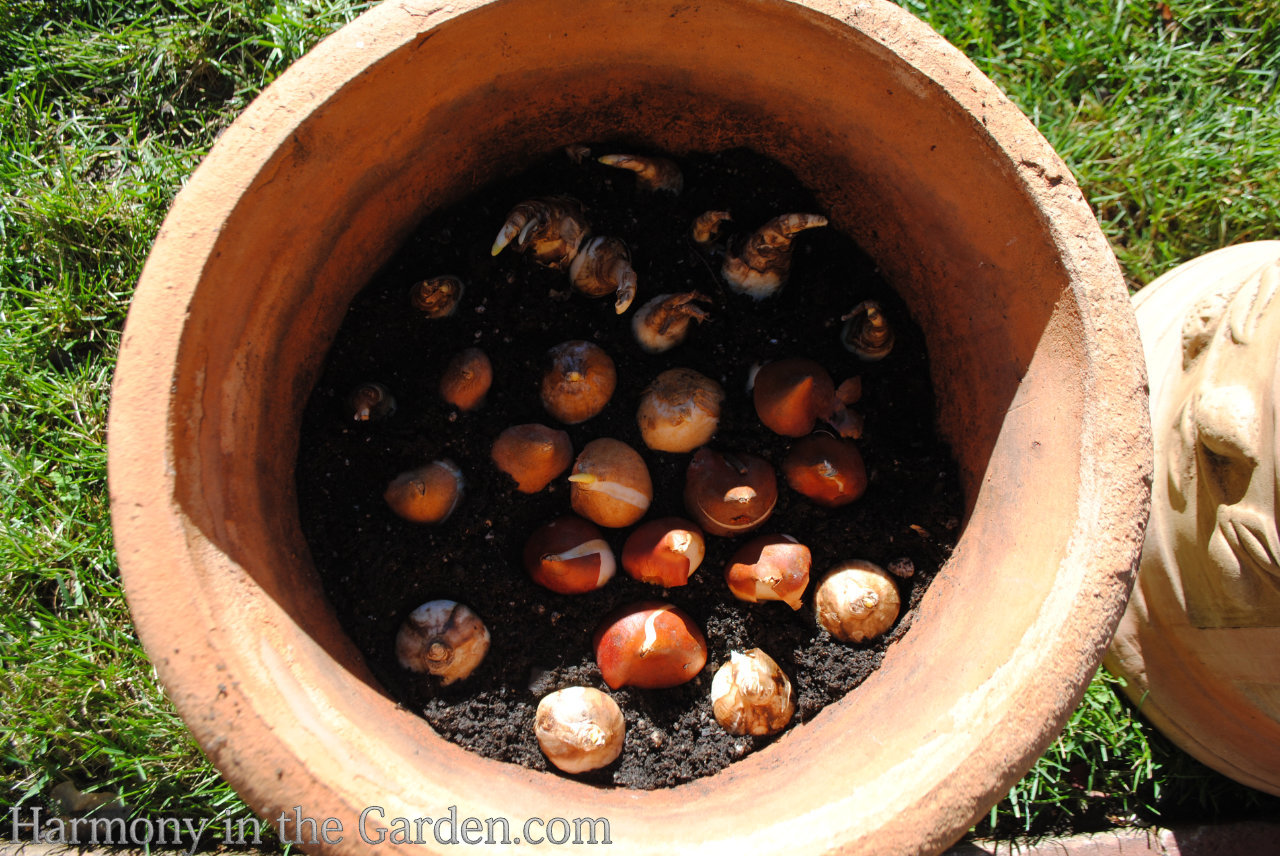
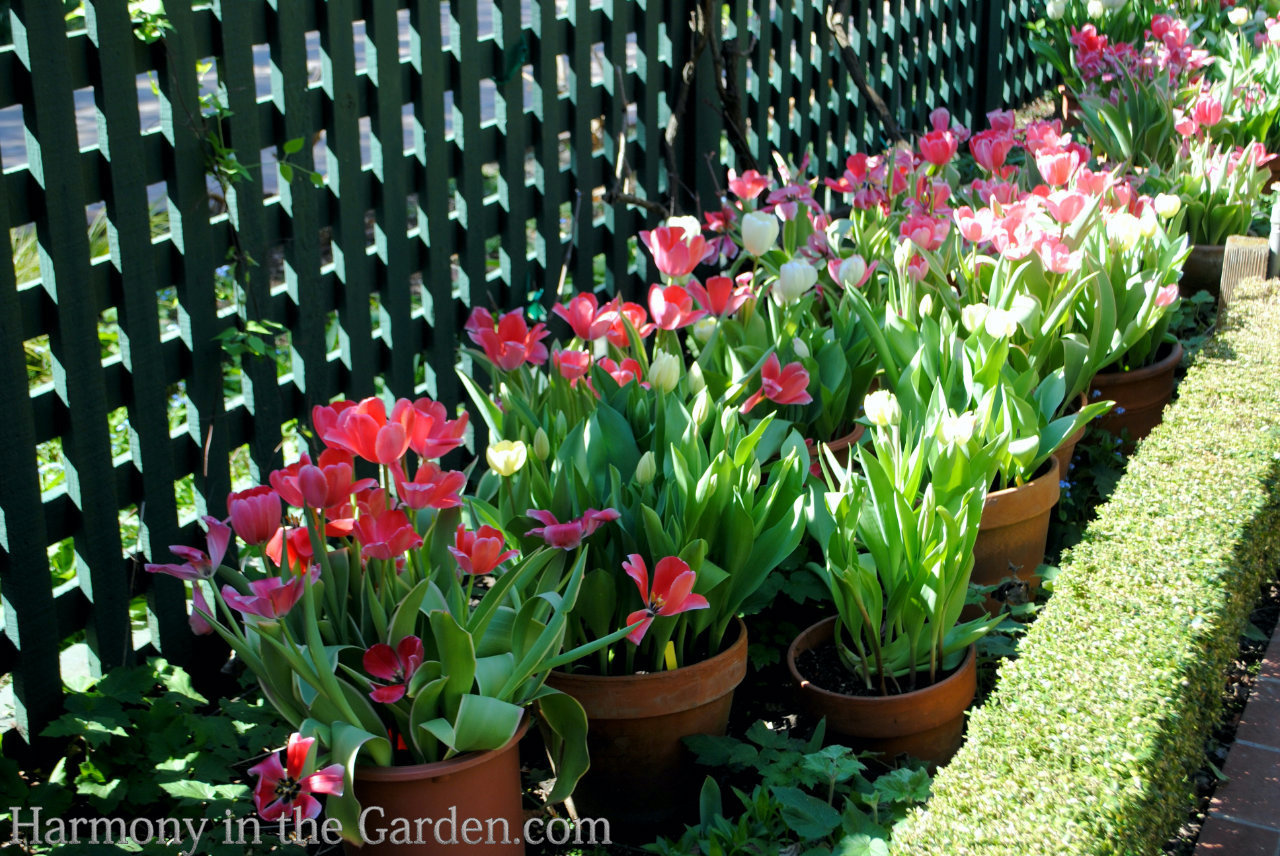
As soon as new shoots pop up, simply move the pot to your patio or near your front door to enjoy for several weeks.
For more spring-blooming bulbs that thrive in warmer winter climates, click here.
Enjoy!


4 Comments
loved your. article
one question though, when refrigerating the bulbs what temperature should the refrigerator be at?
Thanks and Happy Gardening!
Hi Nancy – I believe most refrigerators are set at around 40-degrees which is just fine for chilling bulbs. The important thing to remember is to leave them chilling for 8 weeks (or a little longer if you can) and to keep them away from fruit inside the fridge (like apples) which emit ethylene gas. That’s why if you have a separate mini-fridge used for drinks, that would be ideal. Otherwise, if you don’t you’ll just have to be careful to keep the fruit in the fruit bins, and the bulbs in another area away from the gas and hope for the best. Good luck!
I loved your article. It is the best one ever – clear and concise. I love your pictures of where to plant the bulbs. Perfect! I just did my first 36 tulips bulbs this winter and got rave reviews but they did not last long. Now I will stagger my planting. Many thanks. I live in 9 and will see for next year.
Hi Kathy, I’m so glad you enjoyed my article – thank you! Getting tulips to re-grow year after year is tough in our zone 9 climate, but they’re worth the effort as they’re so beautiful. I often plant a big pot in a container in the late fall, bring them close to my back door (where I can enjoy their blooms) in early winter, and then start over again the following fall. Though they only last a year, I get so much enjoyment from them, they’re worth it to me. Staggering them for a longer bloom-time is a perfect idea for your garden – good luck!