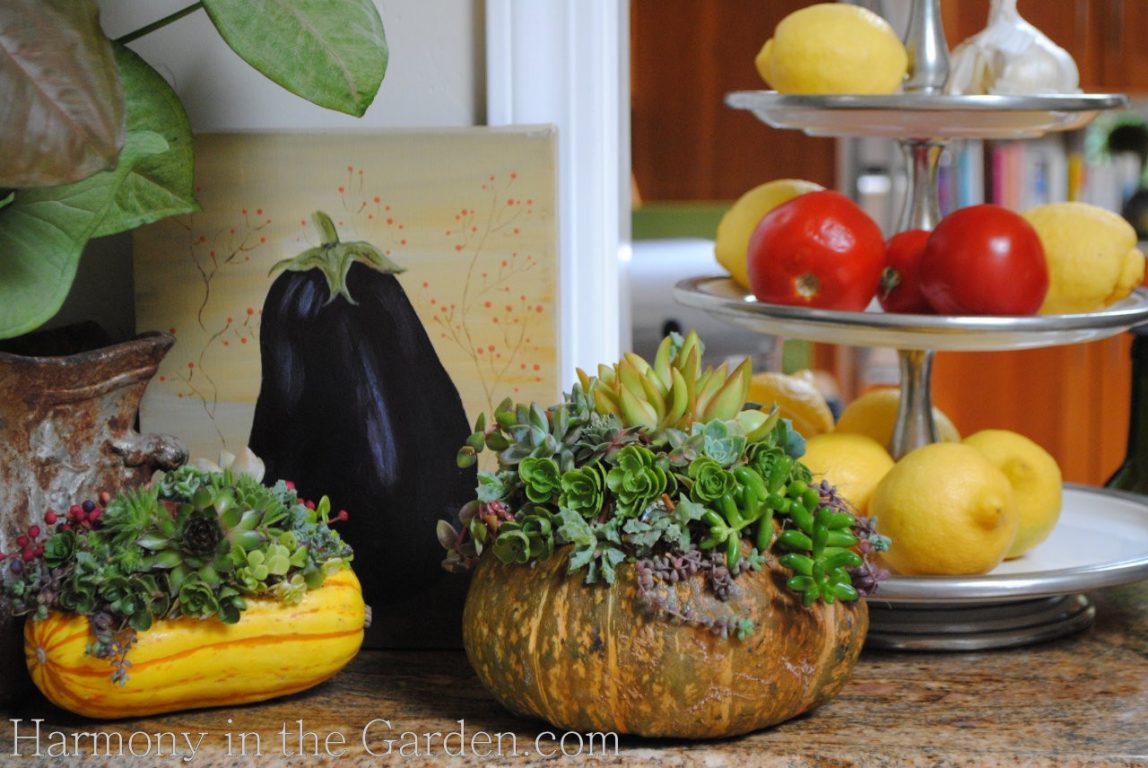
 Without a doubt, fall is my favorite season of the year. And making succulent pumpkins is one of my favorite ways to celebrate the beginning of the holiday season.
Once I spot the first signs of pumpkins and squash adorning grocery stores (which happened this week, btw!) I’m like a kid in a candy shop.
And don’t even get me started on my obsession with glass pumpkins!
I’ve admired succulent-topped pumpkins ever since I first saw Laura Eubanks’ to-die-for creations a few years ago.
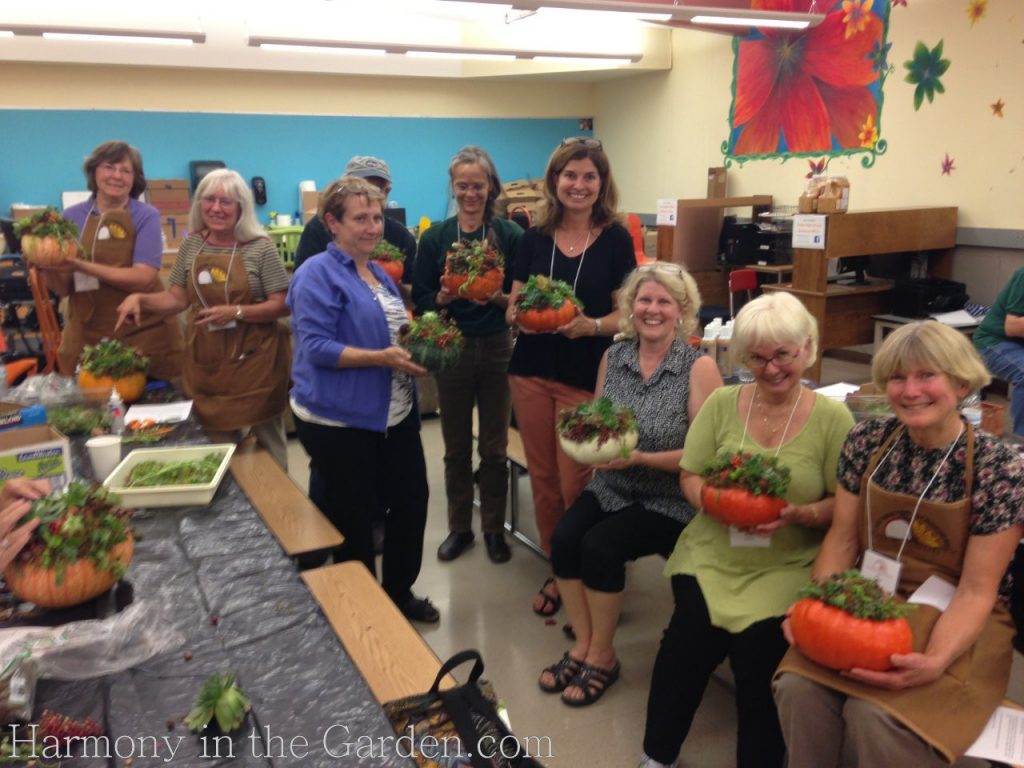
So when I was asked to lead a workshop for the Polk County Master Gardener’s Fall Fling, of course I jumped at the chance!
 We had so much fun that day, chatting away – it felt like a modern day quilting bee.
In fact, one of the members sent me a note letting me know she had so much fun making these pumpkins that her daughter’s girl scout troop was now going to do the same!
So, if you’re feeling creative and want a fun and easy project that will last for several months, try making your own succulent topped pumpkin.
They’re ideal decorations for Halloween and Thanksgiving, and once they begin to look a little past their prime, you can re-plant them in the garden! Here’s the simple directions:

– A pumpkin or squash with a shallow, bowl-shaped top
– Seeds, pods, dried buds – get creative with seasonal embellishments
– Moss (dried sphagnum moss works great)
-Clear tacky craft glue (Aleene brand works really well)
-Glue Gun (for heavier seed pods and non-cooperative succulents)
– Spray Glue (for the moss)
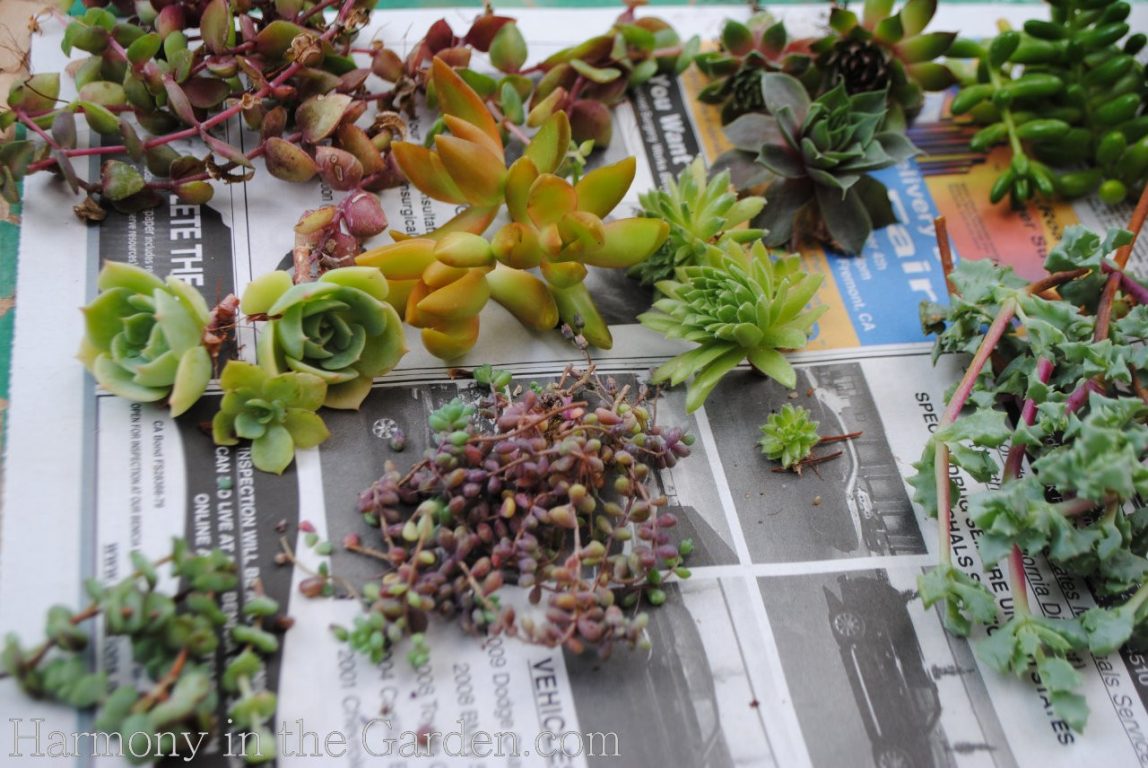
– And of course you’ll need a mix of succulent cuttings!
I like to use a mixture of tiny, medium, and a few larger sized varieties.
To keep your composition interesting it’s important to emphasize contrast of color, shape, size and texture.
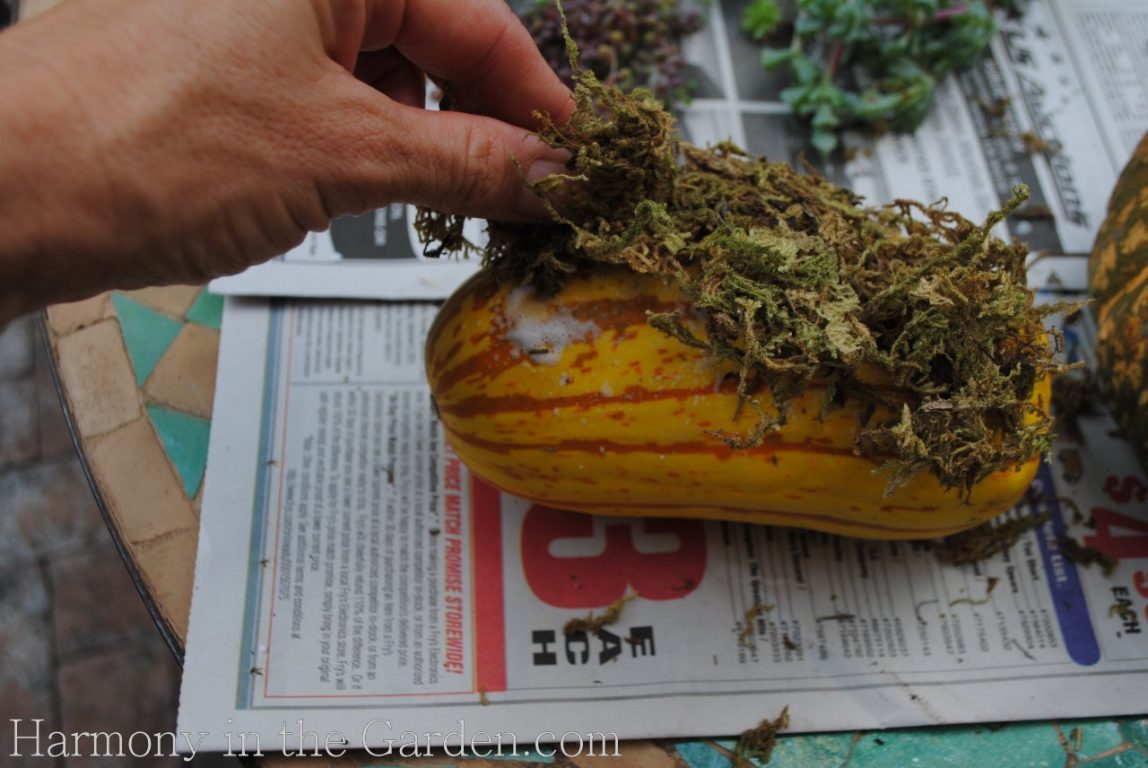
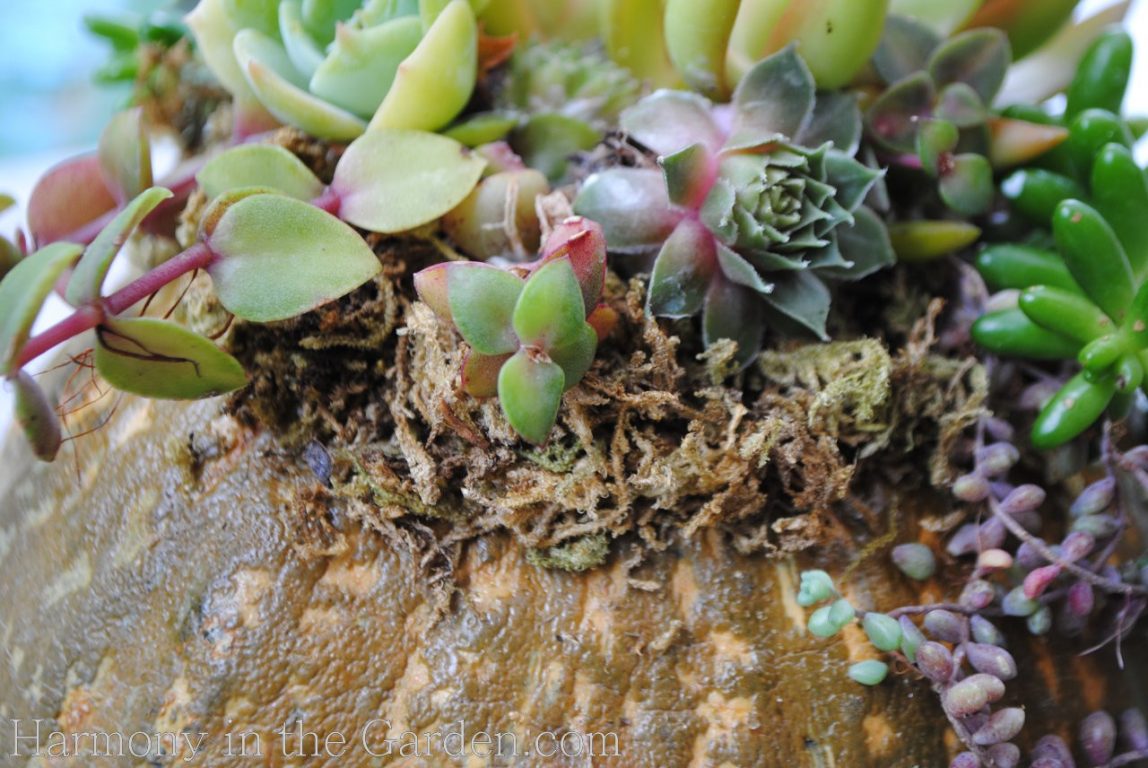
1. Thoroughly spray the top of the pumpkin (or squash, in this case) with the spray glue.
2. Apply a thick, ½” layer of moss, firmly patting it down. You may need to re-apply another layer of spray glue to get all the moss to stick.
3. Trim the ends of the moss so you have a tidy edge. Or not – it depends on the look you’re going for. Rough edges have more of a rustic feel while neatly trimmed edges allow the succulents to shine.
 Begin attaching the larger succulents or seedpods FIRST, towards the center of the pumpkin.
You can use either the tacky gel glue or a hot glue gun.
Ideally, these succulents shouldn’t have any stems, so they lie flat and will easily attach.
Believe it or not, succulents aren’t phased in the least by the glue (either hot or cold).
Their little roots will start to grow right through it – amazing, I know.
After about a week the succulents will shrink a bit, so it’s important to pack them in tight. So tight that very little (if any) moss shows through between the succulents.
And just like designing containers, where the common motto is ‘thriller, filler and spiller‘, the same goes with succulent pumpkins.
Put the ‘thriller’ on the top (i.e. larger succulent, bigger seed pod, etc.), surround it with filler (mediums succulents and berries, etc), then have trailing succulents drape down the sides of the pumpkin.
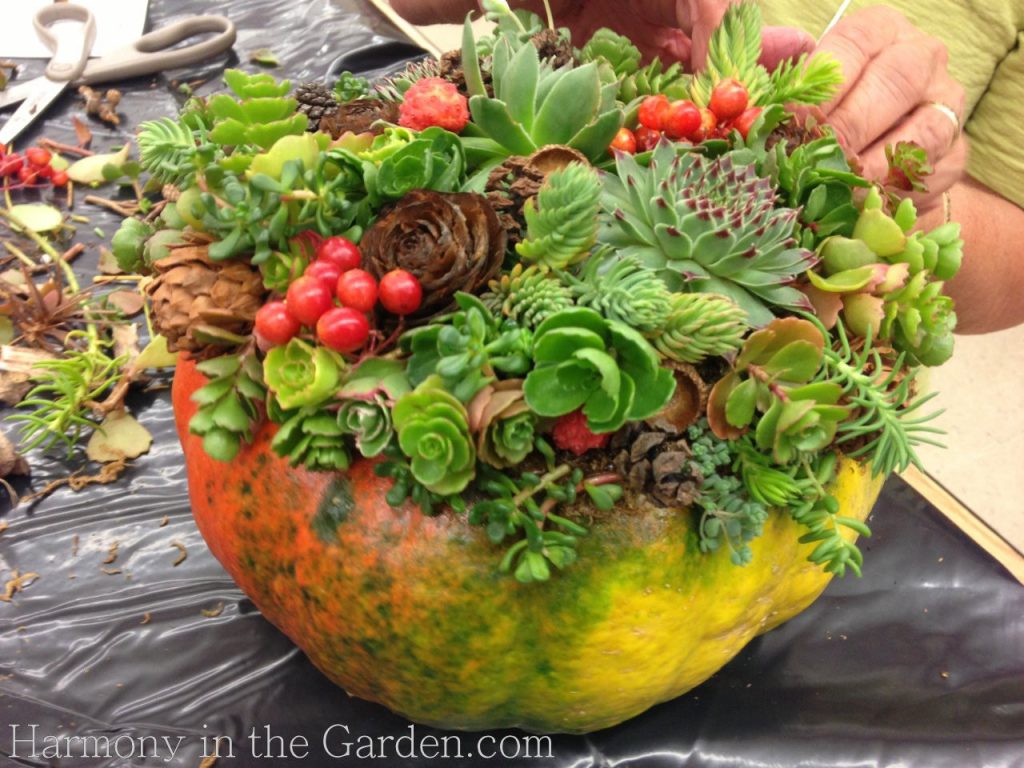
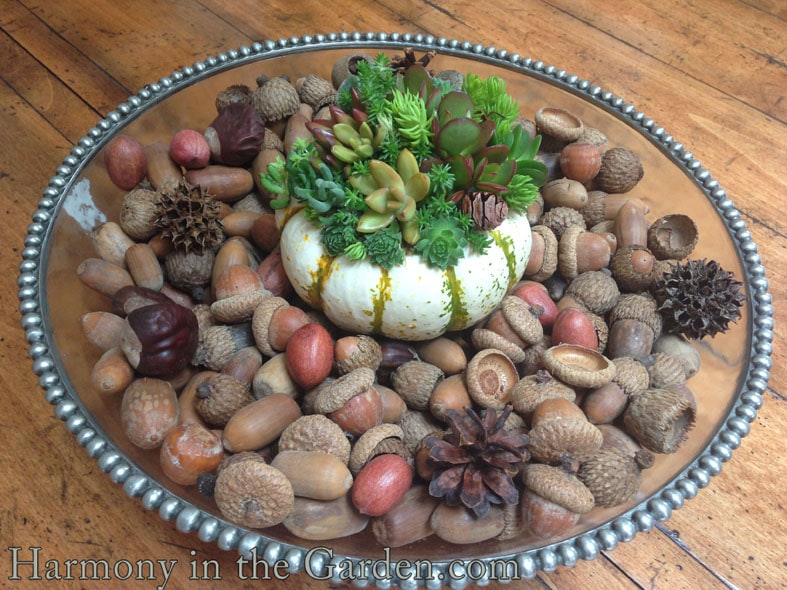
Isn’t this beautiful?
One of the attendees made this, and I just love how the succulents pop against the white pumpkin.
We used lots of dried berries (pyracantha, pepper tree, etc) and small pinecones, attaching them with the tacky glue.
A hot glue gun would work better for this as it dries so fast, but with this many people we didn’t want to risk accidental burns. Same goes for kids – they’ll get burned with a glue gun so use the tacky glue instead.
Let the pumpkin dry for an hour and it’s good to go!

To care for your pumpkin, keep it out of direct sunlight and it should last for several months.
I keep mine in the house one week, then it goes on ‘vacation’ outside for the next.
Mist with water once or twice a week.
The roots of the succulents will begin to grow through the glue and the moss, and when pumpkin season is over all you need to do is remove the succulents and replant them in your garden.
Or, you could always dismantle the succulents and glue them to something more appropriate for the next holiday season.
Maybe pinecones?
For a fantastic succulent book filled with more simple, creative and fun succulent projects I highly recommend Debra Lee Baldwin’s book, Succulents Simplified.
Enjoy!


8 Comments
I tried this following the directions and my succulents are wilting. Any suggestions?
Oh gosh, Kathryn – that’s so odd! What kind of succulents did you use, do you know their names? Are they in a sheltered spot, in the shade? Maybe give them a thorough misting/light soaking? If you want to respond and attach a photo (not sure if you can or not) I might be able to help.
What timing! I just attended a ‘Succulent-topped Pumpkins’workshop at our local arboretum and was amazed at how easy it was to create a really beautiful pumpkin ‘garden’! It made me begin to think of other ideas for using fall naturals and other gourds; there are so many possibilities! I am amazed at the resilience of these plants!!
Thankyou for the book suggestion. I will definitely get it and share it with friends. ?
Oh, I’m so glad the timing worked out for you. Aren’t they so easy and beautiful?? I just LOVE making these. I think you’ll enjoy Debra’s book, too. She always offers so much information and super creative ideas.
I’m hoping to make some mini pumpculents later this week. Your tutorial was just in time–I always have the darnest time getting the littliest guys to stick!
Perfect timing! I’m guessing these little pumpculents are for your oktoberfest party? I’m so sorry I won’t be able to see them in person!!!! 🙁
What a great project!
It’s pretty fun, that’s for sure!