 Phew – I’ve been busy! As promised a few weeks ago, here’s the next phase of my front lawn-removal project.
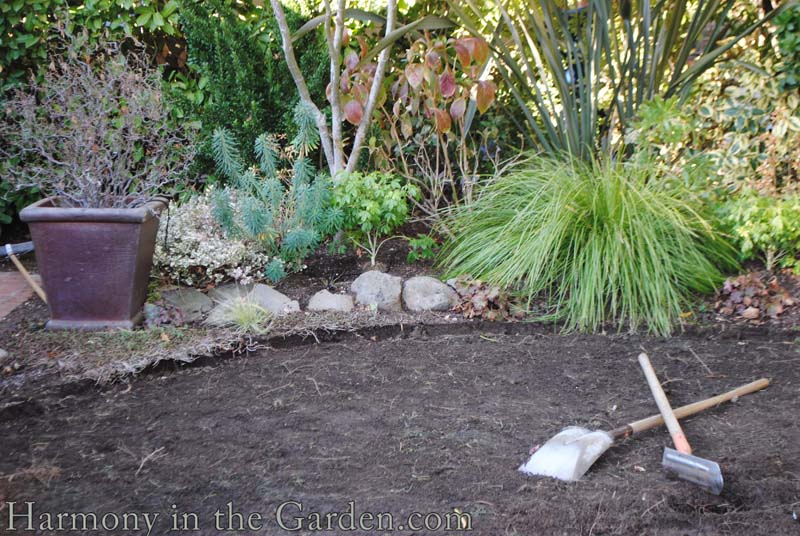
After deciding on the materials and final shape of the pathways, the next step was to remove the lawn. A physically grueling task to be sure.
Enlisting help from those with strong backs, we removed the old lawn by hand. Critical is making sure to dig deep to remove any stray lawn roots that might be left behind.
The last thing I want is grass to appear mysteriously in my new planting areas.


Using my favorite PVC pipe trick again, it’s time to lay out the final shape of the pathways.
I tend to make my paths a little wider than necessary to accommodate my personal style of planting.
To help soften any harsh lines, I like to have lots of small plants spill over pathway edges. So, if the pathway is plenty wide then I don’t need to worry about these softeners taking up valuable walking space.
Here’s a tip: At this point, before anything else is done, it’s important to think about any new irrigation needs and any landscape lighting you might want to add. Now is the time to run any pipes, conduits and wires that will be required.
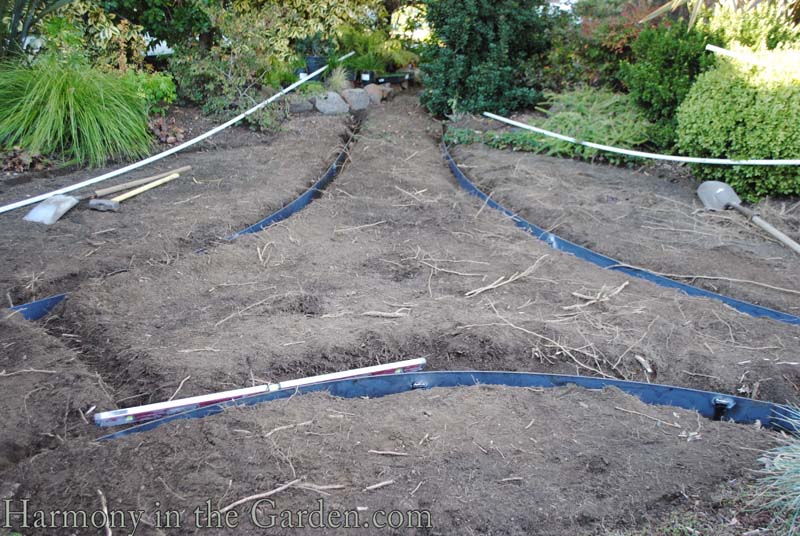

Once that’s done the pathway edging can now be installed. Even though it’s a tad pricey, I really like to use *Corten steel as its soft rusty hues and durability can’t be beat. When installed correctly it’ll stay put for years to come, unlike other edging materials that tend to become easily dislodged.
Another tip: One of the tricks when installing Corten steel is to make sure to weld the pegs to the bands of steel – don’t just pound them in the ground and call it a day. This extra step helps to ensure its longevity and is absolutely worth the effort.
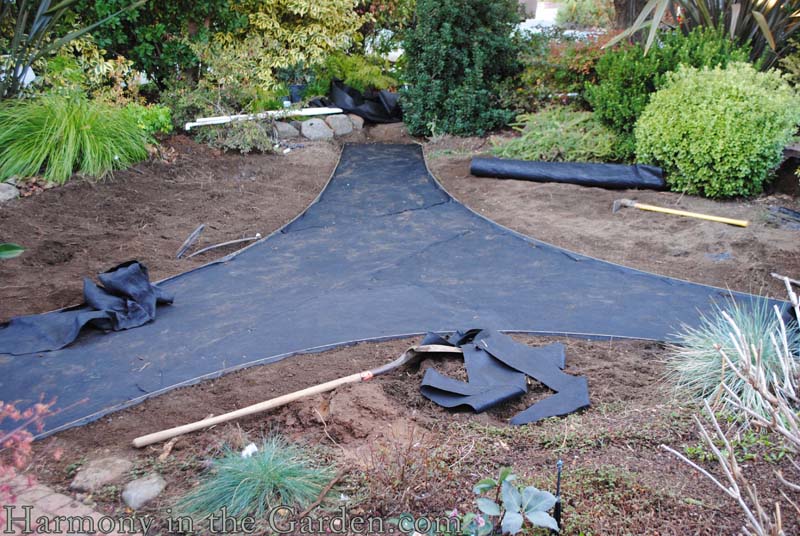
Once the steel is in place comes even more back breaking work – removing about 3″ of soil in the new pathway area.
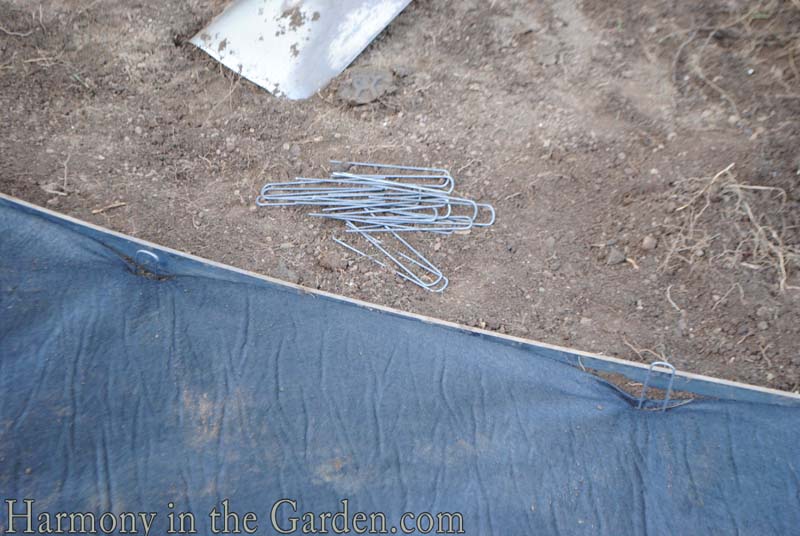
Don’t skip this next step! After removing the soil, porous landscape fabric is laid down and secured along the edges and seams with wire pins (ideally without ripping the fabric). The fabric will not only prevent the gravel from being swallowed up by the soil but will also help to ensure any forgotten lawn roots won’t be making a surprise appearance in that area.
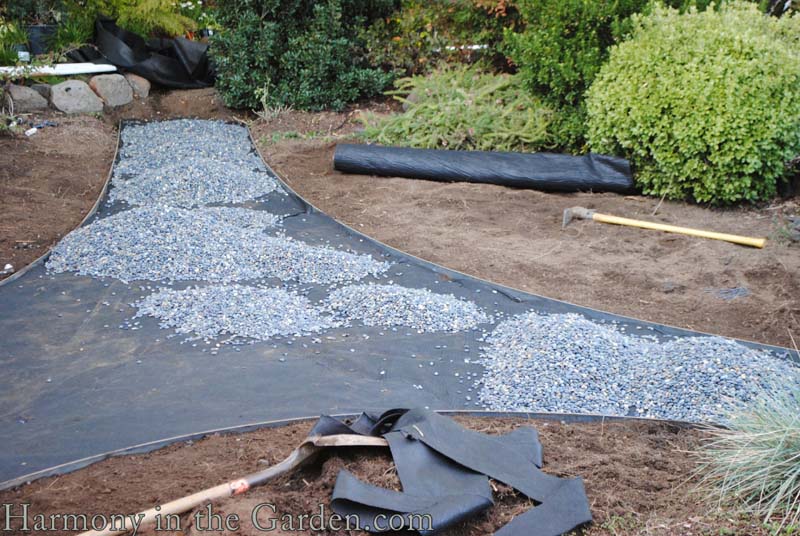
After the fabric is installed it’s time to lay down a thick layer of gravel – about 2″ deep. Use too much, and walking in the gravel is like walking in quicksand; use too little and bare spots are quickly exposed with each step. In my experiences 2-2.5″ is just about right.
I now need to re-work the existing shape of the surrounding garden beds, move some of the stones around, re-form and level out the berms and re-locate a few of my existing plants.
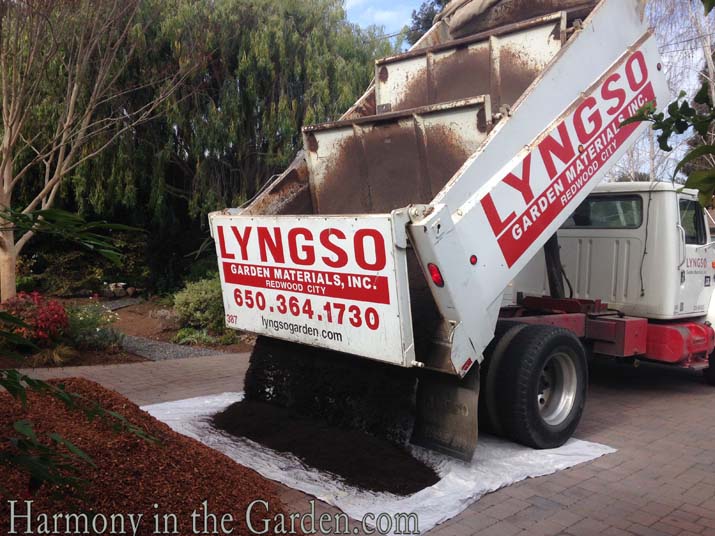
And since it’s January, it’s the perfect time to add a new layer of topsoil and nutrients to my garden, taking advantage of winter rains to distribute the nutrients through the soil.
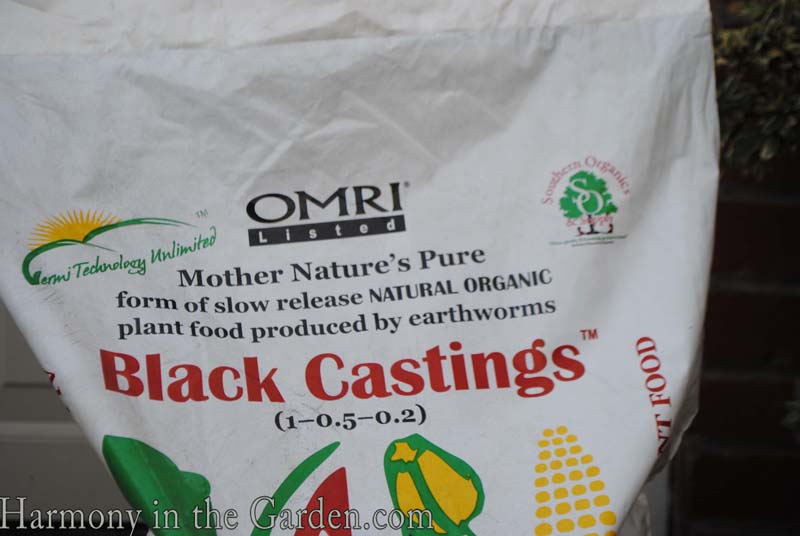
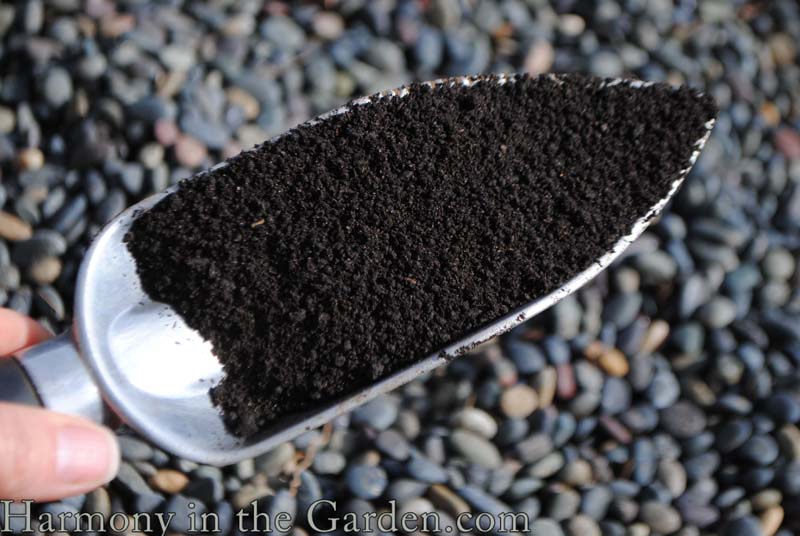
In addition to the topsoil, I’m using *worm castings to give my plants (and soil) an extra boost of nutrients and conditioning. I try my best to add a yearly dose of compost to not only feed my plants but to help create a healthy soil system while simultaneously breaking up all the naturally occurring clay that plagues my garden.
Throughout the year I’ll continue to feed my plants using one of my favorite products – organic compost tea bags. In particular, those made by Annie Haven, from her California farm that’s been in her family since the 1853!
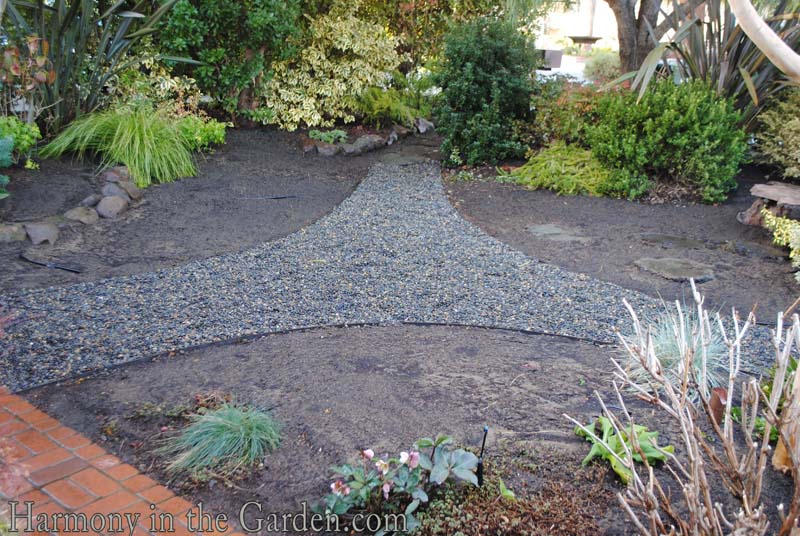 Ahhh….I can see things finally beginning to take shape.
The next step – planting time! In Part 3 I’ll share with you my technique in deciding what to plant. Here’s a hint – if you’ve read my new book, you know it involves a camera and a sharpie pen!
Until next time, I’ll be busy pouring over my favorite low-water websites from Digging Dog, Annie’s Annuals, Plant Delights and High Country Gardens to name just a few.
I can feel my wallet already hurting.


29 Comments
I thought pvc piping was pretty rigid but you seem to have been able to bend it to mark out the new paths. Did you buy a special type of pvc piping?
No, the long lengths have just the right bend to them to allow for gentle curves of pathways. Usually it requires 2 people to hold each end, and once the shape is right we insert stakes to hold the shape, and to prevent the pipe from straightening out again.
Thank you! And what are the pegs/stakes that you use to hold the pvc piping in place? Where can I buy them? What would i ask for?
Oh gosh, we don’t use anything in particular (mainly whatever the guys have on hand at the time) so I don’t have a name to recommend. If you look in the garden department, maybe ask someone there where you can find the metal stakes (something thin that would easily pound into the soil without causing too much damage vs. the bulky wooden stakes that they sell would be ideal.) Good luck!
Thank you, Rebecca for your suggestions on finding on landscape contractor in the South Bay. My friend appreciated your help. Elaine
Love the post Rebecca. It is a lot of work, organization and coordination to create a post like this. and the photos are great.
Thanks so much, Judy!
Rebecca, have a friend new to South Bay (Menlo Park) who needs source recommendations for landscape contractors and deck builders to install a new garden and deck. Being from the Northern Bay Area I have no sources to share with her. Do you have any recommendations /sources from your area or ideas on how to find them?
I have followed your lovely blog for years and appreciate all you share with your readers.
Thank You
Hi Elaine – I’m glad to hear you’re enjoying my blog! I would recommend your friend check out http://www.apld.org to find a landscape designer. There’s a spot on the front page where she can enter her zip code to find someone local, and from there she can click on their website to check out their portfolio, etc. After talking to a few designers she would probably be able to find some names of contractors, deck installers, etc. She might also ask Lyngso (they’re located in Redwood City) for a list of people they’d recommend. Hope that helps!
All the infrastructure stuff is so important, but not glamorous or fun. I’m glad you showed it! Lots to learn here.
I agree, Debra. I think irrigation takes the cake in terms of the #1 un-sexy part of gardening. It’s definitely crucial, though, to let my garden shine its brightest!
I’m getting excited to see what you will plant. I just love this play by play! Waiting impatiently!
Thanks Candy! I’m waiting impatiently, too. I have lots of little babies sitting in their pots just waiting for me to plant them. All I need now is a couple of free weekends…..which is like saying all I need now is a miracle.
Ooh, so envious of the Corten edging! It’s looking fabulous already, and I can’t wait to see it all planted up.
Thanks, Pam! I’ll trade you some Corten edging for one of your gorgeous stock tanks any ‘ol day! 😉
Where does one source Corten steel edging in the Bay Area?
Hi Kay – the Corten we used is from Horizon in Menlo Park (4060 Campbell Ave) I like theirs better as its a little thicker and works better when the guys weld the stakes to it. Ewing irrigation carries Corten steel as well, I think. They have several locations throughout the Bay Area.
Great step by step of vital process and I’m sure will encourage others to remove lawn. Now how about lots of ornamental grasses and a meadow ?
Saxon, you’re reading my mind. I’ve got lots of grasses already sitting in their pots just waiting for me to plant them. Carex divulsa, c. testacea, sesleria ‘Greenlee’, deschampsia flexuosa and ‘Blonde Ambition’ blue grama grass to name a few. I can’t wait to have a free weekend to move forward!
A big YES to everything!!!!! And I love love love the dark pebbles you chose – tres chic! But of course, what else would I expect? I’m super jelly about your corten edging, too – WANT!!!!!
This is going to be awesome! Yay for no more front lawn!!!!!
XOXOivette
Ivette – you always make me laugh (and blush). Thank you, thank you thank you! XOXO
Love the no grass !
I do too – especially since it was never really used anyway. What’s the point, right? I can’t wait for planting time….
Rebecca, i always look forward to your posts, blogs and photos. even tho i can’t use the same plants here in 6b (i keep trying! ) i always come away with some idea or inspiration and i NEED that in winter!
Thanks, Jeff – I really appreciate that!
I love the idea of using Corten!!! I’ve got quack grass in my lawn, and it grows under just about any edging, unless the edging goes 10″ deep. For curvy edges, the only thing I could think of was pouring concrete, which has worked great, but it is labor intensive. Another idea I had was to combine cedar bender board with 10″ galvanized flashing, but it’s not very durable. So, question, the Corten looks about 1/4″ thick in the picture, how do you bend it? Do you heat it with Oxyacetylene?
Hi Gina, poured concrete is a good idea too, but you’re right – it’s definitely labor intensive. To be honest, I’m not sure Corten steel bends much. We’ve used it in another garden where we created curves that were a bit more extreme than the ones in my own pathways, but that’s about it. The other gardens where I’ve used it had straight lines. I did a quick search on Google and couldn’t find much about how to create curves. I’d love to know if anyone else has any ideas??
Dear, RS. I’d like to talk to you about a seminar on this very topic to all of the water wasters here in Santa Barbara. When you have time, give me a call. Brent Freitas, Eye of the Day, Inc. 805-895-3007 http://www.eyeofthedaygdc.com
Are we in dire straits, or what, Brent! I’m happy to give you a call this afternoon. Looking forward to it!